
Client Resources: Client Portal
Learn how to set up and control a white-labeled Client Portal so clients can securely view selected reports, keyword performance, reviews, tasks, media, competitors, and downloads.
The Client Resources page contains two sections: Client Portal and Review Generation. This guide focuses on the Client Portal.
The Client Portal is a white-labeled interface where clients can view selected reports, keyword performance, reviews, tasks, media, competitors, and other insights without accessing the full dashboard.
From the Client Portal page, you can customize portal features, invite portal users, and preview exactly what the client will see.
Accessing the Client Portal
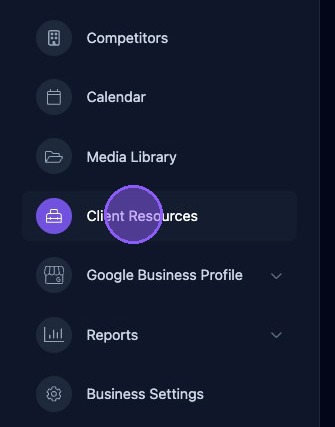
To access the Client Portal, click Client Resources in the business navigator.
Navigating the Client Portal Page
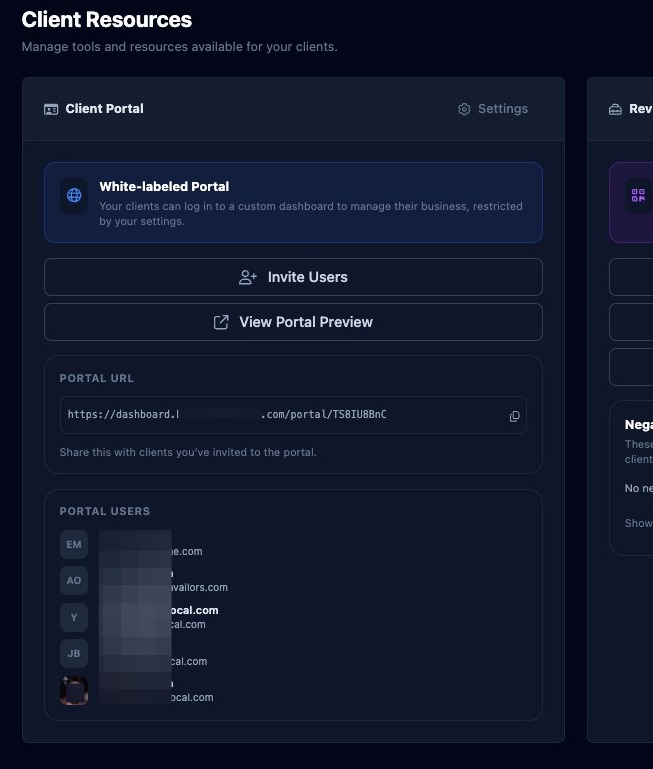
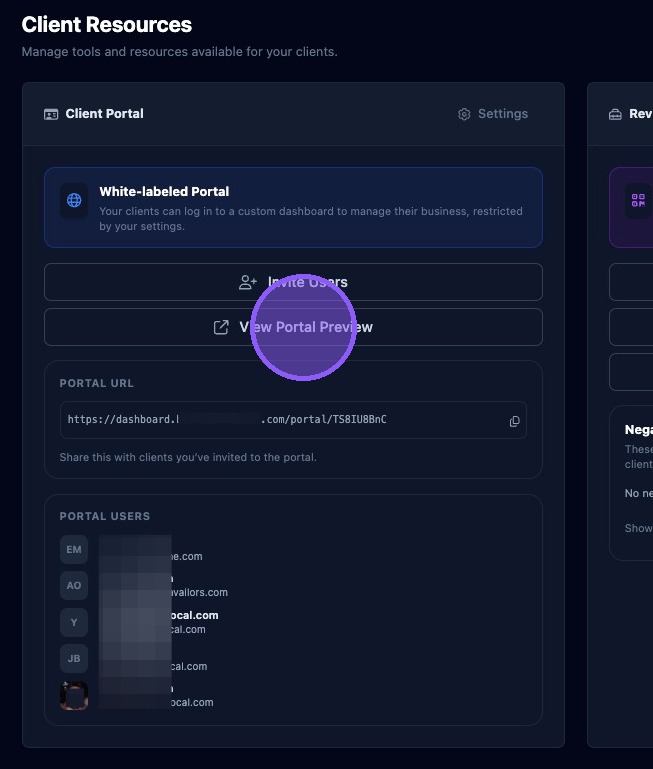
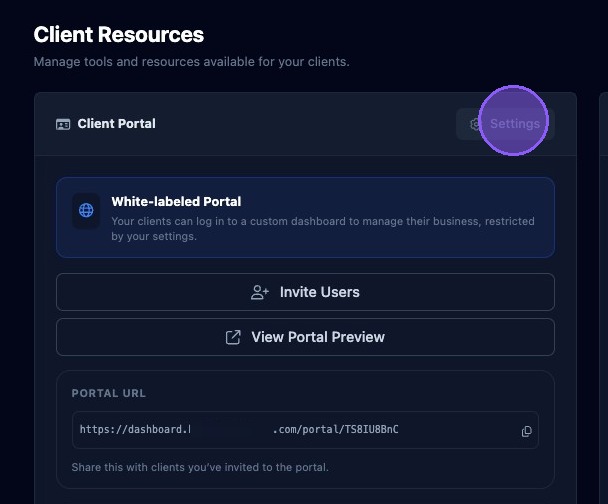
The Client Portal section provides the following controls:
- Settings: Opens portal settings and feature controls.
- Invite Users: Lets you invite and manage portal users.
- View Portal Preview: Opens a preview of the client-facing portal.
- Portal URL: Lets you copy the invite or portal link to send manually to clients.
- Portal Users: Shows a list of users who have been invited or granted access.
Invite and Manage Portal Users
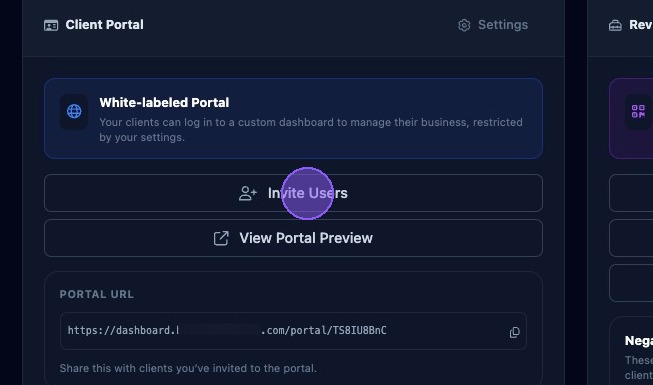
To invite users to the Client Portal, click Invite Users.
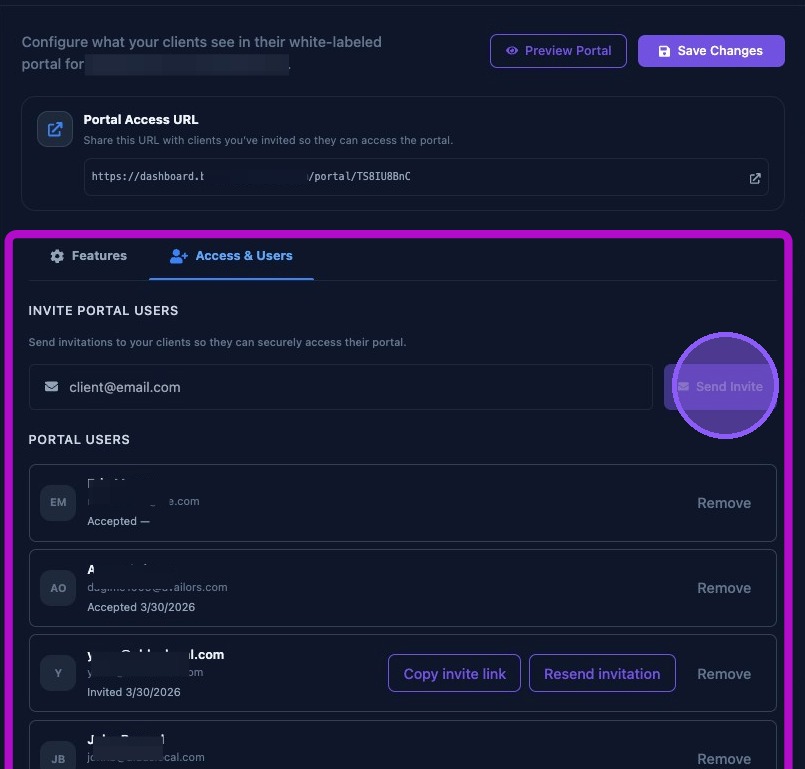
You will be taken to the Settings window in the Access & Users section. You can also get here by clicking Settings, then Access & Users.
In this section, you can perform three user-management actions:
- Invite a portal user: Enter the client's email address, then click Send Invite. A confirmation message will appear, and the user will receive an email invitation to set up their portal account.
- Review existing user information: The user list shows name, email address, current status, and invited or accepted date. If a user is still invited, you can resend the invitation or copy the invite link to send manually.
- Remove a portal user: Click Remove next to the user's name. This removes the user immediately.
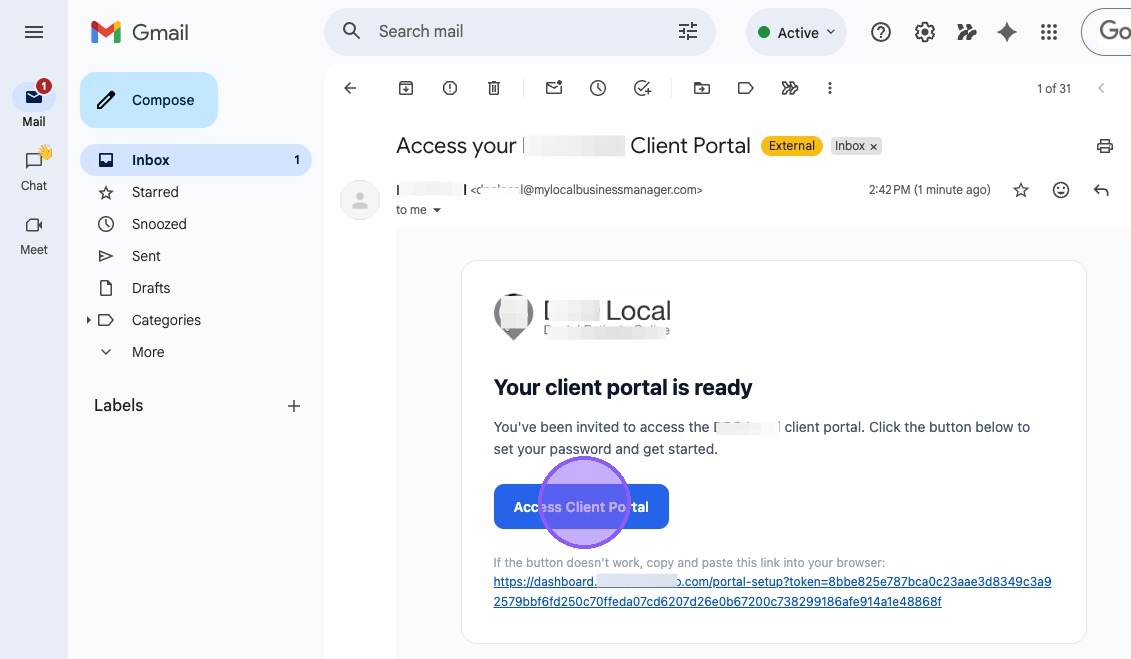
The client receives an emailed invitation. To accept the invitation, the client opens the email and clicks Access Client Portal. If the button does not work, they can copy and paste the URL at the bottom of the email into their browser.
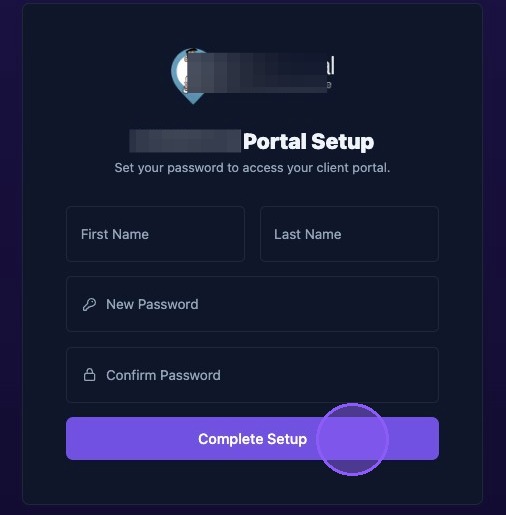
When the client clicks the invitation link, they are taken to the white-labeled portal setup page. They enter their first name, last name, and password, then click Complete Setup to access the portal. The client may need to log in after completing setup.
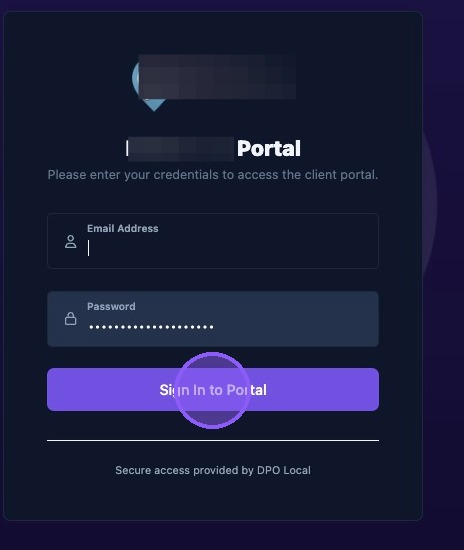
If the client already has an account to access the portal, they will see a sign-in window instead.
View Portal Preview
To review the Client Portal, click View Portal Preview. This opens a new browser window with the client-facing portal view without requiring a portal user login.
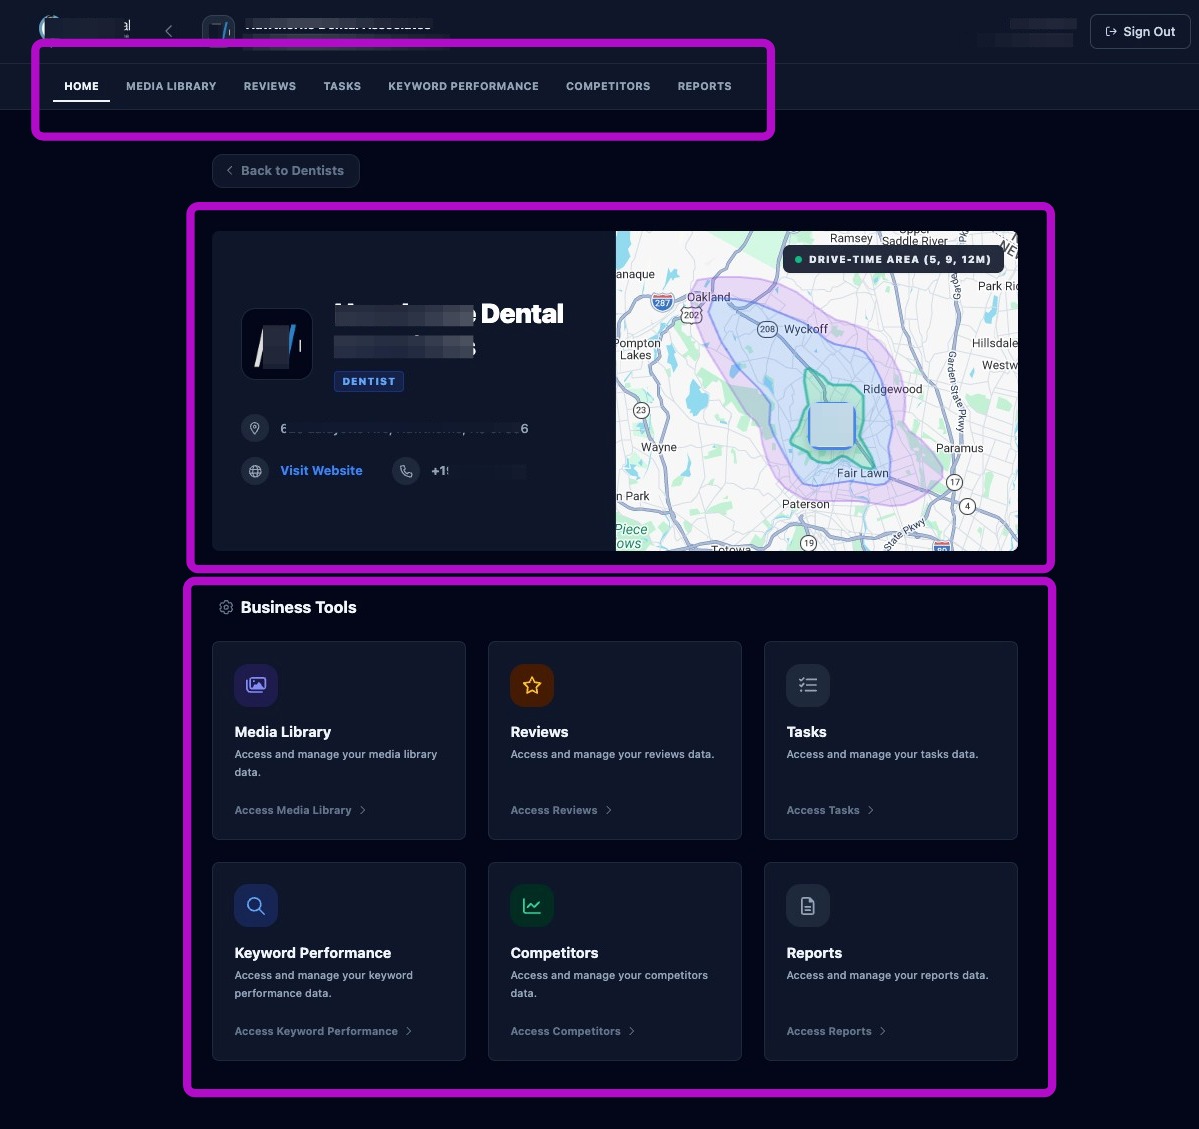
The preview window displays what the client will see when accessing the portal. The navigation tabs at the top are functional, allowing you to review each enabled portal feature.
The portal home page displays:
- White-label information at the top of the page.
- Business information, including business name, address, phone, website, and category.
- A trade area drive-time map with primary, secondary, and fringe polygons.
- A list of business tools the client has been granted access to, such as Media Library, Reviews, Tasks, Keyword Performance, Competitors, and Reports.
Close the preview window when finished reviewing.
If the preview opens the login screen instead of the portal preview, the preview access permission may need to be checked.
Navigate and Update Client Portal Settings
Portal settings control what clients can see in the portal. To access Client Portal settings, click the Settings button, shown as a gear icon, in the Client Resources section.
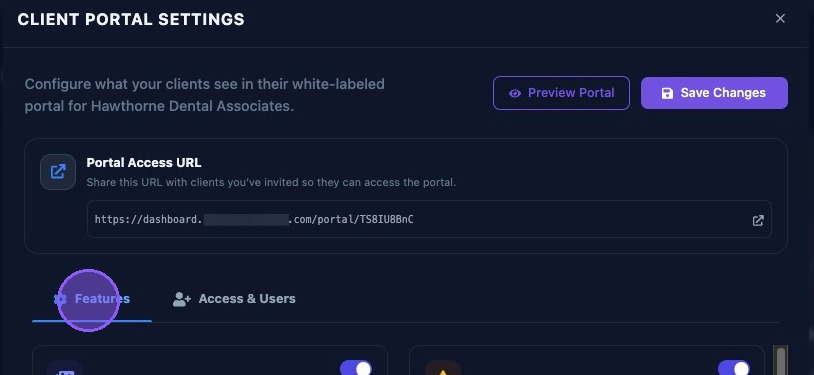
The Client Portal Settings window provides:
- A Preview Portal button.
- A Save Changes button.
- The Portal Access URL, which can be copied and sent manually.
- A Features tab.
- An Access & Users tab.
Click the Features tab to access the portal sections available to the client.
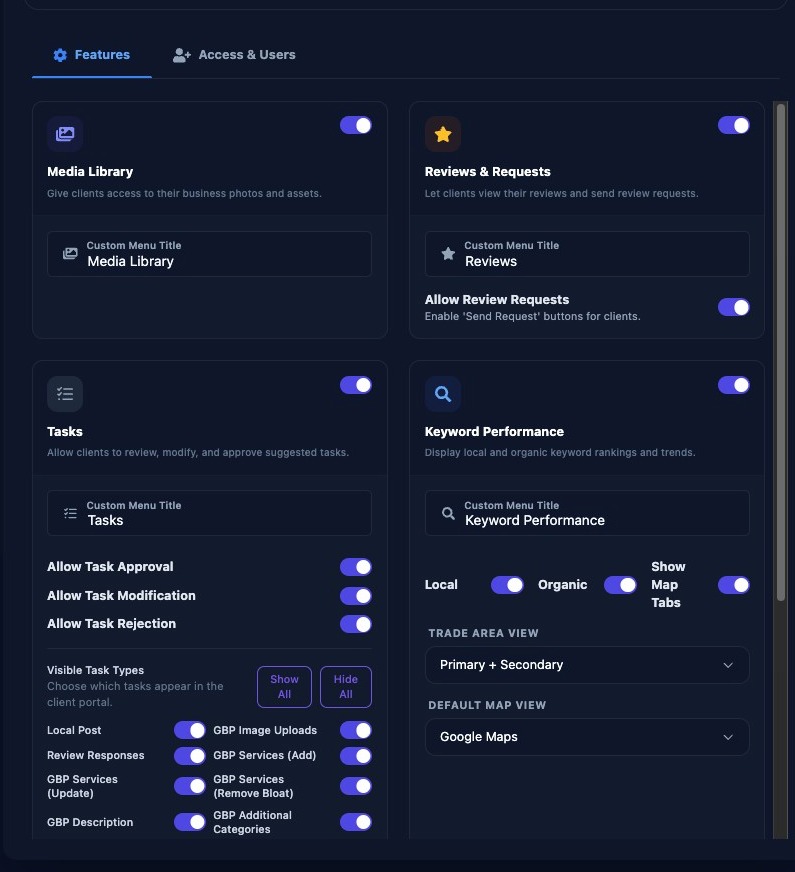
The Features section displays the portal sections available to show to the client. Each feature has a toggle:
- If a toggle is off, that section is hidden in the client portal.
- If a toggle is on, that section is displayed in the client portal.
Scroll down to see all portal features. Some features include additional toggles and default-view options.
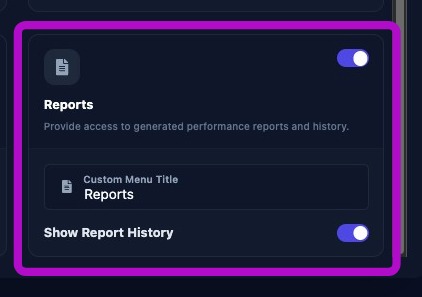
Each section also allows you to customize the menu title if you do not want to use the default title for your client.
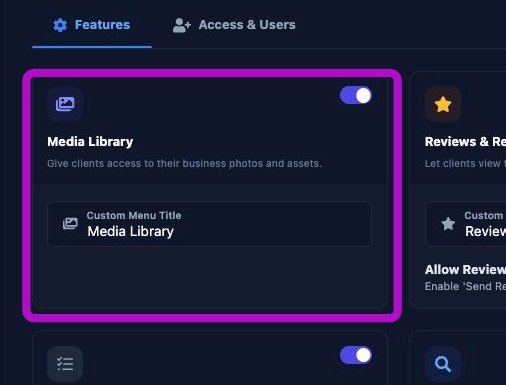
Media Library Feature
The Media Library feature gives clients access to view their business photos and assets. It can also allow clients to upload photos.
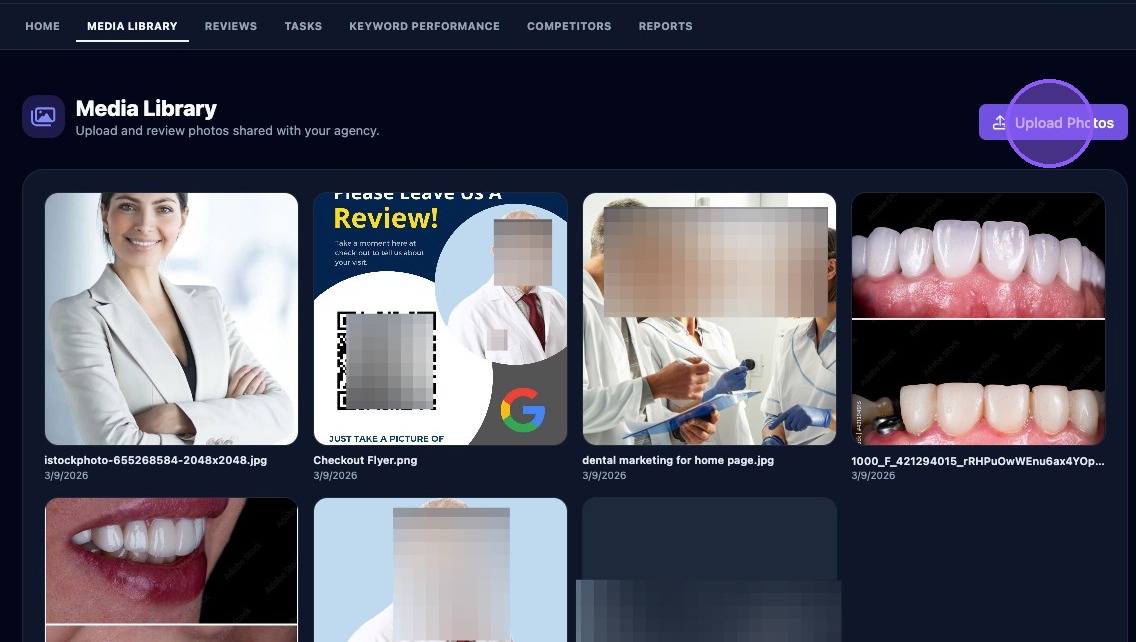
If no media appears in the portal, the business may not have uploaded media yet, or the Uploads folder may be empty.
When clients click the Media Library tab, they see the media grid for the business. The grid contains thumbnails of images and videos, along with each file name and upload date. If enabled, clients also see an Upload Photos button for uploading additional media files.
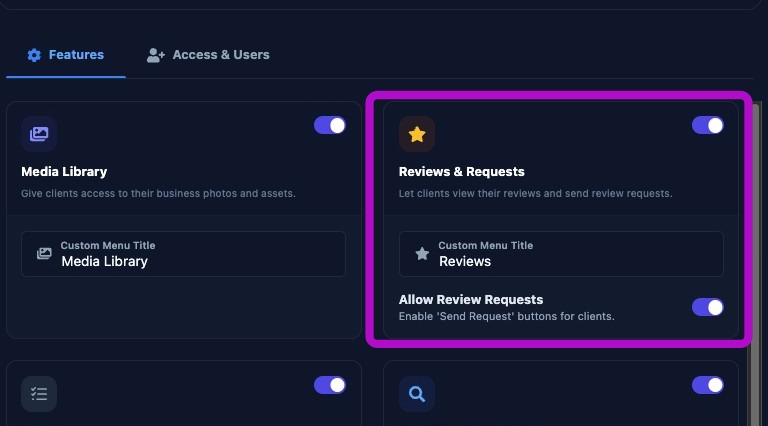
Reviews and Requests Feature
The Reviews and Requests feature shows recent feedback from the client's Google Business Profile. It lets clients view review summaries and, if enabled, access the review request tool.
If branding looks incorrect in review requests, check the organization branding settings.
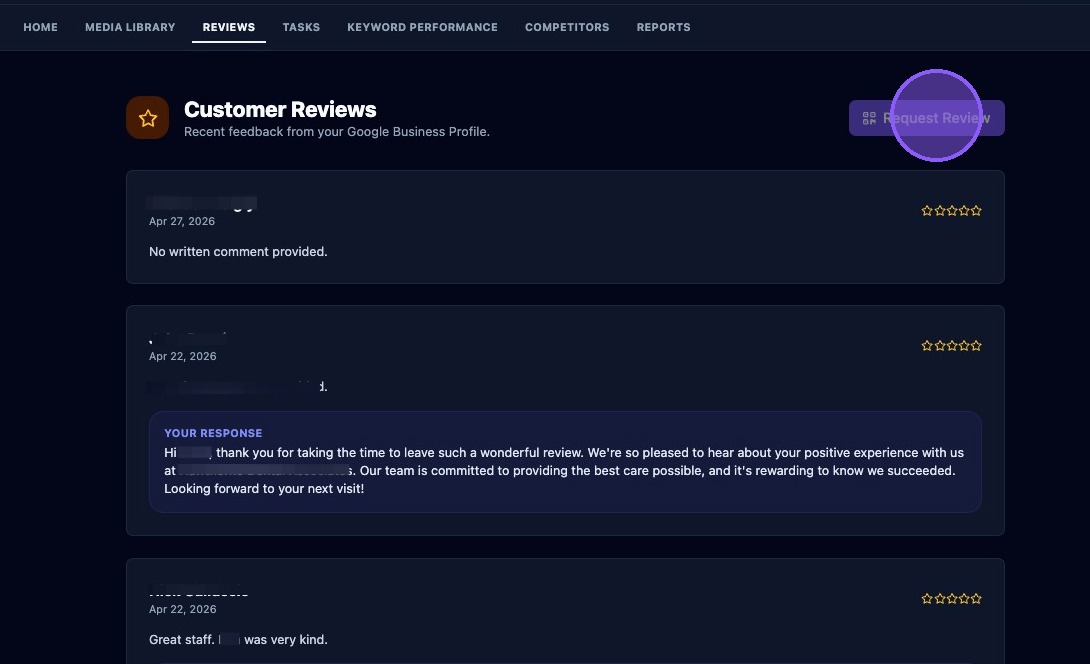
When Reviews and Requests and Allow Review Requests are both enabled, clients can see:
- A list of Google Business Profile customer review summaries with ratings.
- Average rating and total review count, when available.
- The Request Review tool button.
- Private feedback collected through the review tool.
Tasks Feature
The Tasks feature includes many toggles that control which assistant task activity clients can see and what actions they can take.
You can choose whether clients can view assistant tasks and whether they can approve, modify, or reject suggested task actions.
You can also choose which task types appear in the portal, including:
- Local Post.
- Google Business Profile Image Uploads.
- Review Responses.
- Google Business Profile Services: Add, Update, or Remove Bloat.
- Google Business Profile Description.
- Google Business Profile Additional Categories.
- Listing Lock.
- Region Targets.
- Location Pages Batch Review.
- Blog Review.
- Review Feedback.

Use the Show All and Hide All buttons to quickly enable or disable task types, then fine-tune the list based on what the client should review.
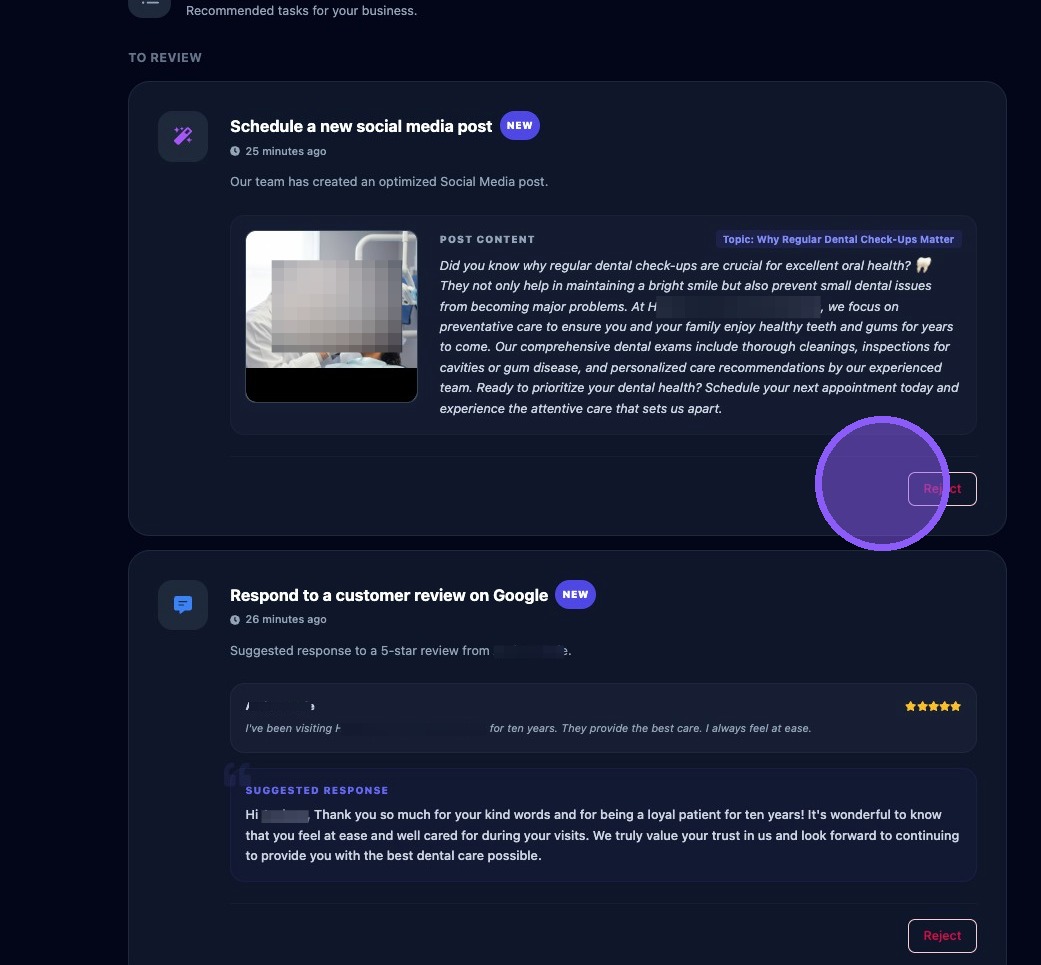
When Tasks are enabled, clients see a list of assistant tasks sorted by review and completion status. Each task may show:
- A description of the task.
- The current task status, such as new, pending review, or completed.
- How long ago the task was added.
- Instructions or supporting information.
- Related content, such as post details, images, suggested responses, ratings, or topics.
If enabled, clients may also see action buttons to approve, modify, or reject tasks.
Keyword Performance Feature
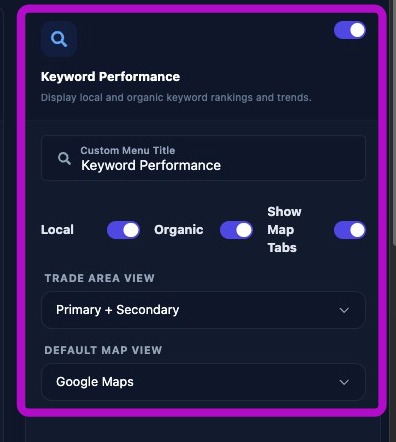
The Keyword Performance feature lets you choose which keyword performance data is shown to the client.
- Enable or disable Local, Organic, and Map Tabs.
- Select the trade area view: Primary, Primary + Secondary, or All Trade Areas.
- Select the default map view: Google Maps or Snack Pack.
- Configure map tabs and default map behavior so the portal displays clear, client-friendly results.
For most clients, Primary + Secondary trade areas and a clear default map type provide the easiest portal experience.
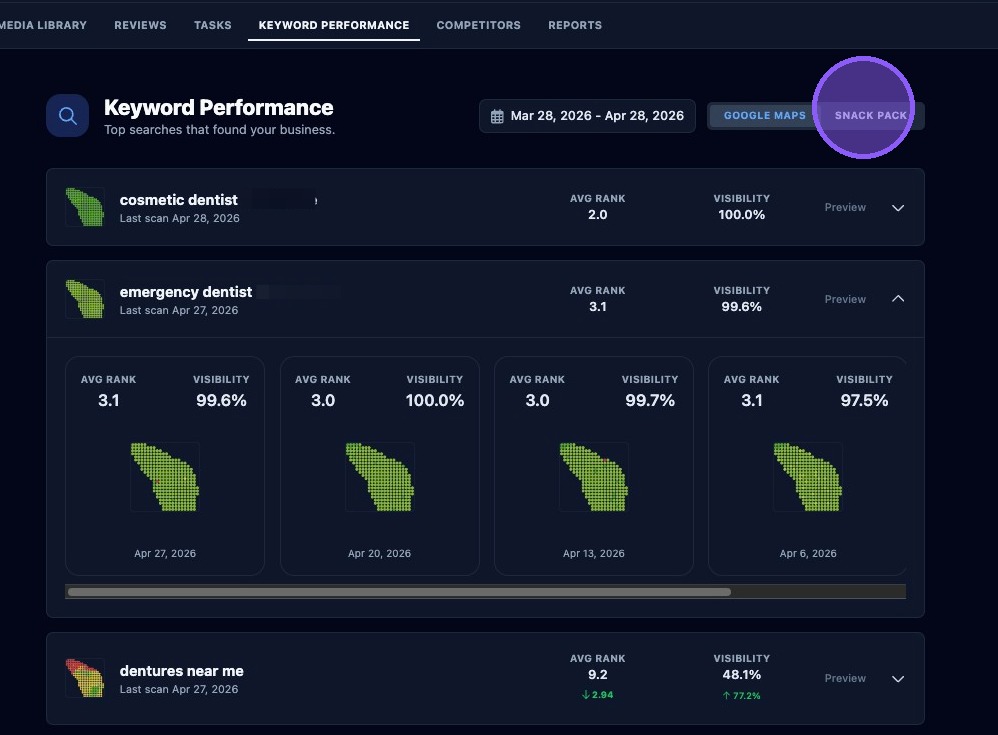
When Keyword Performance is enabled, clients can see:
- A keyword list showing top searches related to the business.
- The displayed performance date range.
- A toggle to switch between Google Maps and Snack Pack, when enabled.
- Each keyword's trade area heat map, last scan date, average ranking, visibility percentage, and recent ranking history when expanded.
Competitor Analysis Feature
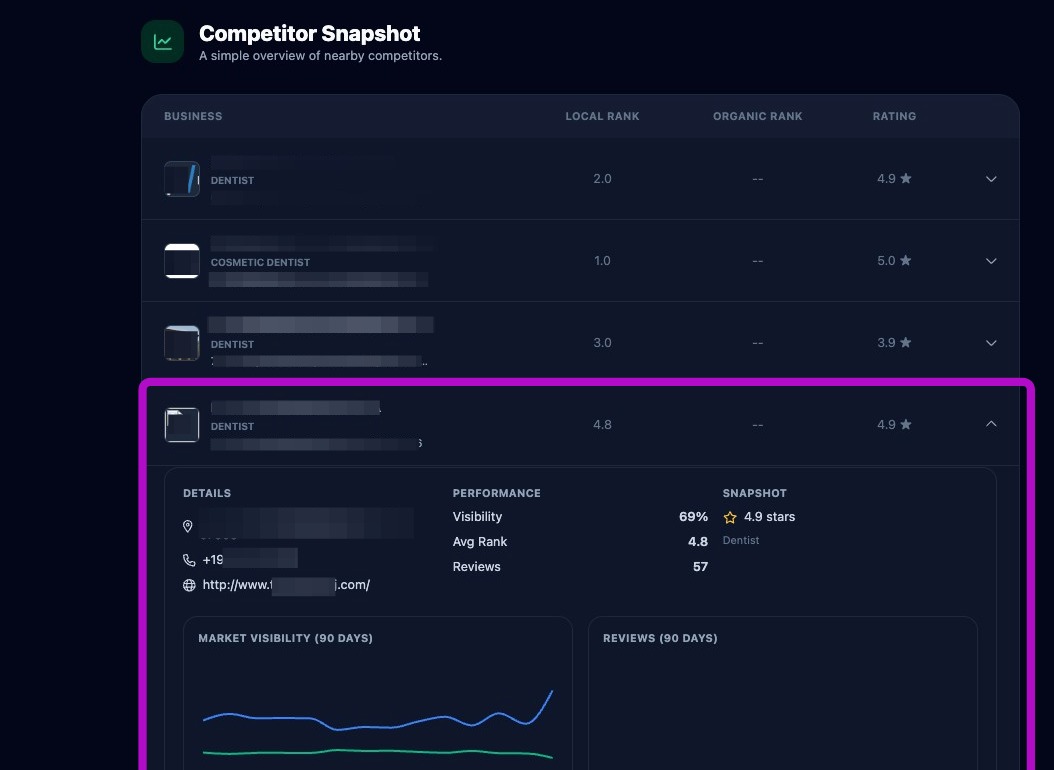
The Competitor Analysis feature gives clients a simple overview of nearby competitors in the portal.
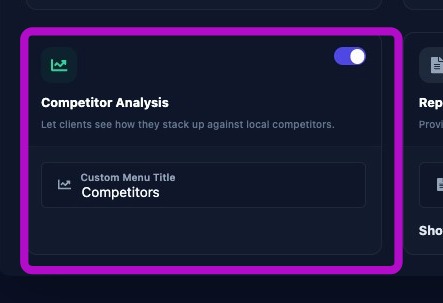
When Competitor Analysis is enabled, clients see:
- A list of competitors within the trade area, including competitor name, main category, address, local ranking, organic ranking, and star rating.
- Expandable competitor details, including phone number, website, visibility, and review count.
- A Market Visibility chart for the last 90 days showing visibility score and average rank.
- A Review chart for the last 90 days showing review count and review rating.
Reports Feature
The Reports feature allows clients to view and download recent performance reports in the portal. You can also choose whether clients can see a report history.
If reports are missing from the portal, confirm that schedules or manual reports have been generated for the business.
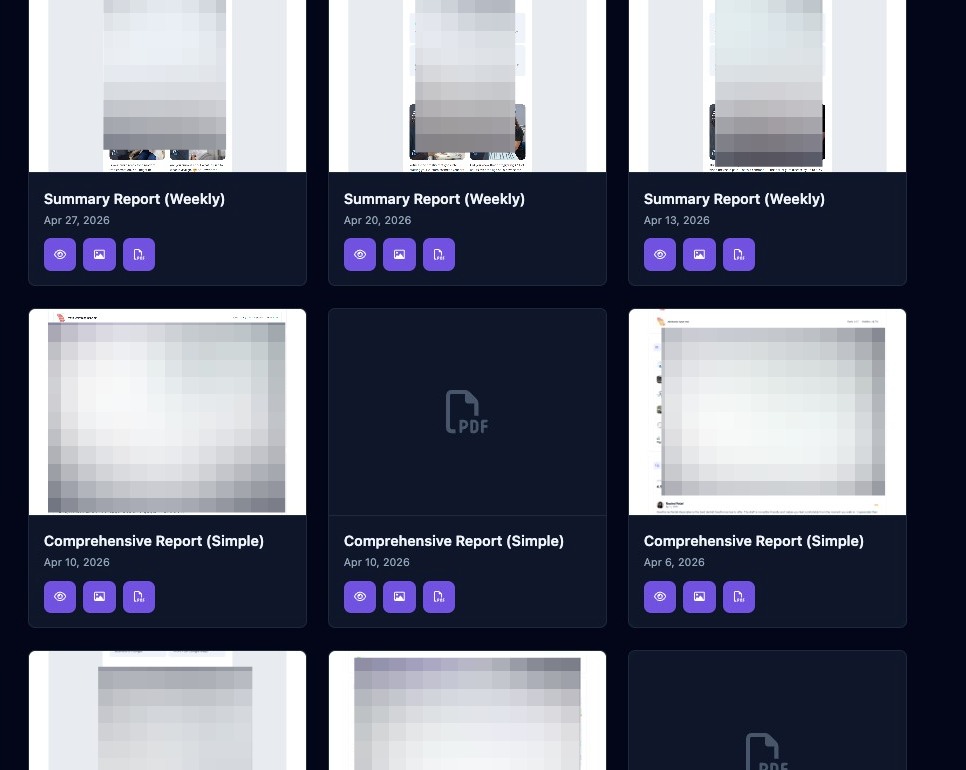
If the Reports feature is enabled, clients see a list of reports. Each report displays the report title and report date.
Clients can use three action buttons under each report:
- Click the eye icon to view an HTML copy of the report.
- Click the photo icon to view an image copy of the report.
- Click the PDF document icon to view and download the report in a PDF viewer.
Save Changes
Click Save Changes when you are done editing Client Portal settings. Click the X to exit without saving changes.

Preview the portal after changing feature permissions so you can confirm the client sees only the intended sections and data.