
Reports: Using the Report Builder
Learn how to customize, preview, schedule, organize, and brand client reports using the Report Builder.
The Report Builder controls report section visibility, report order, title, type, date range, schedule settings, email delivery, and the live layout preview.
Branding is pulled from business and organization settings. Client logos can be uploaded in Business Settings under General Details. Agency logos and brand colors can be managed in Organization Settings under Branding.
Use a consistent branding theme across reports and review report output regularly to confirm data, layout, and branding remain accurate.
Accessing the Report Builder
Navigate to the Report Builder by clicking any Edit Report button for a new or existing report in the Reports section under All Reports or Schedules. You can also access it from the Create One-Time Report editor.
Most report information is prefilled when entering the builder, either from an existing report or from the Create One-Time Report editor.
Navigating the Report Builder
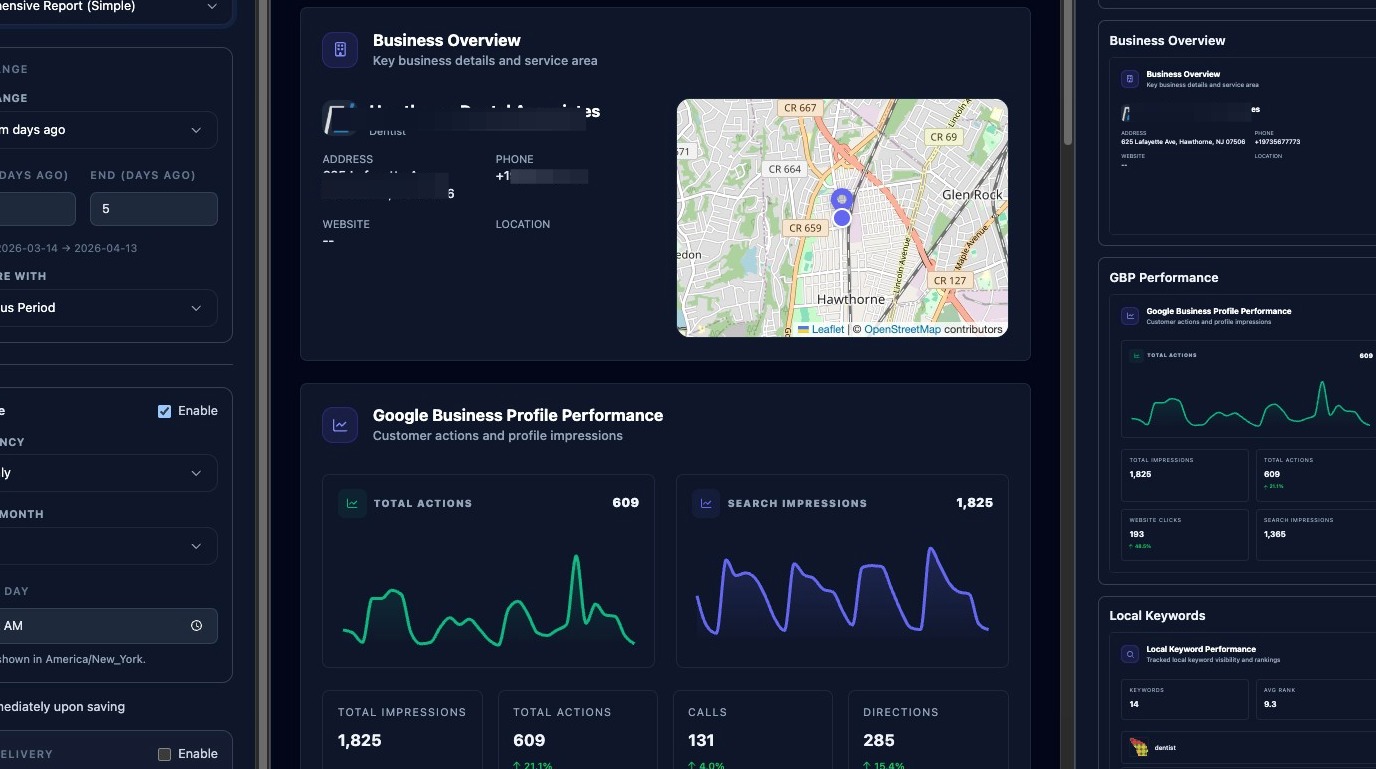
The Report Builder is divided into three operational panes:
- Report information, including title, type, schedule, date range, email delivery, and section organizer.
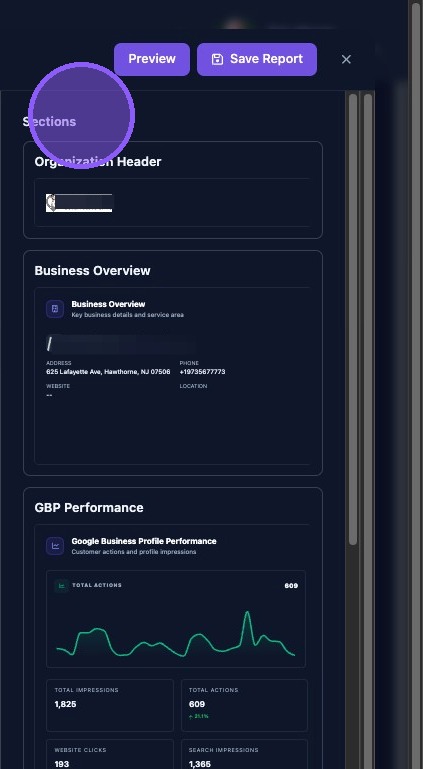
- Report layout preview, which shows the report layout and reflects builder changes immediately.
- Report sections, which lists all available report sections.
Each pane can be scrolled up or down to view and access additional details.
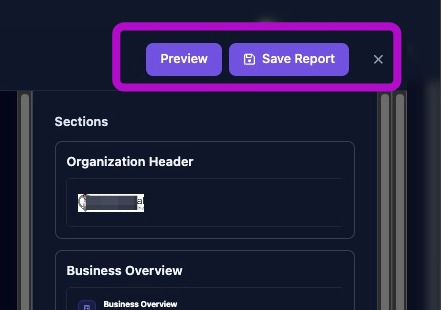
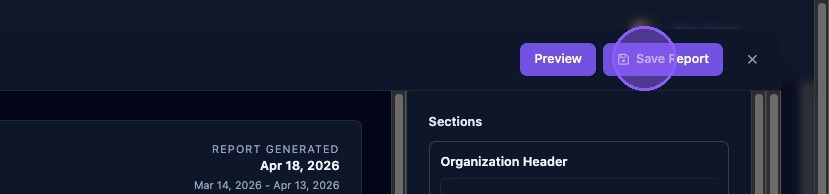
In the upper-right corner of the Report Builder, there are three main actions:
- Click the X to discard changes and exit.
- Click Save Report to save changes and exit.
- Click Preview to review the fully generated report.
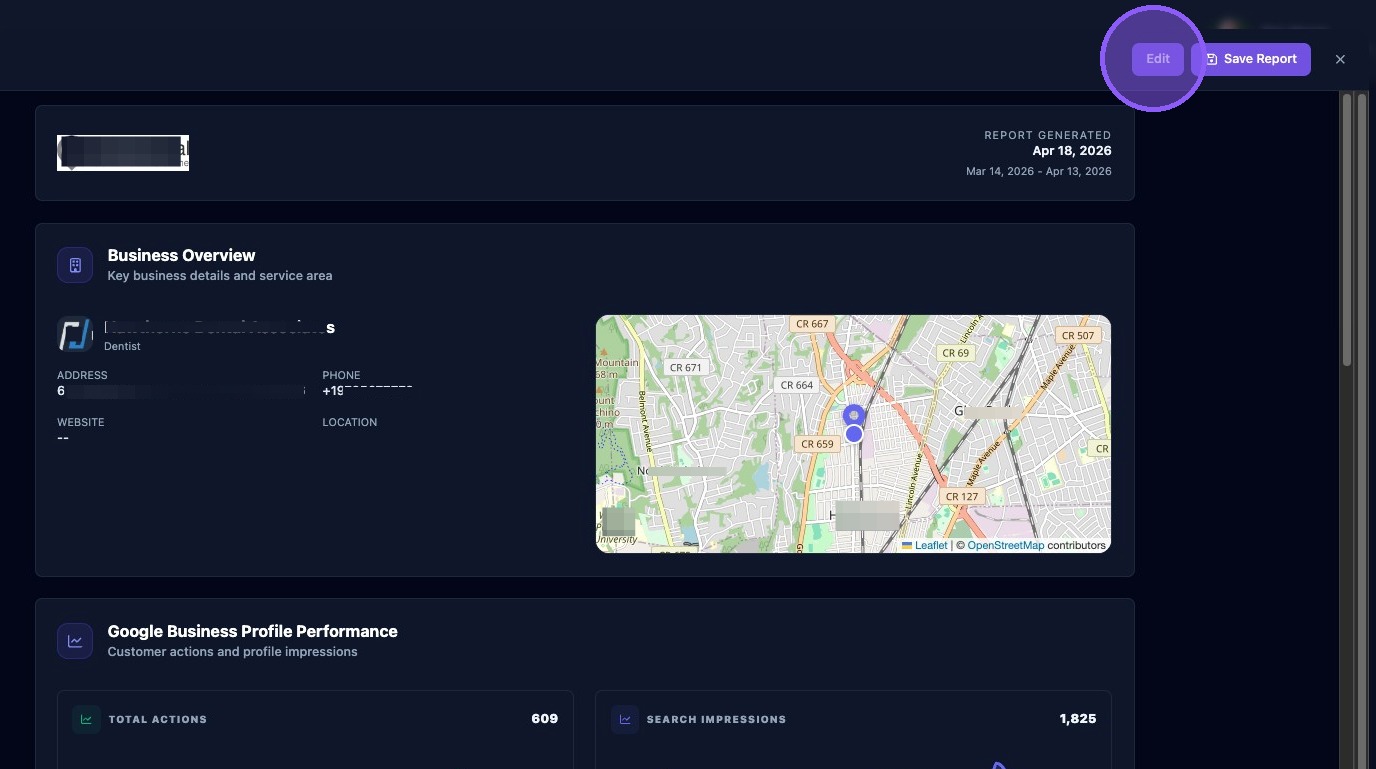
If you click Preview, the fully generated report opens in a separate window. Always use Preview after major changes to confirm layout, branding, charts, and values load correctly.
After reviewing the Preview window, you can:
- Click Edit to continue editing.
- Click Save Report to save changes and exit.
- Click the X to discard changes and exit.
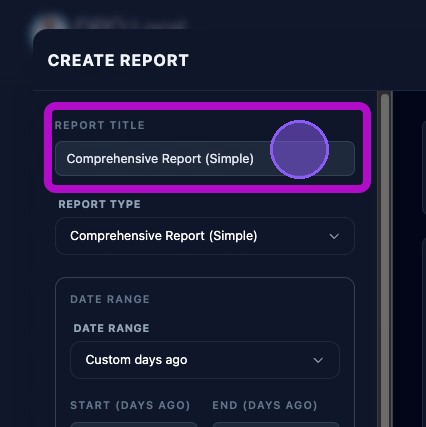
Report Info: Title and Type of Report
Provide a title for the report by typing it into the title field. When first created, the title defaults to the report type.
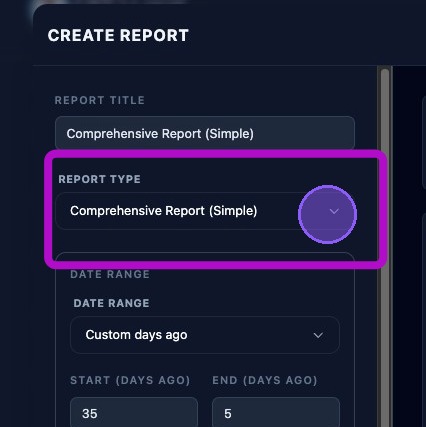
Choose the report type by clicking the Report Type dropdown menu. Options include:
- Summary.
- Comprehensive.
Set Report Date Range
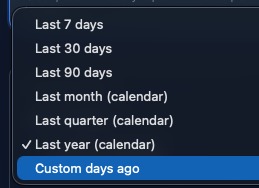
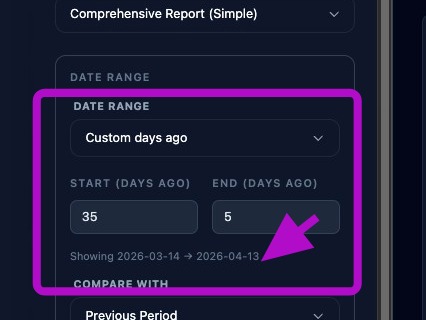
Select a date range for the report by clicking the Date Range dropdown menu.
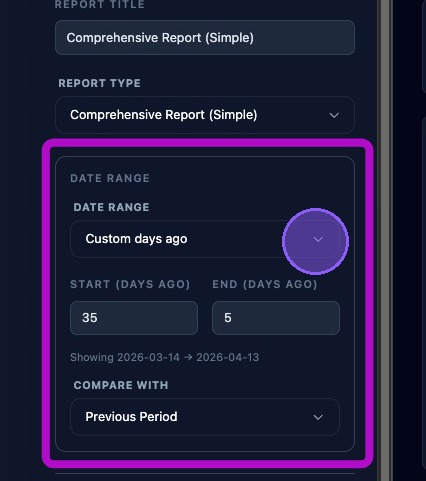
Select one of the predefined date ranges, or choose Custom days ago for a custom range.
If you select Custom days ago, two additional fields appear:
- Start (Days ago): How many days ago the report should begin.
- End (Days ago): How many days ago the report should end.
The end value should always be less than the start value. For example, to create a report covering a 14-day period from roughly one month ago, enter 30 for start days ago and 16 for end days ago.
Review the custom selected date range displayed below the Start field to confirm it is accurate.
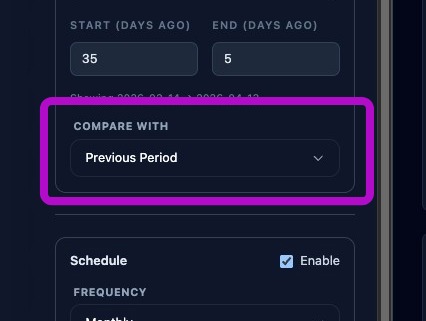
Click Compare with to choose the comparison data for the report. Options include:
- Previous Period.
- Previous Month.
- Previous Year.
- None.
Set Report Scheduling
Enable or disable scheduling by clicking the Enabled toggle.
- Enabled on means the scheduler will run at the next scheduled run time.
- Enabled off means the scheduler will ignore the schedule.
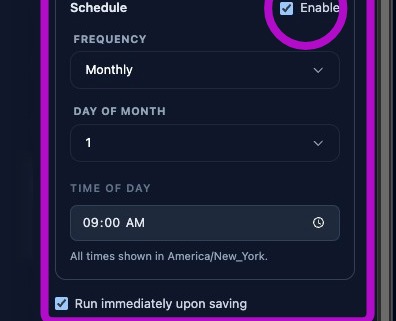
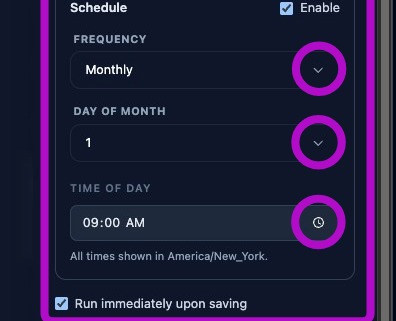
When scheduling is enabled, three additional fields appear:
- Frequency: Determines how often the report is generated. Weekly runs once per week, monthly runs once per month, and quarterly runs once per quarter.
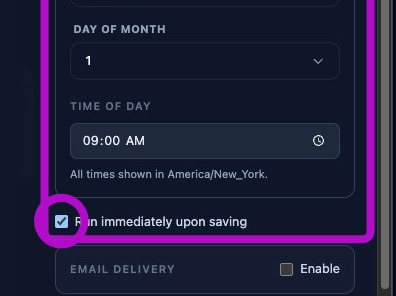
- Day of Week/Month: Determines the day based on the selected frequency. Weekly allows Sunday through Saturday. Monthly and quarterly allow days 1 through 31.
- Time of Day: Sets the time the report should be generated.
Choose whether to Run immediately upon saving by clicking the toggle.
To send emailed copies of the report, enable Email Delivery.
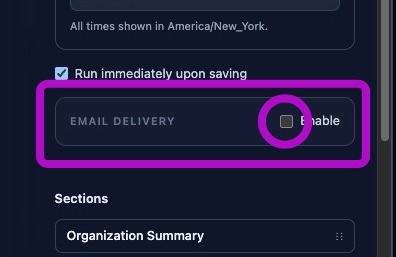
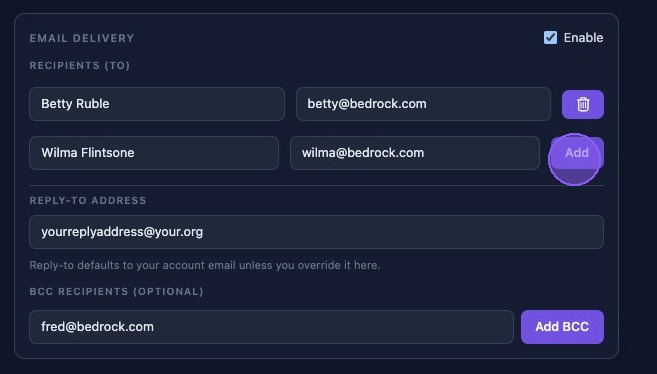
When Email Delivery is enabled, additional fields appear. From this section, you can:
- Type a name and email address, or choose from the pop-up list of organization members configured in settings.
- Click Add to include a new recipient.
- Click the trash can icon to remove an email from the recipient list.
- Use or update the default account email for the reply-to address.
- Add or remove optional BCC recipients in the bottom section.
Section Titles and Organization
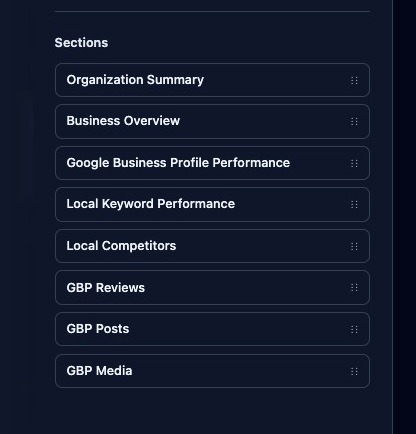
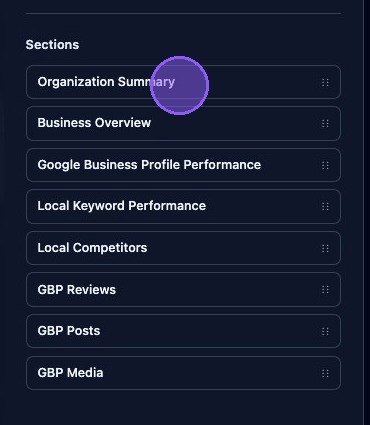
At the bottom of the Report Information pane, you will find the Sections organizer. This organizer lists all sections in the current report in the order they appear in the report and preview pane.
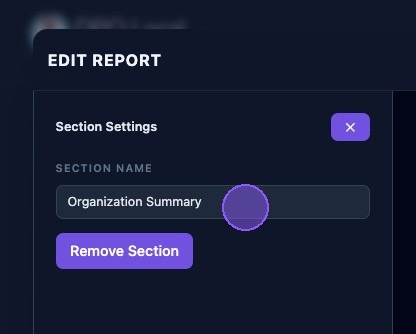
Click any section in the list to open the Section editor. The selected section will also be highlighted in the preview pane.
The Section editor allows you to rename or remove the selected report section. When finished, click the X to close the editor.
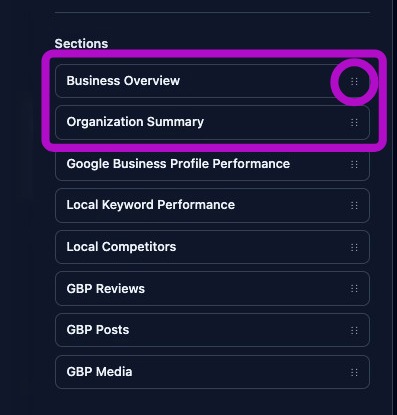
There are two ways to reorder report sections:
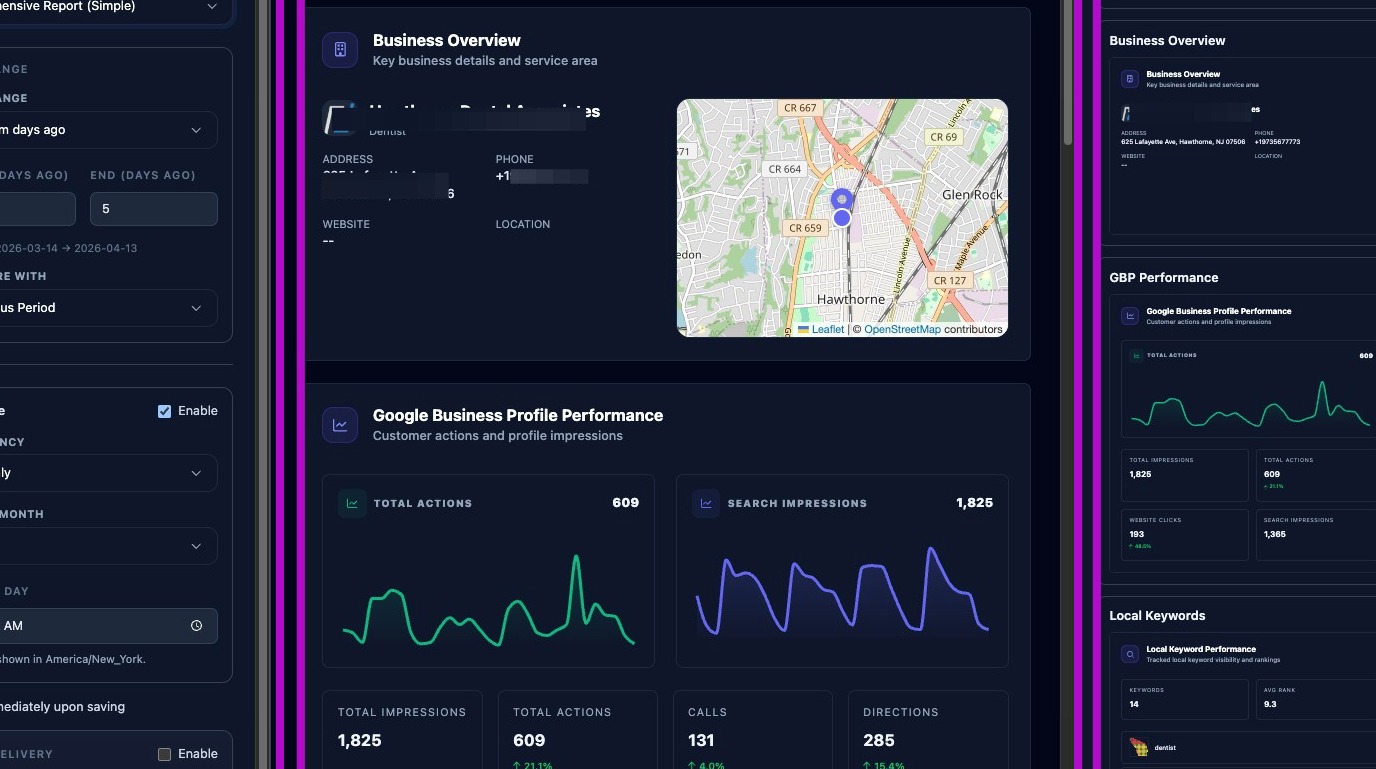
- Click the drag handle next to any section in the organizer, then drag it up or down the list. Use the blue line indicator to place the section where you want it.
- Drag a section directly in the preview pane. The section organizer updates immediately to reflect the new order.

Available Sections
The Sections pane on the right shows all available report sections. Each section shows a smaller preview of how it will appear in the report.
To add a section, drag it into the desired location in the preview pane and drop it when the blue line indicator appears. The preview and section organizer update immediately. The same section can be added more than once.
Available report sections include:
- Organizational Summary.
- Business Overview.
- Google Business Profile Performance.
- Local Keyword Performance.
- Local Competitor Ranking.
- Google Business Profile Reviews.
- Google Business Profile Posts.
- Google Business Profile Media.
- Website Traffic, if connected.
- Search Console Performance, if connected.
If a section is disabled or removed from the report, it will not appear in the generated report. This does not affect data collection.
When finished editing, click Preview to review the final output, then click Save Report to save your changes.
Keep summary sections enabled for all clients, use a consistent branding theme across reports, and preview after major layout changes before saving or scheduling delivery.