
Reports: Manually Generate and Schedule Reports
Learn how to create client-ready reports, choose report types and date ranges, configure automated delivery schedules, add recipients, preview reports, and save or run reports immediately.
Report Overview
Reports are the primary client-facing deliverable in the dashboard. They are commonly used for weekly executive summaries, monthly comprehensive reporting, and internal audits.
The two main report types are Summary and Comprehensive. Summary reports are shorter and focused on key metrics, making them useful weekly or bi-weekly. Comprehensive reports are longer and include more sections, making them useful monthly or quarterly.
- Use Summary reports weekly.
- Use Comprehensive reports monthly.
- Always confirm branding is configured before sending reports to clients.
- Review the preview before enabling scheduled delivery.
- Schedule weekly summaries on Monday mornings when possible.
- Schedule monthly comprehensive reports on the first day of the month when possible.
- Review high-stakes client reports before sending them.
Reports pull data from multiple sources, including Google Business Profile performance, local keyword maps, competitor data, website analytics, and Search Console when connected.
If a value is missing in the preview, the related data input is likely missing and may also affect the generated report.
Accessing the One-Time Report Generator
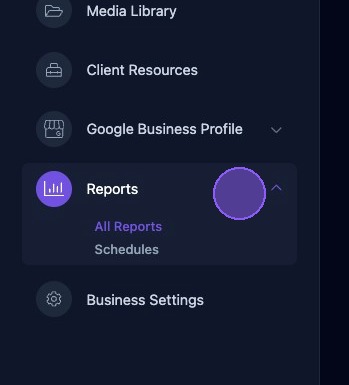
Click Reports to access the dropdown menu, then select either All Reports or Schedules.
Before sending or scheduling reports, confirm that:
- The title and business name are correct.
- Branding, including logo and colors, appears correctly.
- Google Business Profile performance metrics are populated.
- Keyword visibility data is present.
- Charts display for the correct date range.
Generating a New Report
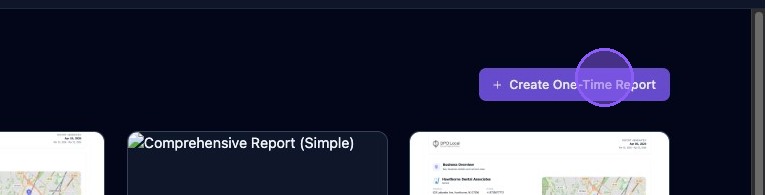
From either All Reports or Schedules, click Create One-Time Report in the upper-right corner to open the report generator window.
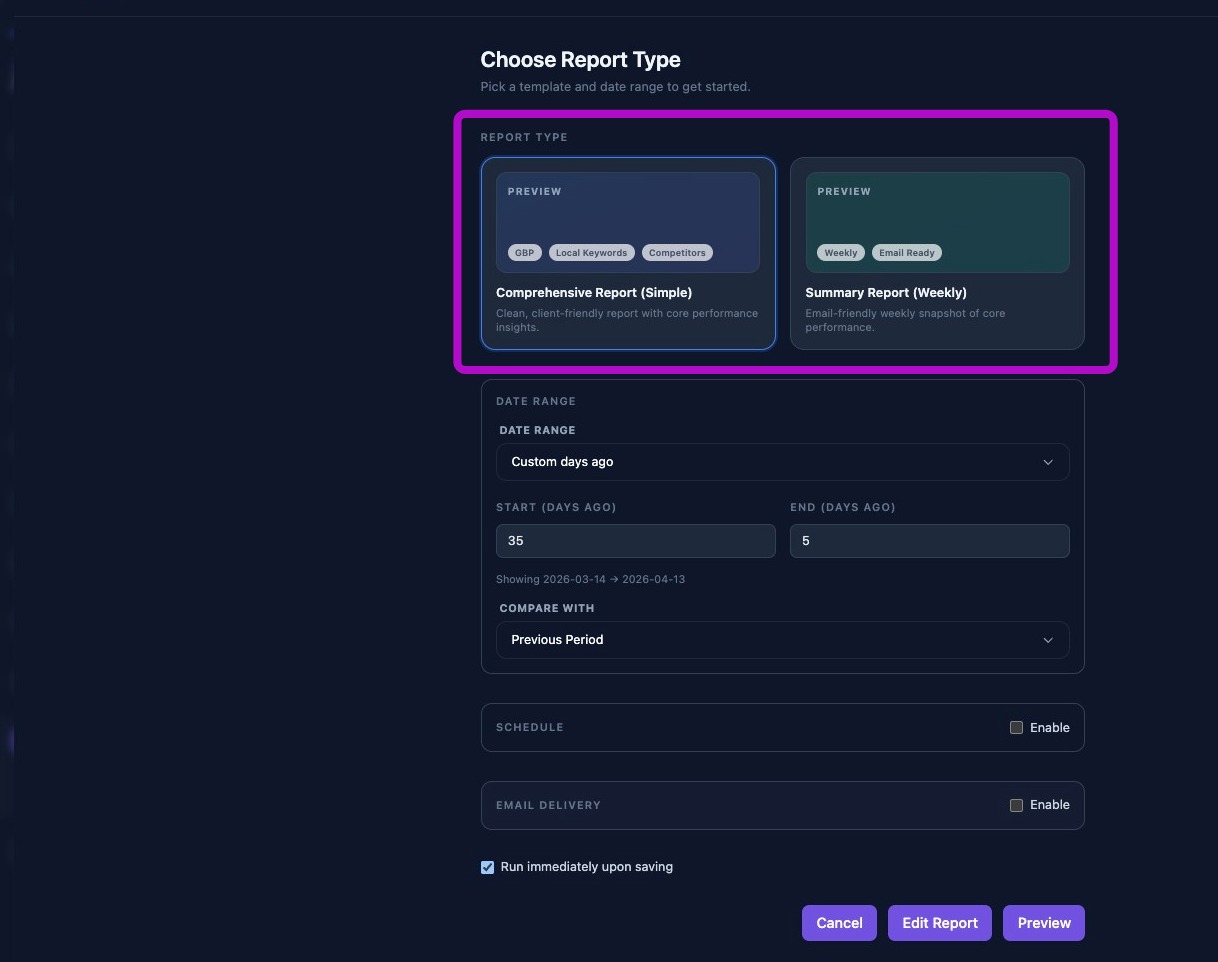
Choose the Type of Report
Choose the report type: Summary or Comprehensive.
Set the Report Date Range
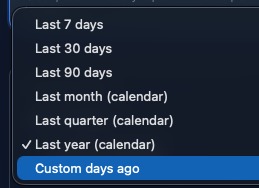
Select the date range for the report by clicking the Date Range dropdown menu.
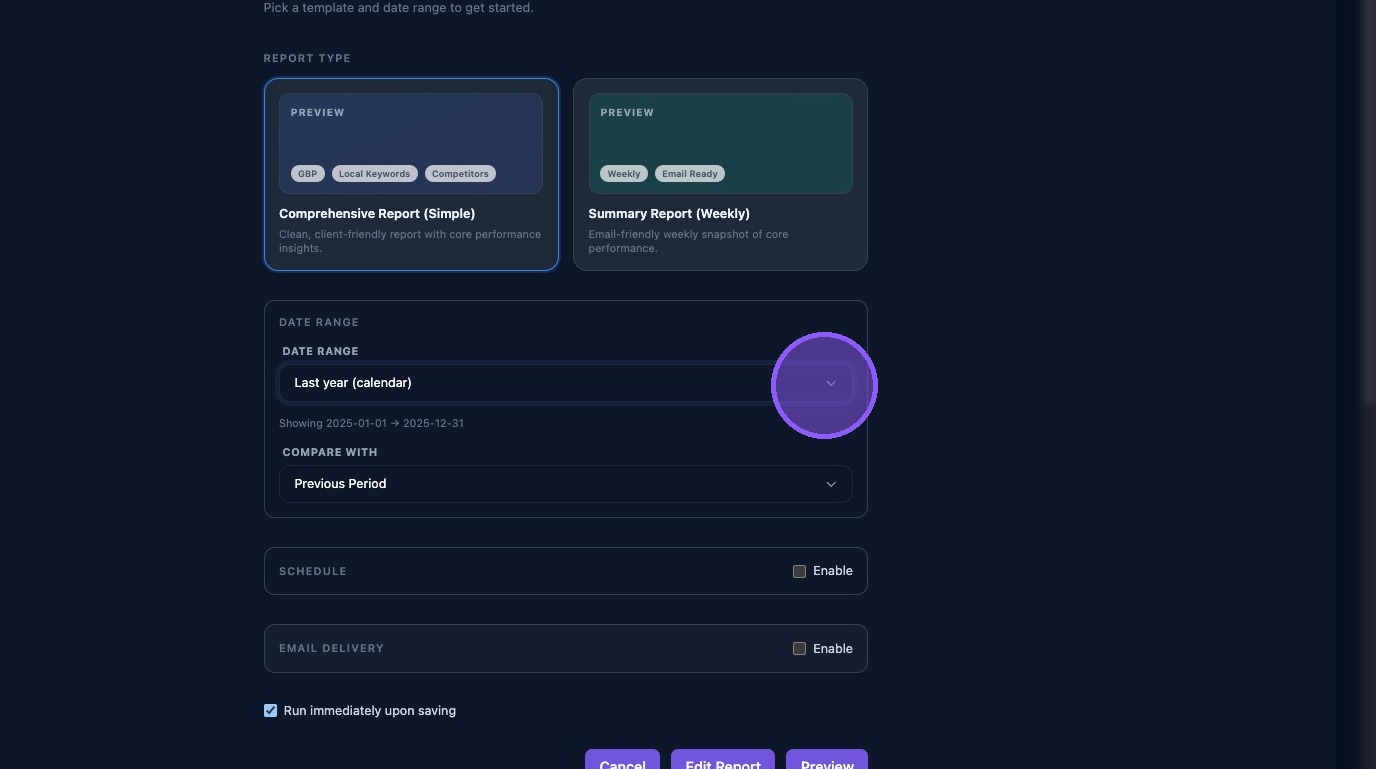
Select one of the predefined date ranges, or choose Custom days ago for a custom report range.
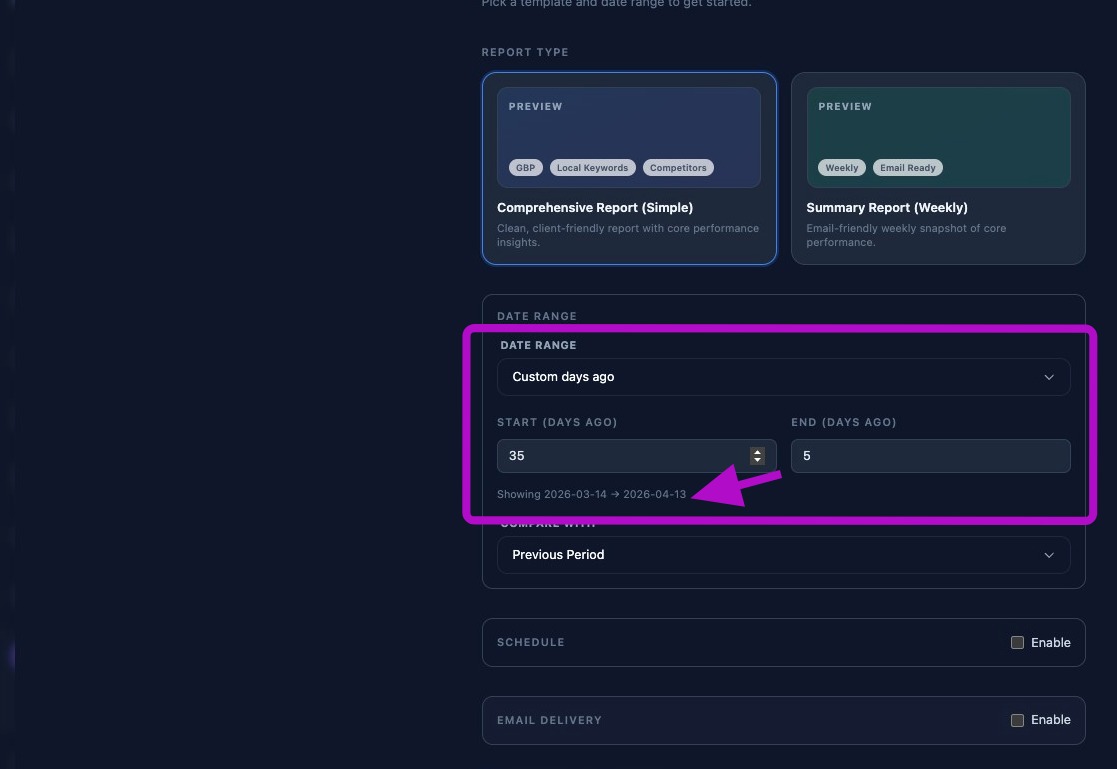
If you select Custom days ago, two additional fields appear:
- Start (Days ago): How many days ago the report should begin.
- End (Days ago): How many days ago the report should end.
The end value should always be less than the start value. For example, to create a report covering a 14-day period from roughly one month ago, enter 30 for start days ago and 16 for end days ago.
Review the custom selected date range displayed below the Start field to confirm it is accurate.
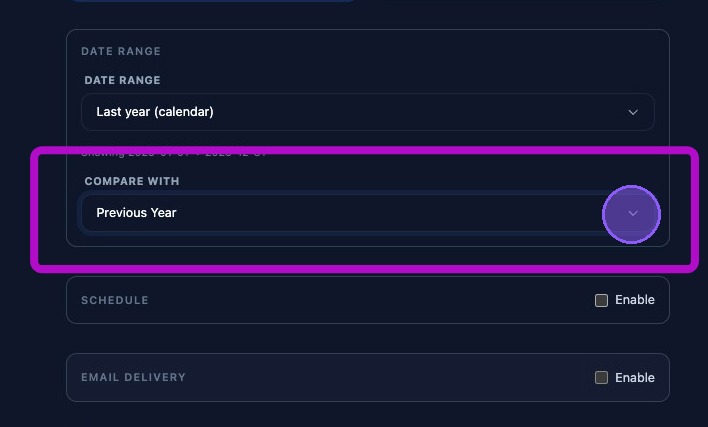
Click Compare with to choose the comparison data for the report. Options include:
- Previous Period.
- Previous Month.
- Previous Year.
- None.
Set Up Report Scheduling
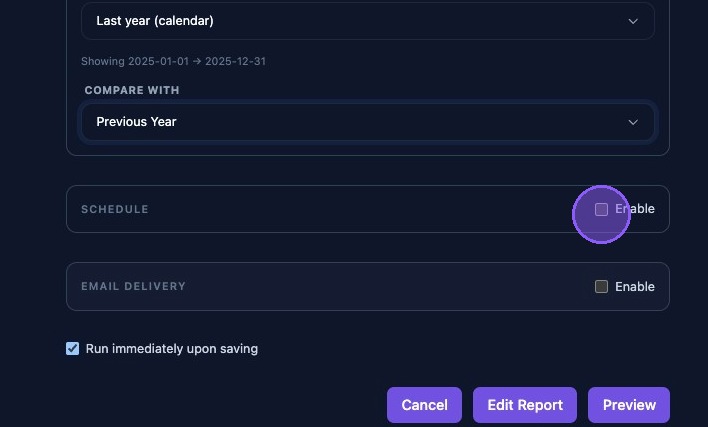
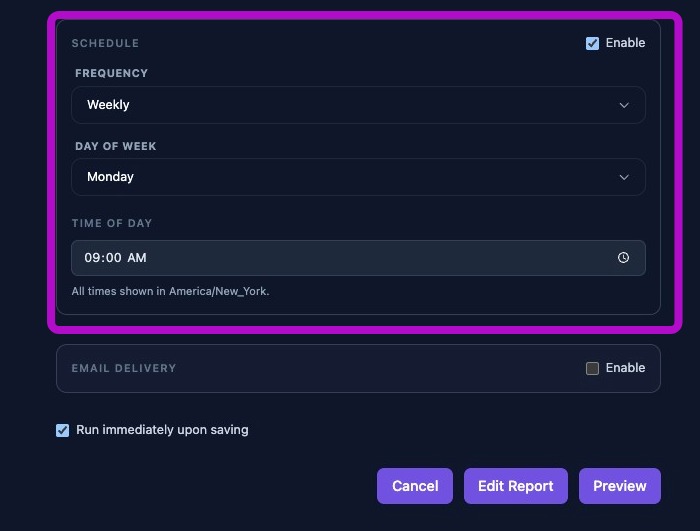
Use the Schedule toggle to enable or disable automated report scheduling.
- Enabled on means the scheduler will run at the next scheduled run time.
- Enabled off means the scheduler will ignore the schedule.
When scheduling is enabled, three additional fields appear:
- Frequency:Determines how often the report is generated.
- Weekly runs once per week on the chosen day.
- Monthly runs once per month on the selected day. Day 1 is recommended.
- Quarterly runs once per quarter on the selected day.
- Day of Week/Month:Determines the day based on the selected frequency.
- Weekly allows a day of the week from Sunday through Saturday.
- Monthly allows a day of the month from 1 through 31.
- Quarterly also allows a day of the month from 1 through 31.
- Time of Day: Sets the time the report should be generated.
Select Report Recipients
To send emailed copies of the report, enable Email Delivery.
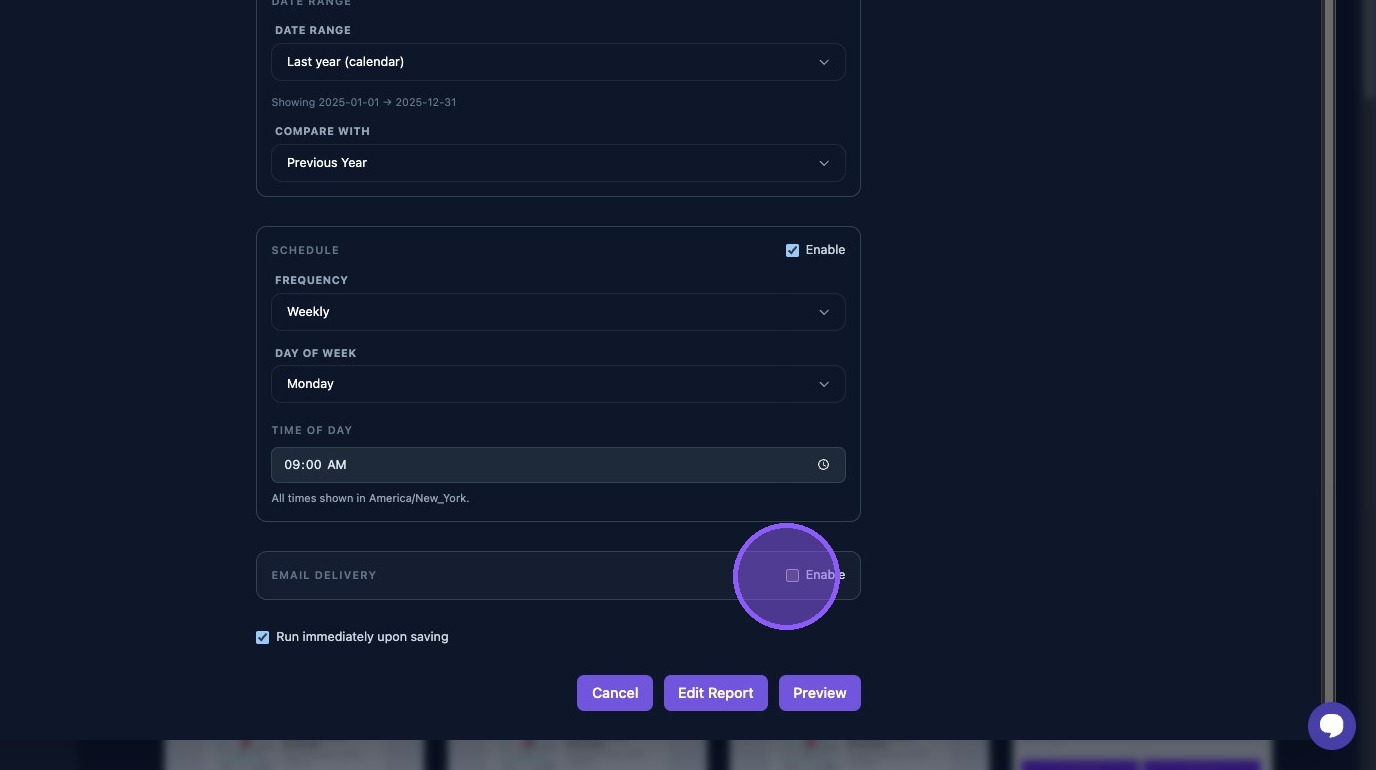
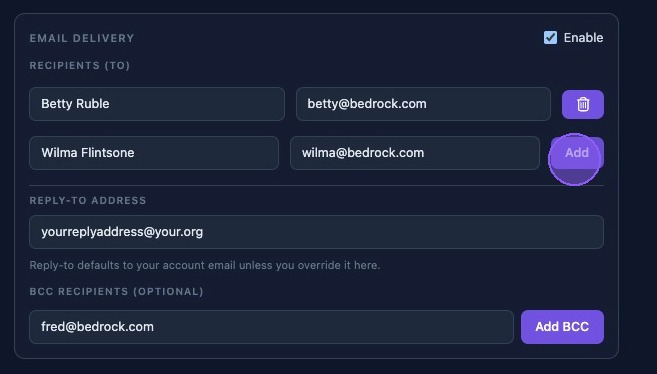
When Email Delivery is enabled, additional fields appear. From this section, you can:
- Type a name and email address, or choose from the pop-up list of organization members configured in settings.
- Click Add to include a new recipient.
- Click the trash can icon to remove an email from the recipient list.
- Use or update the default account email for the reply-to address.
- Add or remove optional BCC recipients in the bottom section.
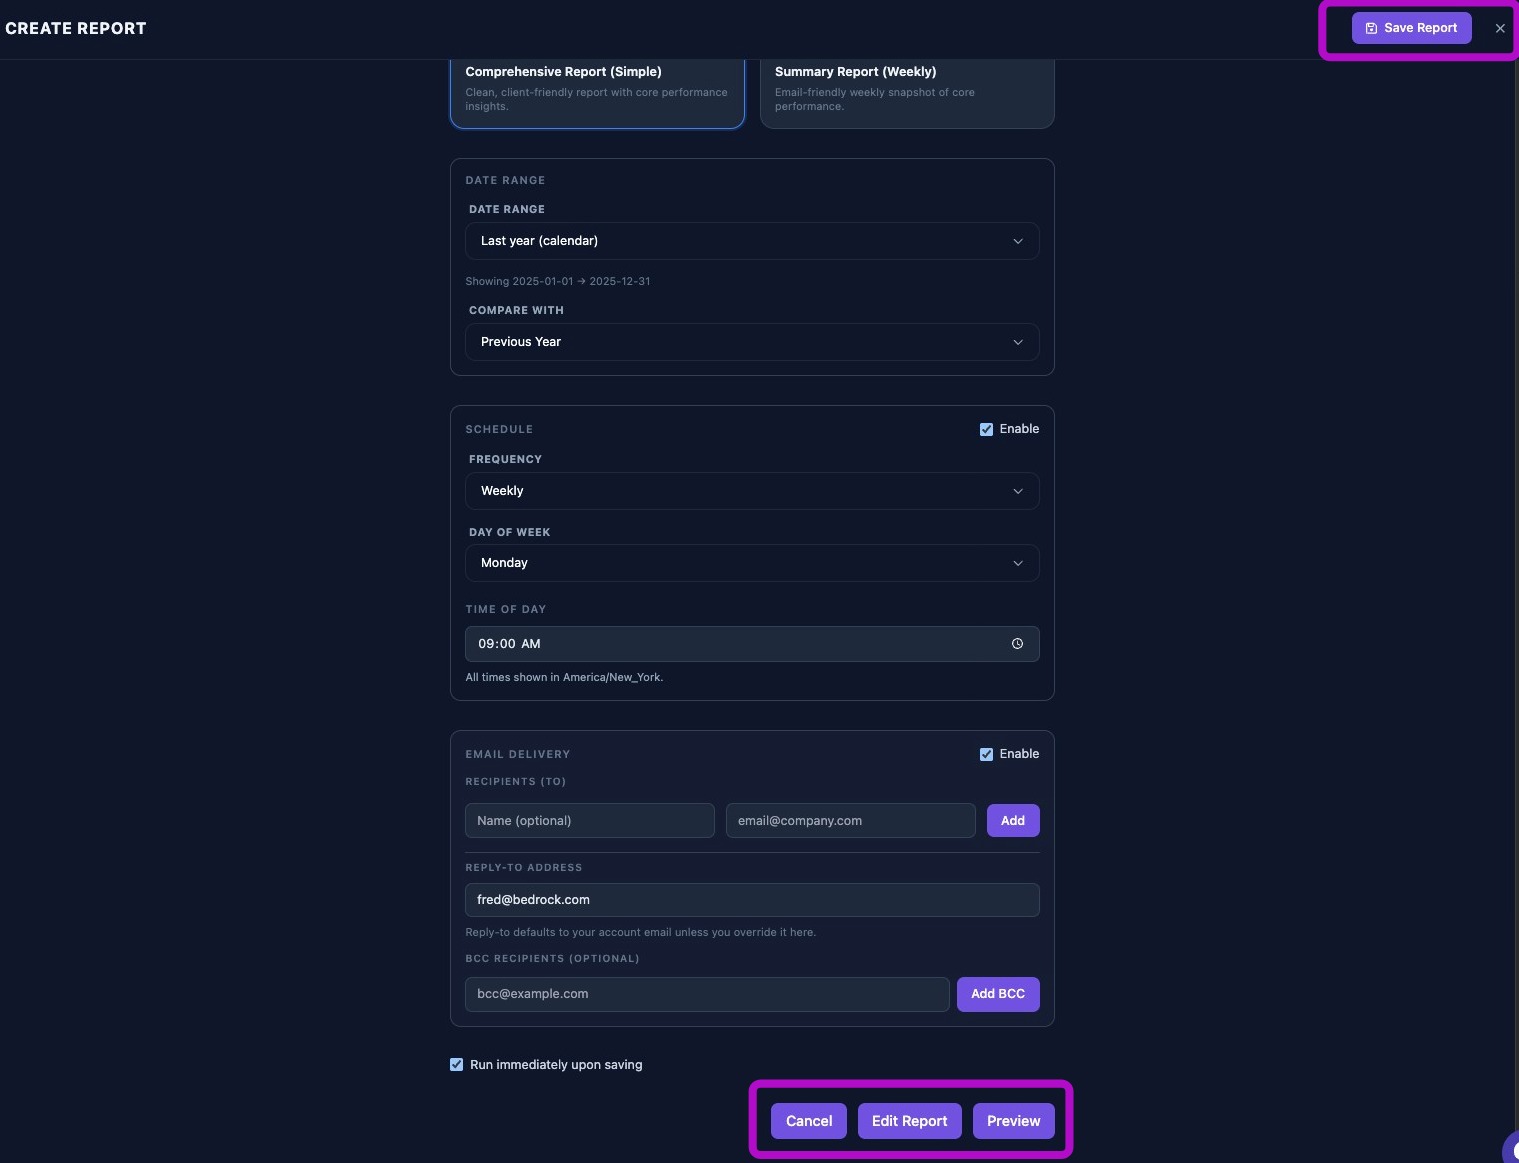
Save, Edit, Preview, and Run Options
Choose whether to Run immediately upon saving by clicking the toggle.
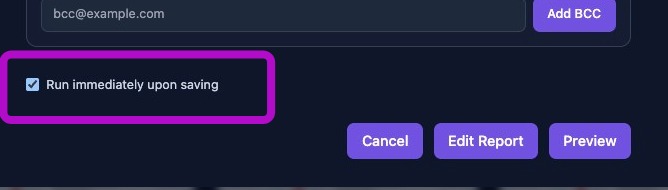
At this point, you have several options:
- Click Cancel or the X in the upper-right corner to exit without saving.
- Save the report to work on it later by disabling both Run immediately upon saving and Schedule.
- Click Edit Report to open the Report Builder.
- Click Preview to generate the report and open it in a new window. From the preview, you can review the report, cancel, save, or edit it.
After saving the report, wait for it to appear in the report list.
Each report may generate a PDF file, image files for each page, and stored metadata about the run time and inputs. These artifacts are used in the Reports list, client portal, and email attachments.
If you do not see the report after a few minutes, check the data run status and confirm the business has data for the selected report range.
The dashboard preview and generated report should match. If the preview looks correct but the generated report is missing data, review the report inputs and related data sources before sending the report.
If screenshots or PDFs are missing, check the report generation status and storage links.