
Website: SEO Location Pages
Learn how to generate, review, copy, publish, and manage AI-written SEO location pages for service areas, cities, neighborhoods, and postcodes.
Location Pages are AI-generated, SEO-optimized service-area pages for nearby areas. They are designed to improve local SEO by creating relevant content for each city, region, neighborhood, postcode, or place in the trade area. Pages can be published manually or to WordPress.
To Access Website Location Pages
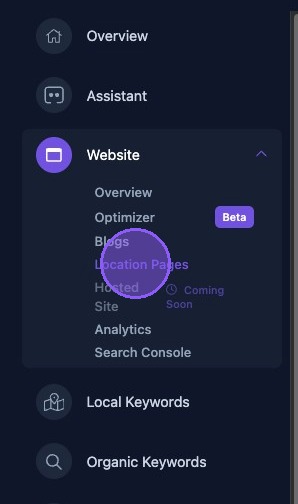
To access Location Pages, click the dropdown arrow next to the Website section of the business dashboard. Then click Location Pages.
Navigating Location Pages
The Location Pages section consists of four panes of information:
- A Locations Coverage map with a list of all locations.
- Location Page Intelligence, using live business, competitor, and market data.
- A list of all Location Pages.
- WordPress Pages currently published on the connected WordPress site.
At the top, the Integrations button is used to manage and configure integrations such as WordPress for syncing and publishing blogs and location pages.
Locations use drive-time distance calculations to determine service area categorization. The four service area categories are Primary, Secondary, Fringe, and Unknown.
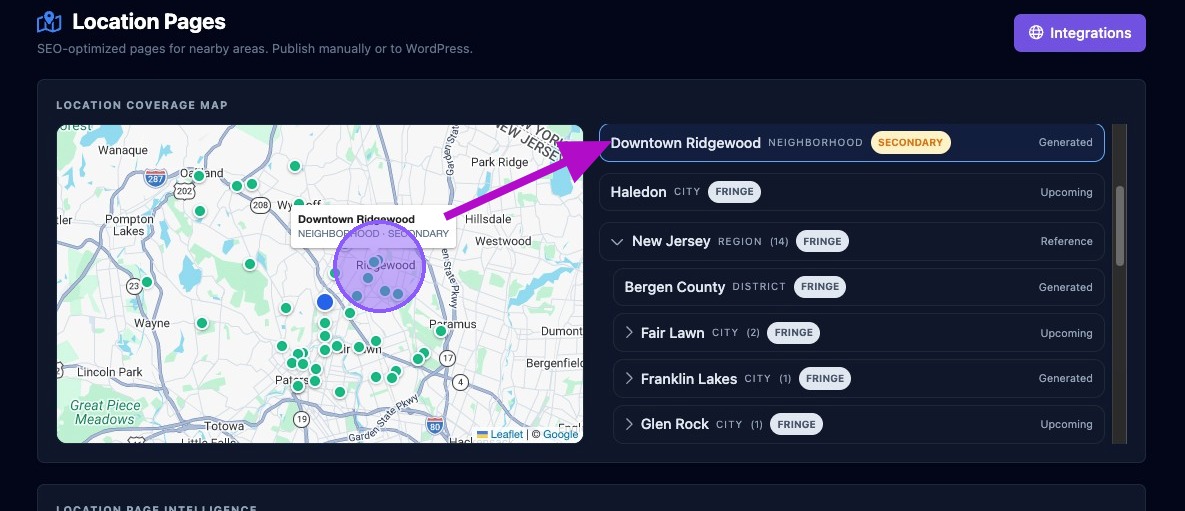
Navigating the Locations Coverage Map
The Locations Coverage Map displays an interactive map of the Location Pages listed on the right side of the pane.
Hover over a dot on the map to display a pop-up with the location name or postcode, the type, and the service area category.
Click a dot on the map to display the matching location or locations in the right pane.
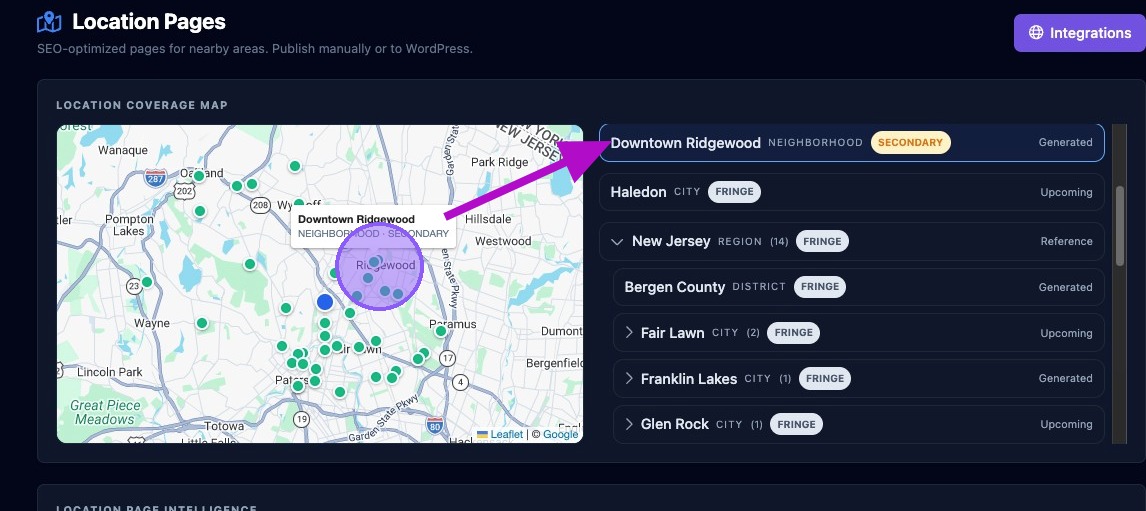
The Location Pages list on the right shows all upcoming and generated Location Pages. Pages are sorted in a hierarchy by Region, District, City, Postcode, and then Places and Neighborhoods.
Collapse or expand each section by clicking the dropdown arrow to the left. If there is more than one entry in a section, entries are listed alphabetically or numerically.
Each location displays the service area category and its status, such as Upcoming, Generated, or Reference.
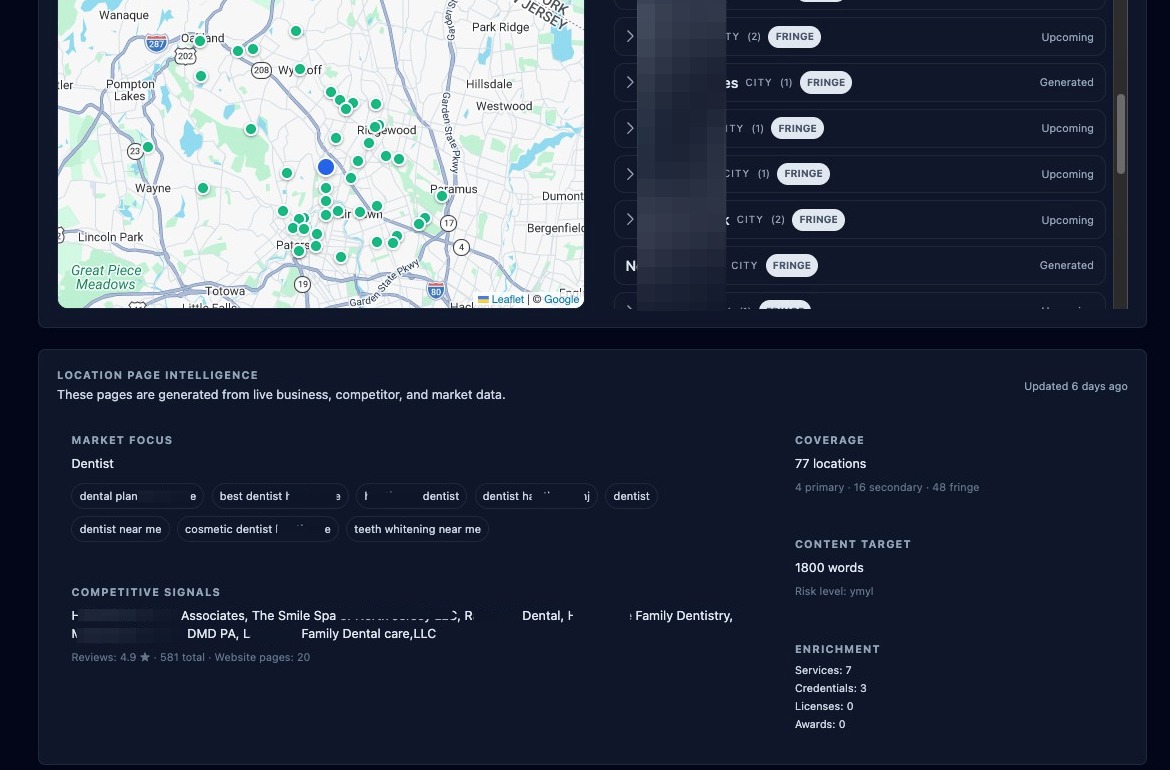
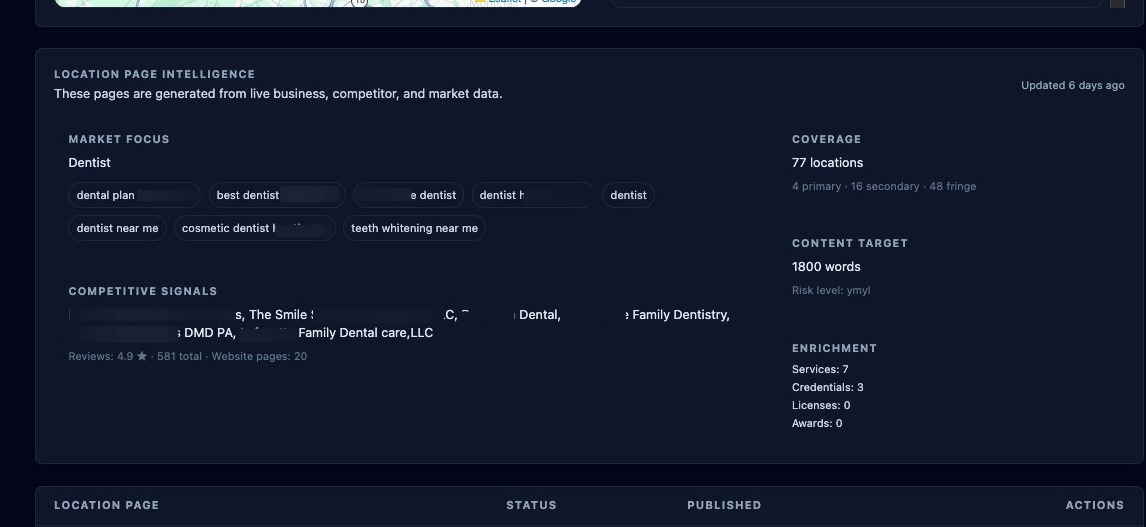
Navigating the Location Page Intelligence
The Location Page Intelligence section is an informational dashboard showing pages generated from live business, competitor, and market data. Data is presented in five areas:
- Market Focus, including the business primary category and keywords.
- Competitive Signals from nearby competitors, including average review rating, total ratings, and total found website pages.
- Coverage of all locations, broken down into primary, secondary, and fringe areas.
- Content Target, including total word count and risk level.
- Enrichment totals for services, credentials, licenses, and awards.
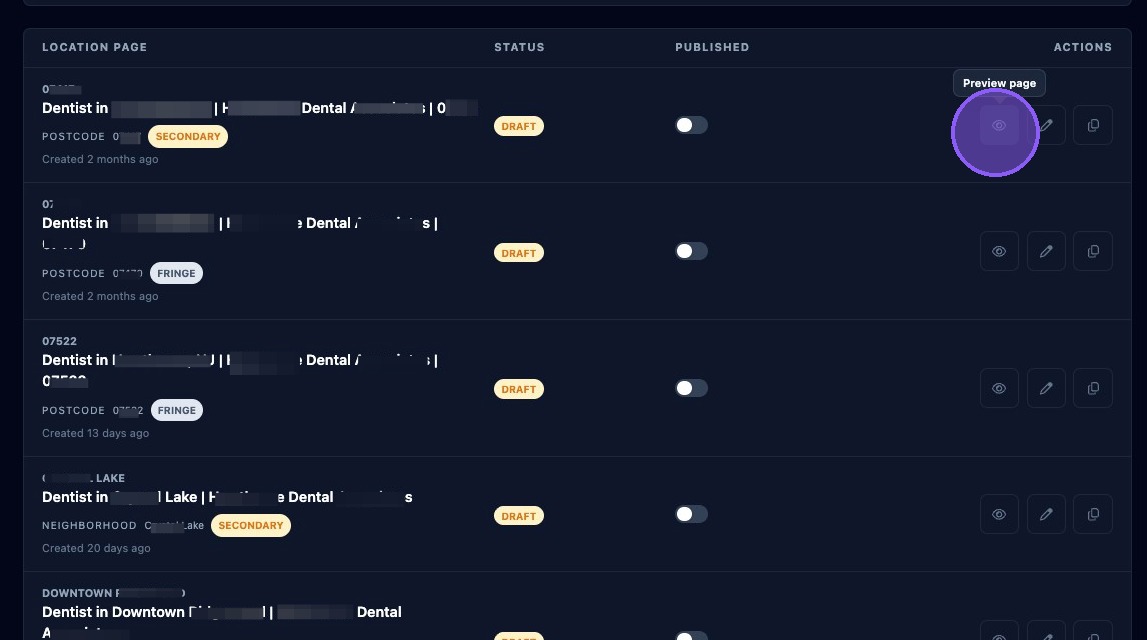
Navigating the List of Location Pages
The Location Pages section lists all generated location pages. Each entry shows:
- Page name.
- Location name.
- Type, such as place, neighborhood, or postcode, and the next level up in the hierarchy.
- Status, such as draft or published.
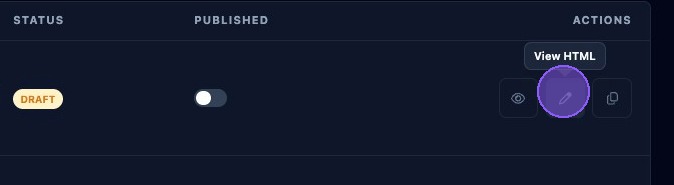
Each entry also includes four action buttons:
- A published toggle that switches between published and draft status.
- A Preview Page button, shown as an eye icon.
- A View HTML button, shown as a pencil icon.
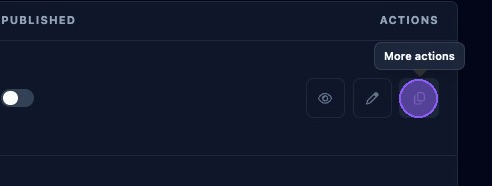
- A More Options button, shown as a pages icon.
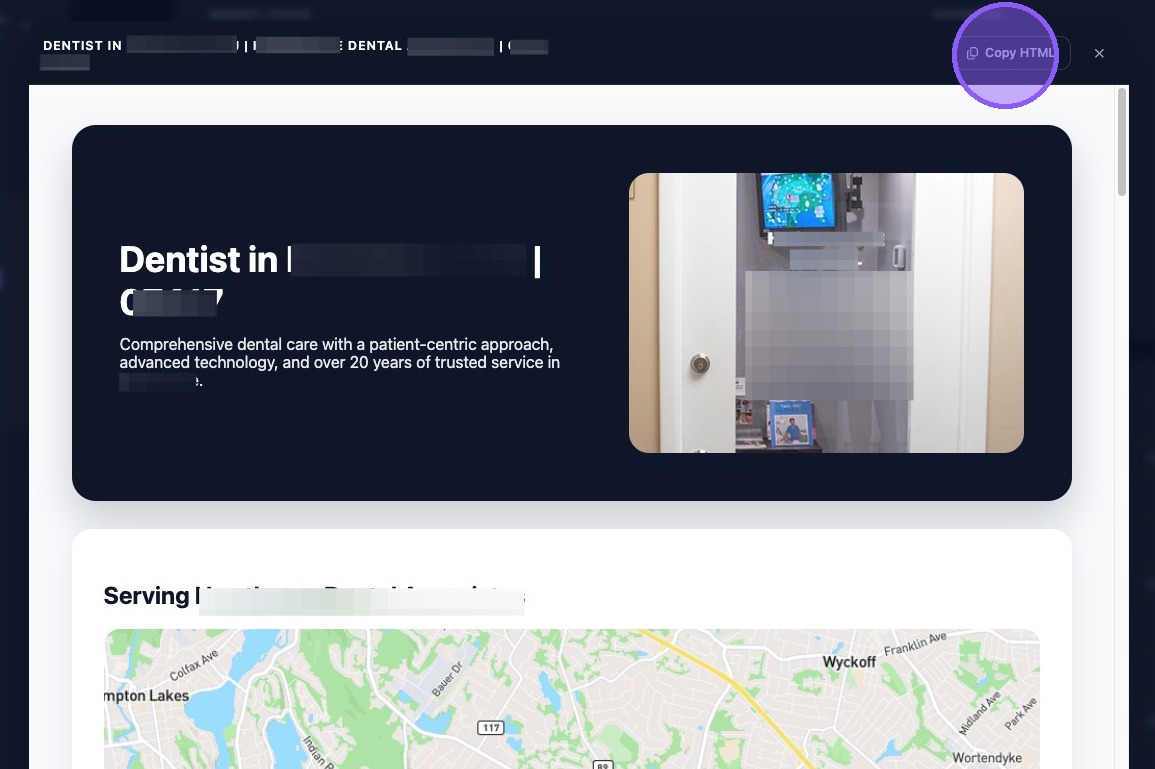
Click the Preview Page button, shown as an eye icon, to open a new window with the full Location Page. After reviewing it, click Copy HTML to publish manually, or click the X to exit without publishing.
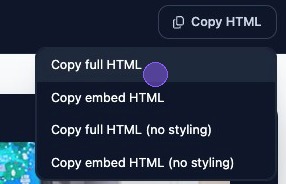
Clicking Copy HTML provides a dropdown with four options:
- Copy full HTML.
- Copy embed HTML.
- Copy full HTML with no styling.
- Copy embed HTML with no styling.
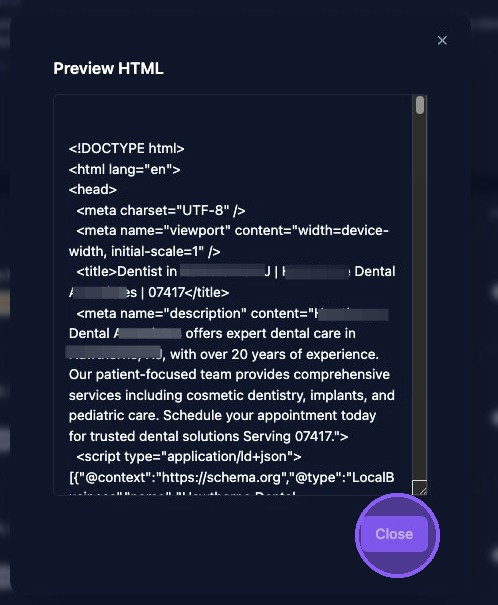
Click the View HTML button, shown as a pencil icon, to open a window with the HTML code.
You can preview the HTML code directly and select or copy it manually. When finished, click Close or the X.
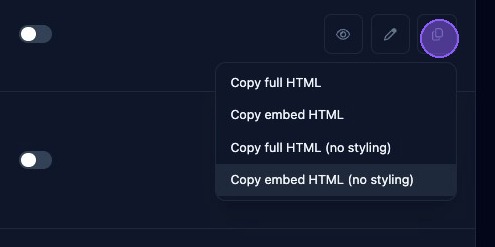
Click the More Options button, shown as a pages icon, to open the same HTML copy dropdown menu found in the preview window. You can choose from:
- Copy full HTML.
- Copy embed HTML.
- Copy full HTML with no styling.
- Copy embed HTML with no styling.
- Pages publish empty: Make sure the selected publish or copy option includes the full HTML payload.
- Bulk publishing is slow: Publishing many pages can take time. Use progress tracking and allow the process to finish before refreshing.
WordPress Pages
The WordPress Pages section shows pages currently published on the connected WordPress site. Click Refresh to update the list.

Preview each generated location page before publishing, use the full HTML option when manually publishing complete pages, and refresh the WordPress Pages list after publishing to verify the page appears correctly.