
Website: Blogs
Learn how to manage AI-generated blog drafts, connect WordPress, review topic coverage, publish posts, record published URLs, and remove drafts.
The Blogs page manages AI-generated blog drafts and supports both manual publishing and direct WordPress publishing.
AI-generated articles can help improve SEO coverage and keep the website active with relevant content.
Blogs are automatically generated every three days when blog generation is active.
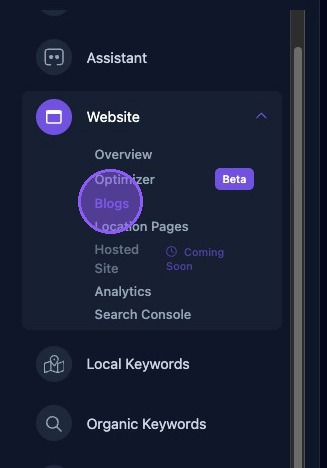
Accessing the Blogs Page
To access the Blogs page, click the dropdown arrow next to the Website section of the business dashboard. Then click Blogs.
Navigating the Blogs Page
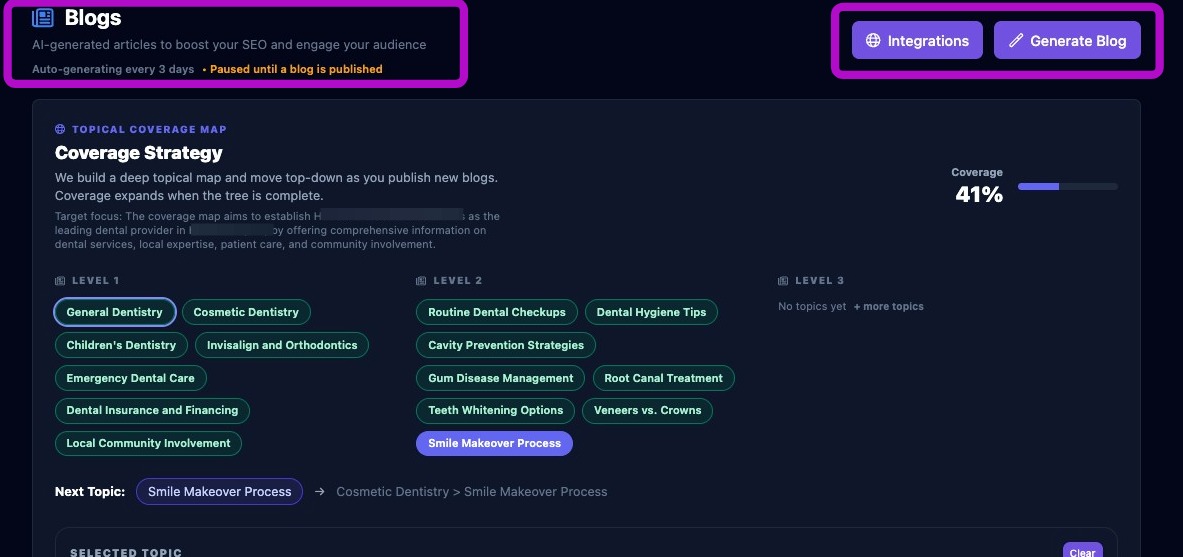
The top of the Blogs page provides:
- The blog post status. In this example, the status shows Paused until a blog is published.
- An Integrations button used to connect WordPress.
- A Generate Blog button used to create a new unpublished blog draft.
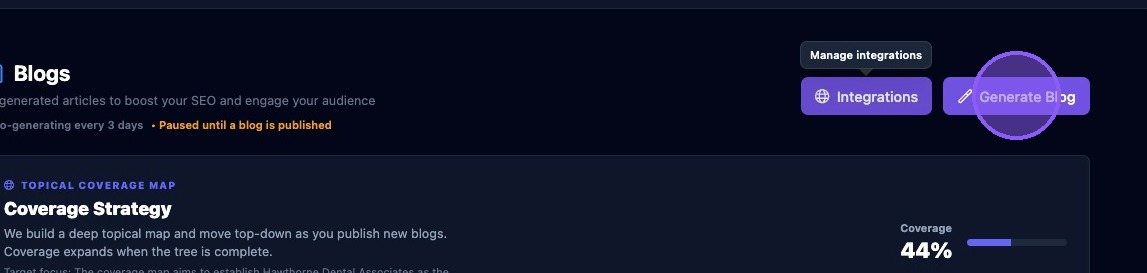
Generate Blog
Click Generate Blog to create an AI blog post based on the topic shown in the Next Topic field in the Coverage Strategy section.
When the button is clicked:
- A message displays indicating that the blog is being generated.
- When finished, the newly created blog appears at the top of the Draft Blog list.
- The status of the new blog is set to Draft.
- The Next Topic field updates to the next topic in the coverage strategy tree.
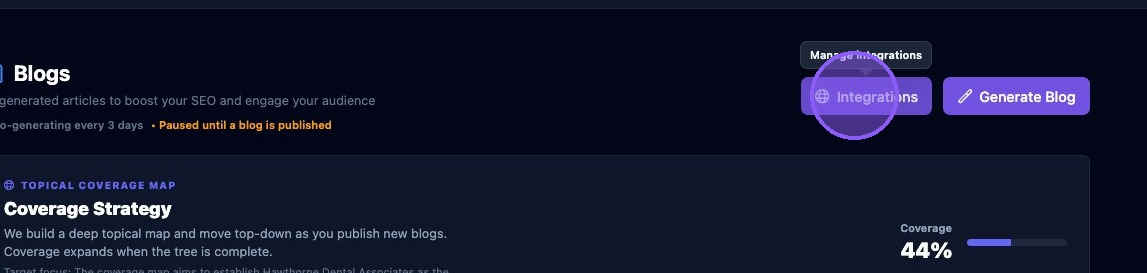
Connect to WordPress Using Integrations
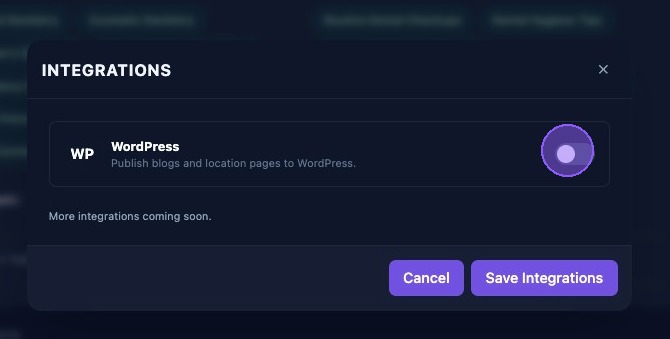
Click Integrations to connect WordPress for publishing blogs and location pages.
A new window opens with available integrations listed. Click the enable toggle to display the fields required to enable WordPress.
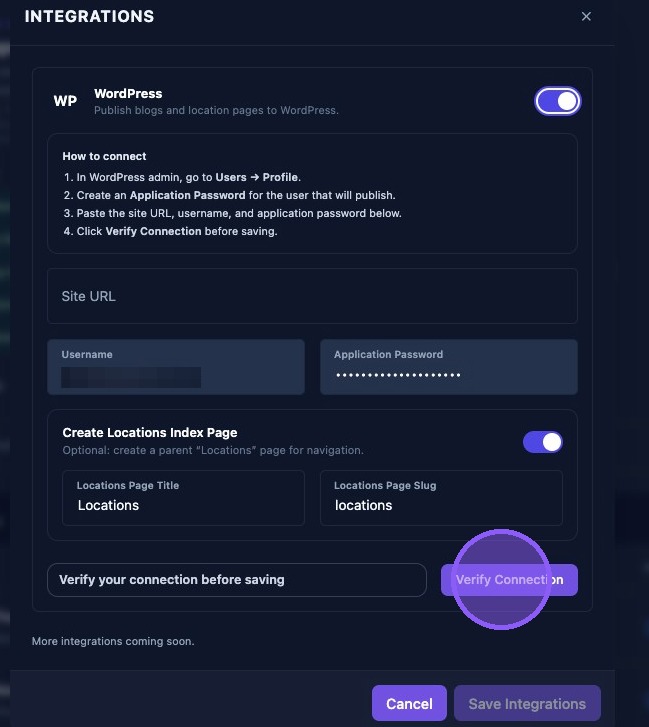
To connect WordPress:
- In WordPress admin, go to Users → Profile.
- Create an application password for the user that will publish posts.
- Paste the site URL, username, and application password from WordPress.
- Click Verify Connection before saving.
Optional: Create a parent Locations Index Page for navigation by entering the locations page title and locations page slug.
Click Save Integrations to connect. Click Cancel or the X to exit without connecting.
Navigating the Topics Section
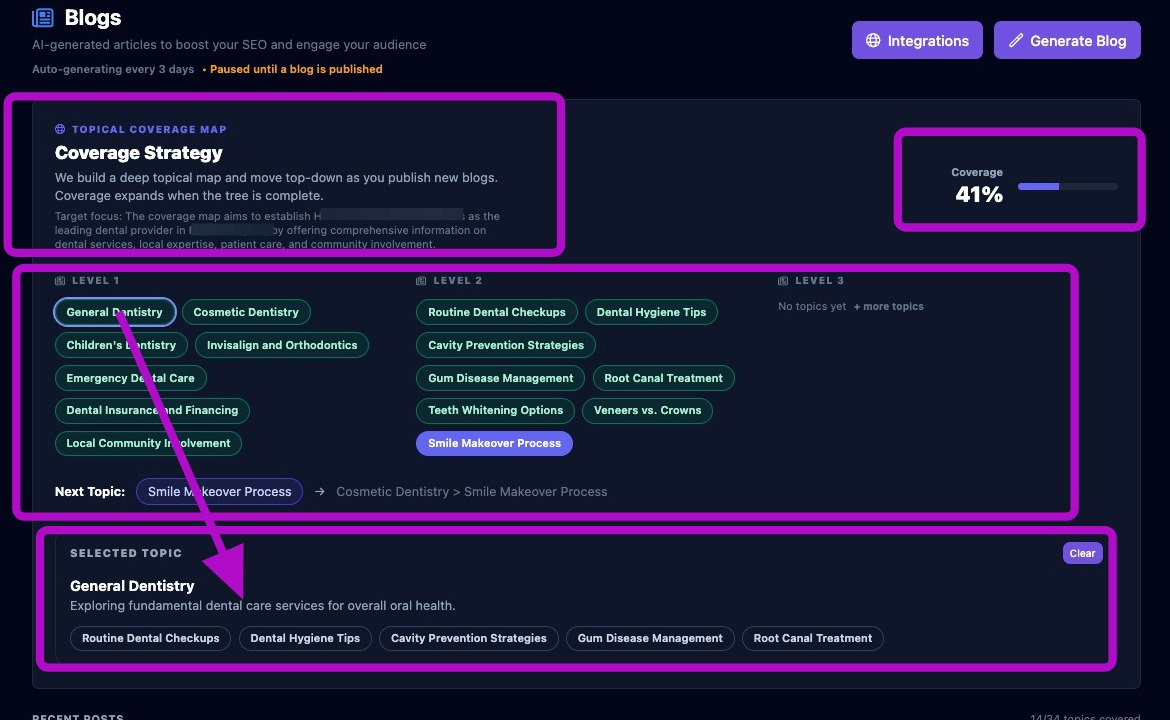
The center section of the Blogs page contains the Topical Coverage Map. This section displays:
- The coverage strategy and target focus for the business.
- A three-level topical map:
- Level 1: Main topics.
- Level 2: Subtopics of Level 1 topics.
- Level 3: Subtopics of Level 2 topics.
- Topic progression as new blogs are published.
- Coverage expansion when the topic tree is complete.
- The percentage of topic coverage.
- The Next Topic for blog generation and its topic tree.
- Clickable topics that display a brief description and related subtopics. Click Clear to remove the selected topic information.
Navigating the Draft Blog List
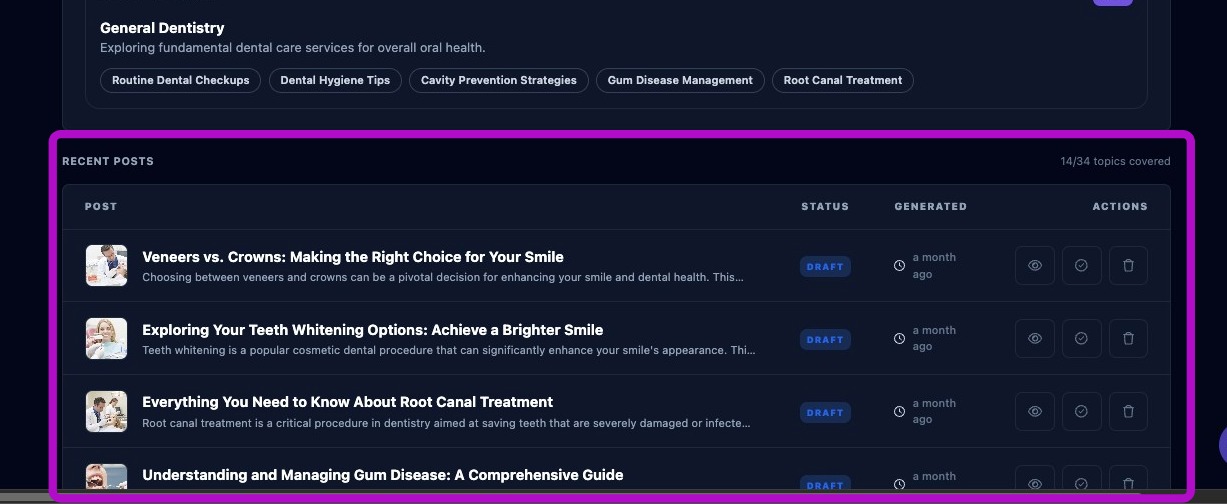
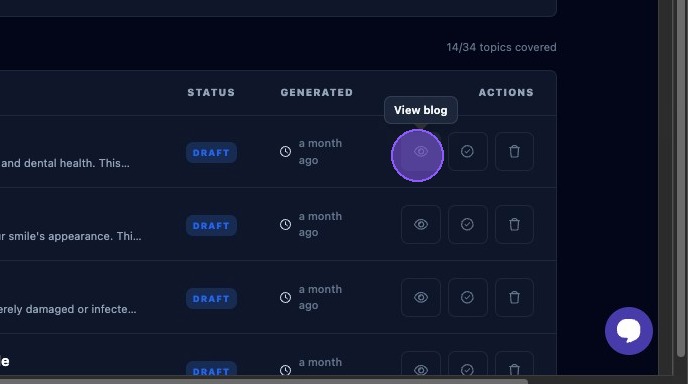
The bottom section displays the list of draft blogs and the number of topics covered. Each row shows one draft blog and includes:
- The blog title.
- A preview of the blog text.
- The blog status, such as draft or published.
- How long ago the blog was generated.
- Three blog action buttons:
- View Blog, shown as an eye icon.
- Mark as Published, shown as a circle with a checkmark.
- Delete Blog, shown as a trash can icon.
Publishing to WordPress
To publish directly to WordPress:
- Open Integrations and connect WordPress if needed.
- Select the blog draft you want to publish.
- Click Publish to WordPress.
- Confirm the publishing action.
The system creates a post in WordPress, sets the blog title, and uploads the featured image when available.
View and Manually Publish a Draft Blog
If WordPress is not connected, you can review and manually publish a draft blog by clicking the View Blog button, shown as an eye icon, for the desired blog post.
After clicking View Blog, manually publish the blog using the following steps:
- Review the blog for content and accuracy.
- Click Copy HTML to copy the blog HTML.
- Paste the HTML content into your CMS manually.
- Click Mark Published to continue to the next screen, or click the X to exit without marking the blog as published.

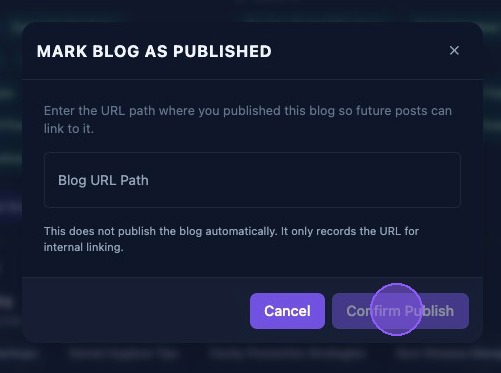
If Mark Published is clicked, the Mark Blog as Published window opens. Enter the URL path where the blog was published so future posts can link to it.
This action does not publish the blog automatically. It only records the URL for internal linking purposes.
Click Confirm Publish to save the blog URL path. Click Cancel or the X to exit without saving the URL path.
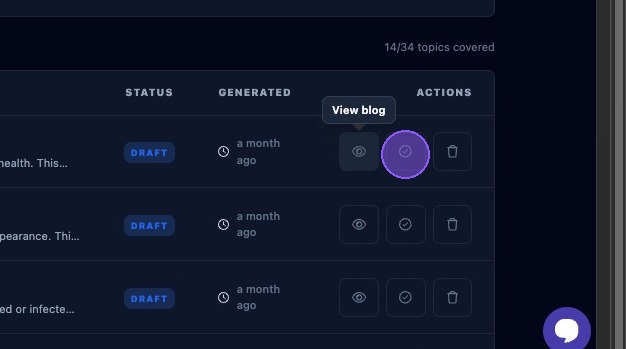
Mark a Draft Blog as Published Only
To mark a draft as published without viewing or copying the HTML, click the Mark as Published icon, shown as a circle with a checkmark. This opens the same Mark as Published window so you can record the blog URL for linking purposes.
Delete a Draft Blog Post
Click Delete Blog, shown as a trash can icon, for the desired blog post to remove it from the draft list.
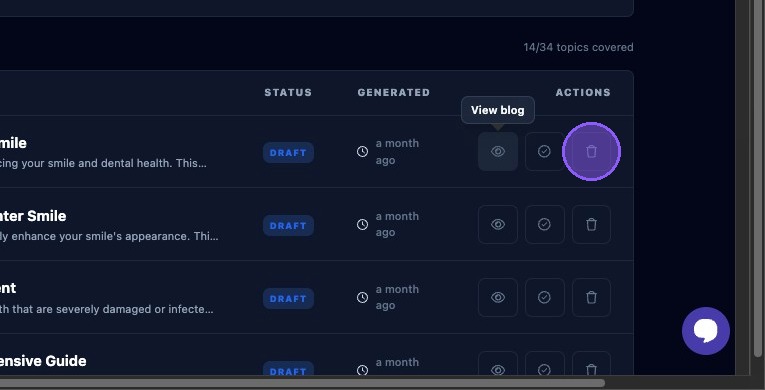
The system will ask you to confirm the blog deletion before the draft is removed.
Review each AI-generated blog for accuracy, brand fit, and formatting before publishing. After manual publishing, always record the final URL so future posts can link to the content correctly.
Marking a blog as published does not publish the blog to the website. It only records where the blog was published so Aldus Local can use that URL for tracking and internal linking.