
Website: Optimizer
Learn how the Website Optimizer reviews site pages, recommends improvements, and safely applies verified optimizations through a connected publishing method.
The Website Optimizer can inject improvements into a business website through a single script tag. Once verified, it can update metadata, favicon assets, and other supported optimizations after review.
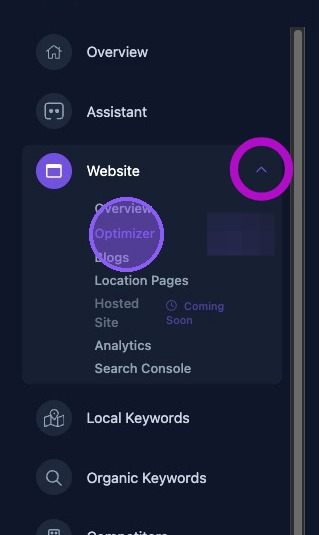
Accessing the Website Optimizer
To access the Website Optimizer, click the dropdown arrow next to the Website section of the business dashboard. Then click Optimizer.
Navigating the Optimizer
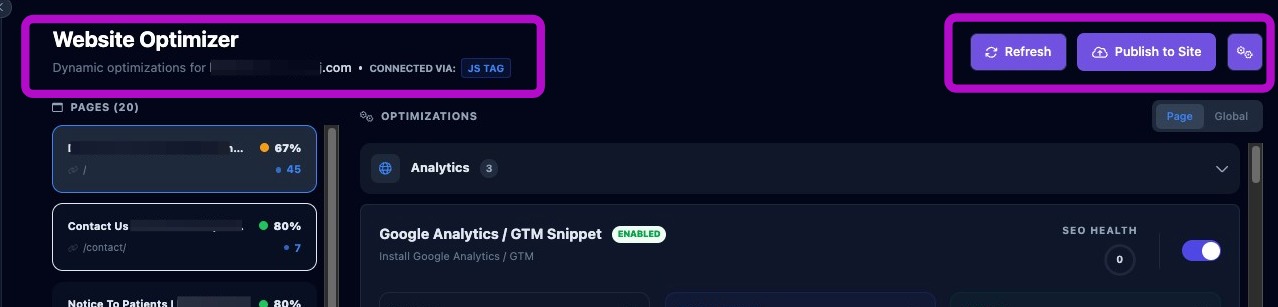
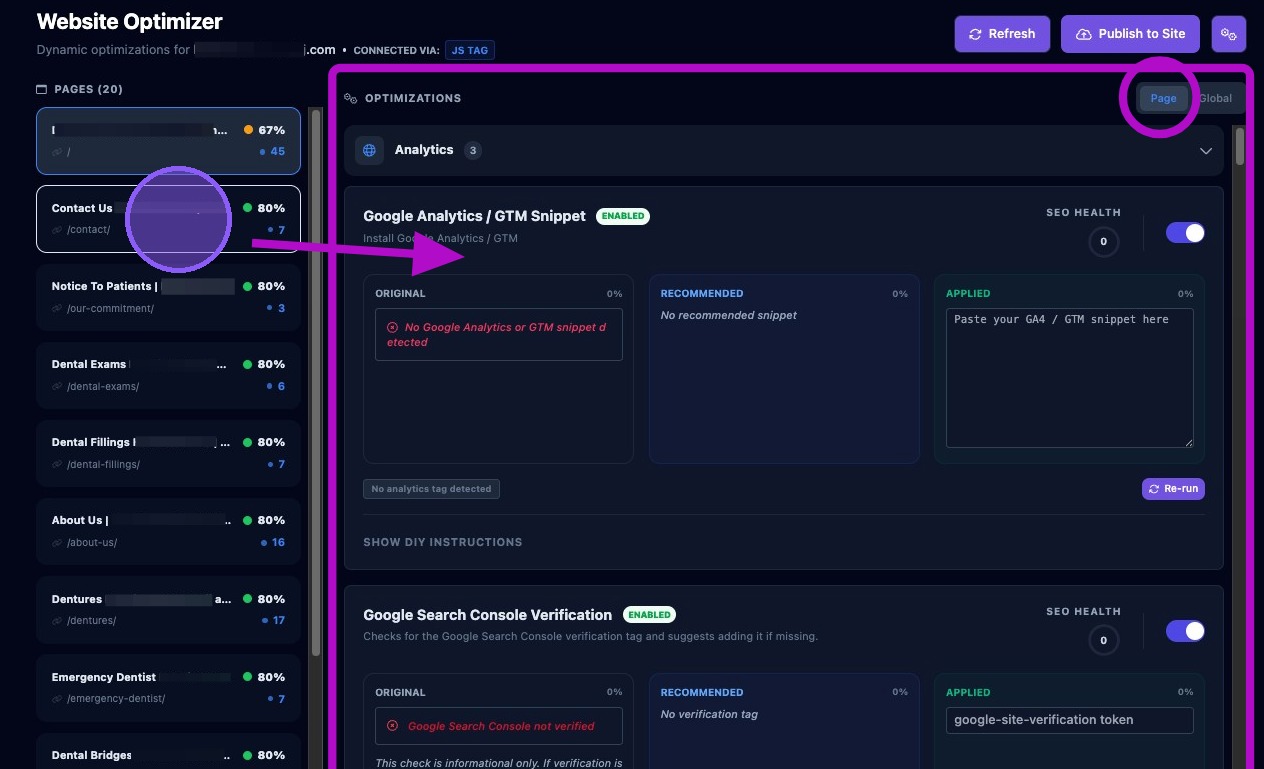
The top of the Website Optimizer page displays:
- The client's web address.
- The connection method used by the optimizer to access the client's website, such as JavaScript Tag.
- A Refresh button to refresh website data.
- A Publish to Site button used to publish optimizations after review and verification.
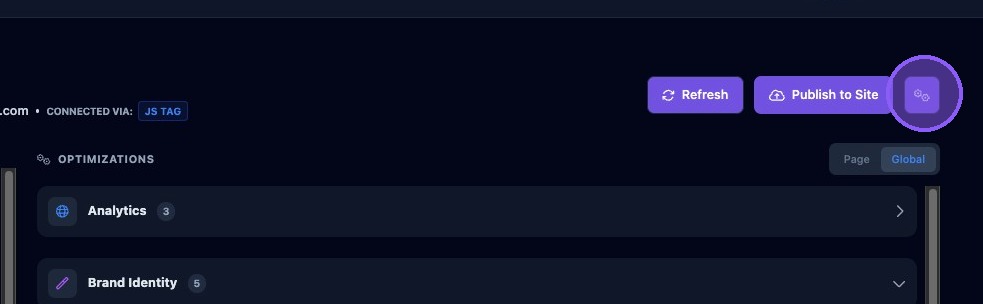
- A Settings button, shown as a gear icon, used to select the connection method and connect or disconnect the optimizer.
To review, connect, disconnect, or change the connection method used by the optimizer, click the Settings button.
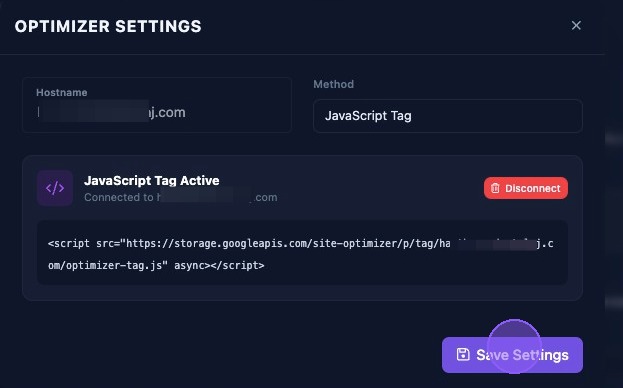
Choose the optimizer connection method, then click Connect.
Click Disconnect to disconnect the current connection method.
Click Save Settings to save the connection, or click the X to exit without making changes.
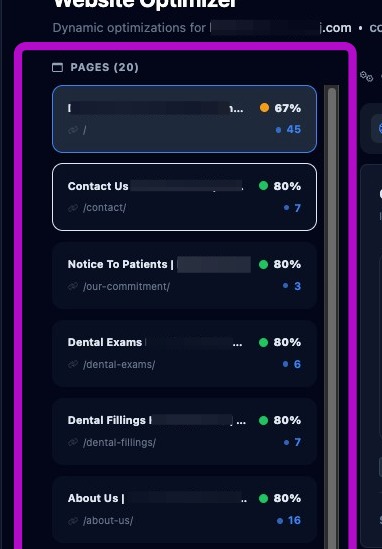
Navigating the List of Website Pages
The left-side panel contains a list of the client's website pages, with a total page count at the top of the list. Each page listing provides:
- The name of the web page.
- The web page address path, such as /contact/.
- The SEO Health score for that page as a percentage, shown in red, yellow, or green based on the score.
- The total number of suggested optimizations for that page, shown in blue.
Navigating the List of Optimizations
Click a web page in the list on the left to display suggested optimizations for that page in the panel on the right.
Make sure the Page tab is selected at the top of the list.
If the Global tab is selected, optimizations for all web pages will be displayed.
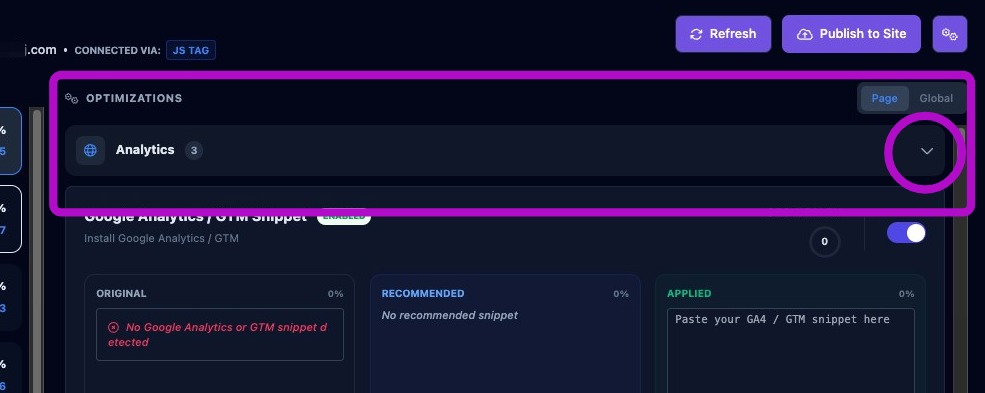
Optimizations are displayed alphabetically by category. Use the dropdown arrow to the left of each category to expand or collapse the optimizations in that group.
Common suggested categories and related optimizations include:
- Images: favicon generation, image lazy loading, and static website image optimization through compression, resizing, and WebP conversion.
- Page Content: title tag and meta description updates.
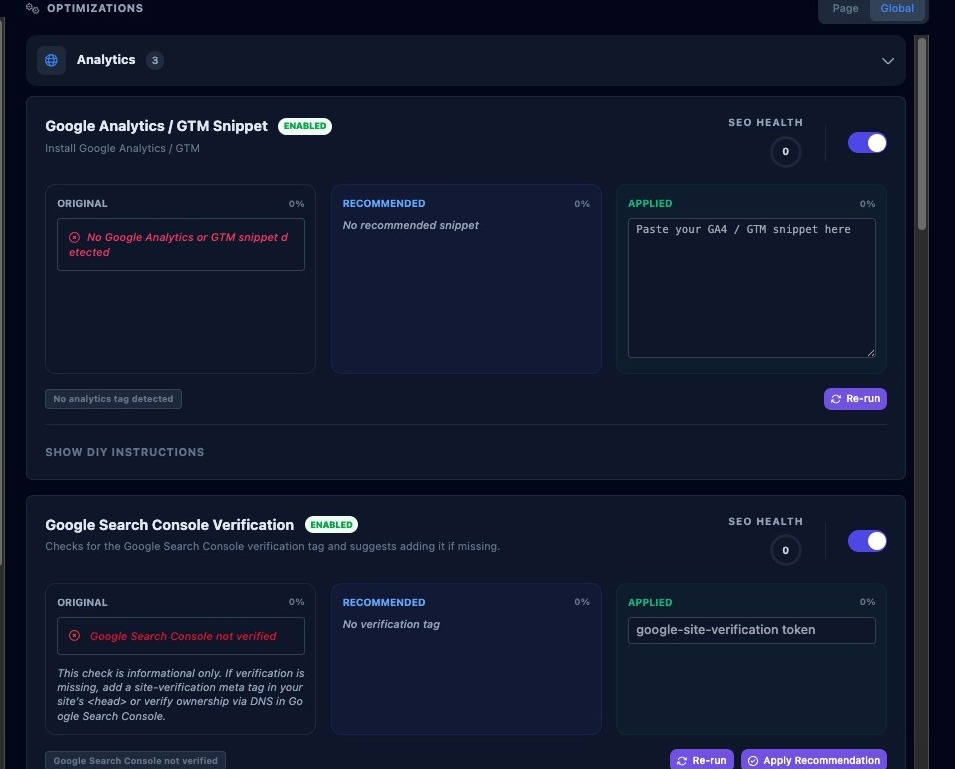
- Analytics: Google Analytics or GTM snippet, Google Search Console verification, and Bing Webmaster Tools verification.
- Brand Identity: Open Graph tags, social media links, Local Business Schema, Organization Schema, and Twitter tags.
- Rich Results: review schema using recent Google Business Profile reviews.
- Technical SEO: canonical tags, CDN caching, hreflang tags, robots meta tags, robots.txt, sitemap.xml, and viewport meta tags.
- Usability: click-to-call links and internal link coverage.
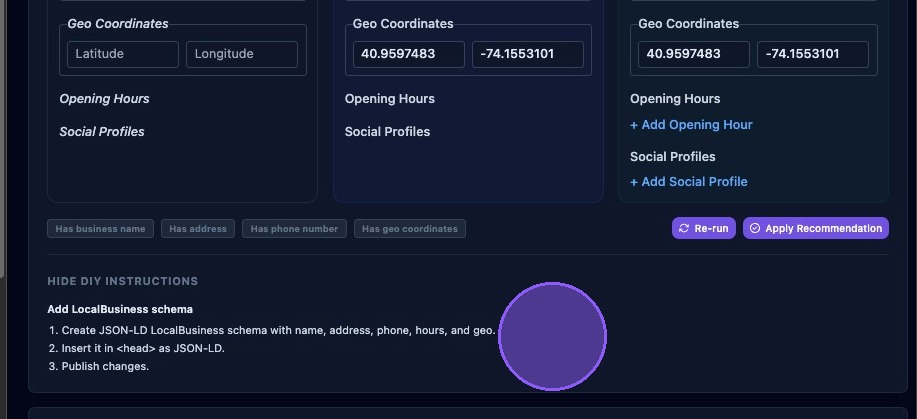
Each optimization card may display:
- The optimization name and a brief description.
- The optimization status, such as enabled or disabled.
- The SEO Health score for that optimization.
- A toggle to enable or disable the optimization.
- Original content or data, recommended changes, and the content that will be applied.
- Verification tags showing whether required items are missing or present.
- An Apply Recommendation button when applicable.
- A Re-Run button to regenerate a specific optimization.
- A DIY Instructions button for manual implementation steps.
Accessing DIY Instructions
Each optimization contains detailed steps if you would like to apply the recommendations manually.
Click Show DIY Instructions in the lower-left area to display the steps for the current optimization.
Click Hide DIY Instructions to collapse the steps.
- Verification fails repeatedly: Confirm the optimizer script is placed in the website <head>, not the <body>.
- Placeholder favicon appears: The optimizer may not have detected the original favicon. Re-run the favicon optimization.
- Data appears stuck after verification: Refresh the page after verification completes.
Review recommendations before publishing, use Re-Run when source assets have changed, and use DIY instructions when a recommendation needs to be applied manually outside the optimizer.