
Google Business Profile: Local Posts
Learn how to create, edit, schedule, preview, and manage Google Business Profile posts directly from the dashboard.
Google Business Profile posts allow businesses to publish updates directly to their Google listing. Posts can appear on Google Search and Google Maps and are useful for sharing announcements, promotions, events, and other business updates.
Accessing GBP Posts
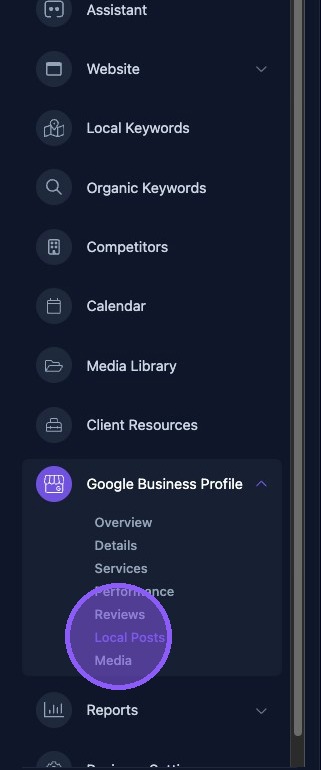
Click Local Posts in the dashboard to access the Google Business Profile Posts page.
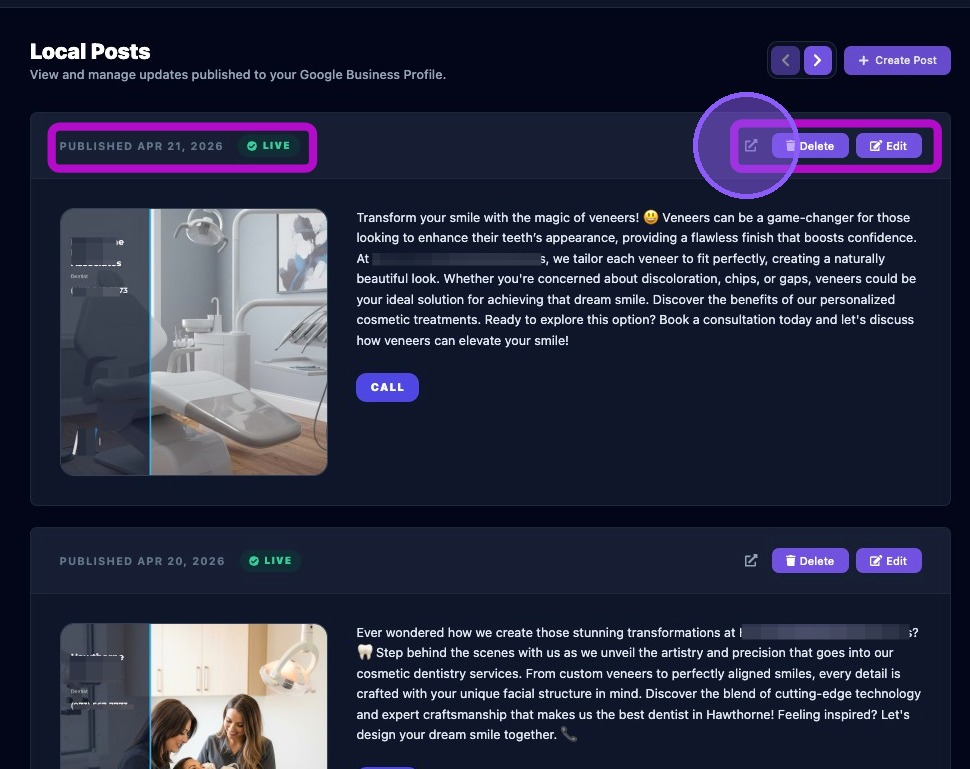
The Local Posts page allows you to view and manage all posts published to the Google Business Profile. Posts are listed in chronological order, with the newest posts displayed first.
Each post displays the published date, post status, a visual preview of the post, and the configured call-to-action button.
Each post also includes three management controls:
- A preview button that opens the live Google post in a new browser tab.
- A Delete button that removes the post.
- An Edit button that opens the post editor.
Manually Creating a GBP Post
To create a new post, click Create Post. To modify an existing post, click Edit. Either action opens the post editor.
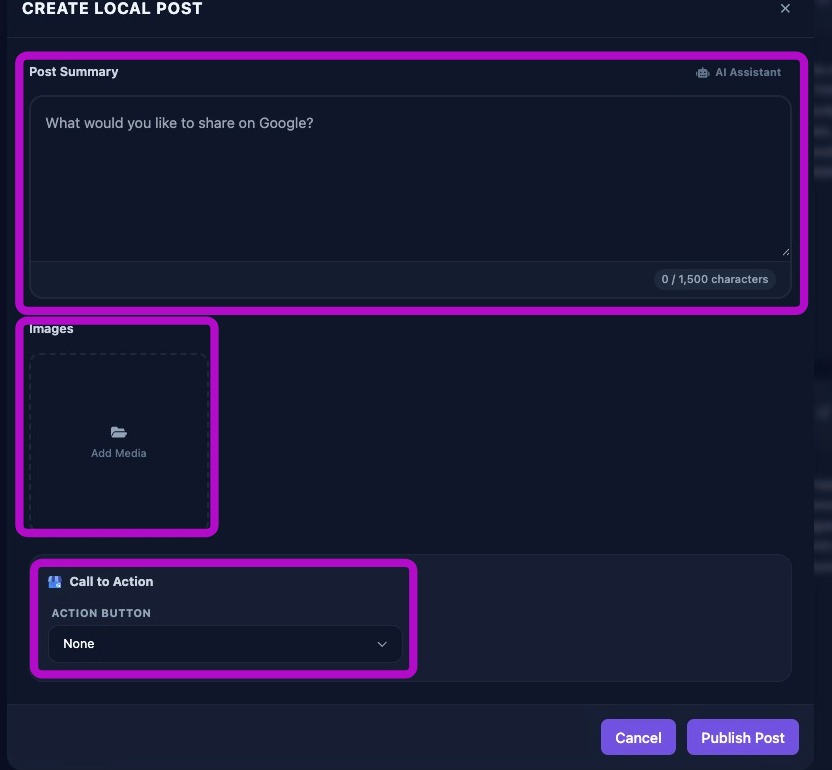
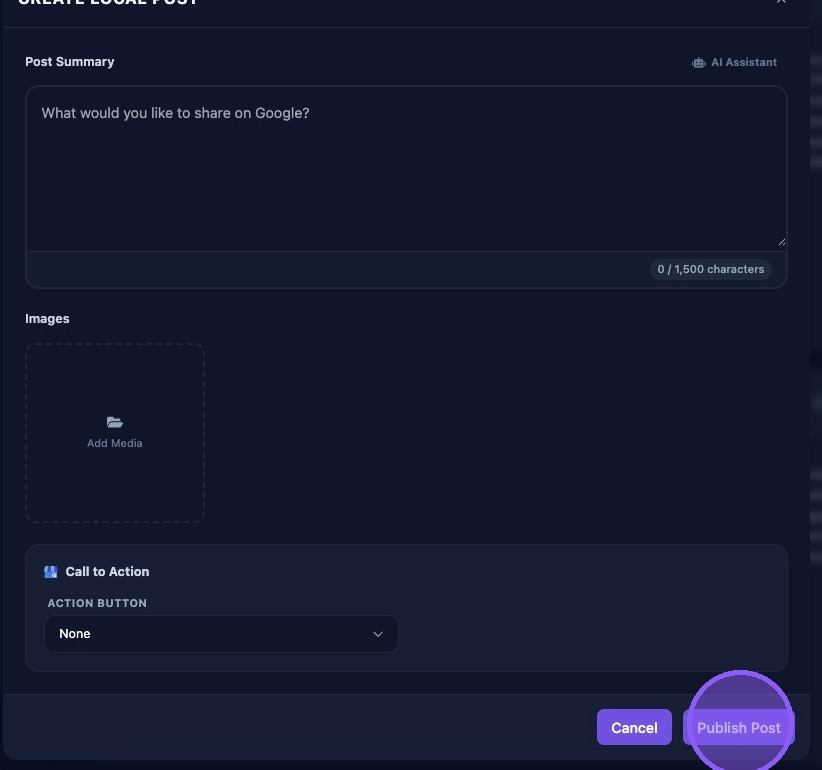
Complete the following fields when creating or editing a post:
- Post Summary: Enter up to 1,500 characters. You can type manually, paste content, or use the AI Assistant to generate content from a prompt.
- Media: Click Add Media to attach an image.
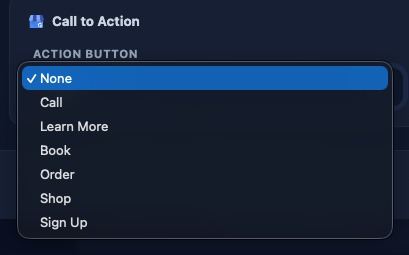
- Call-to-Action: Select the desired button from the dropdown menu.
Choose the desired call-to-action button from the available options.
Call-to-action URLs must be valid and include https://. If the selected call-to-action does not appear correctly after saving, edit the post, verify the URL, and save again.
When finished, choose one of the following options:
- Publish Post to publish immediately.
- Schedule Post to place the post on the calendar for future publication.
- Cancel or the X button to close the editor without publishing.
Use clear, concise post content and include a relevant image and call-to-action whenever possible. Consistent posting helps keep your Google Business Profile active and engaging.