Calendar: Using the Calendar and Creating Manual Social Posts
View this guide to quickly master the calendar as the single source for all publishing and scheduled tasks, so you can confidently manage, view, schedule or reschedule, or remove items. It shows how to create professional social posts (Google, Facebook, Instagram) directly from the calendar using AI text and images, variables, CTAs, and proper scheduling. Follow it to avoid conflicts, troubleshoot execution issues, and keep your publishing timeline organized.
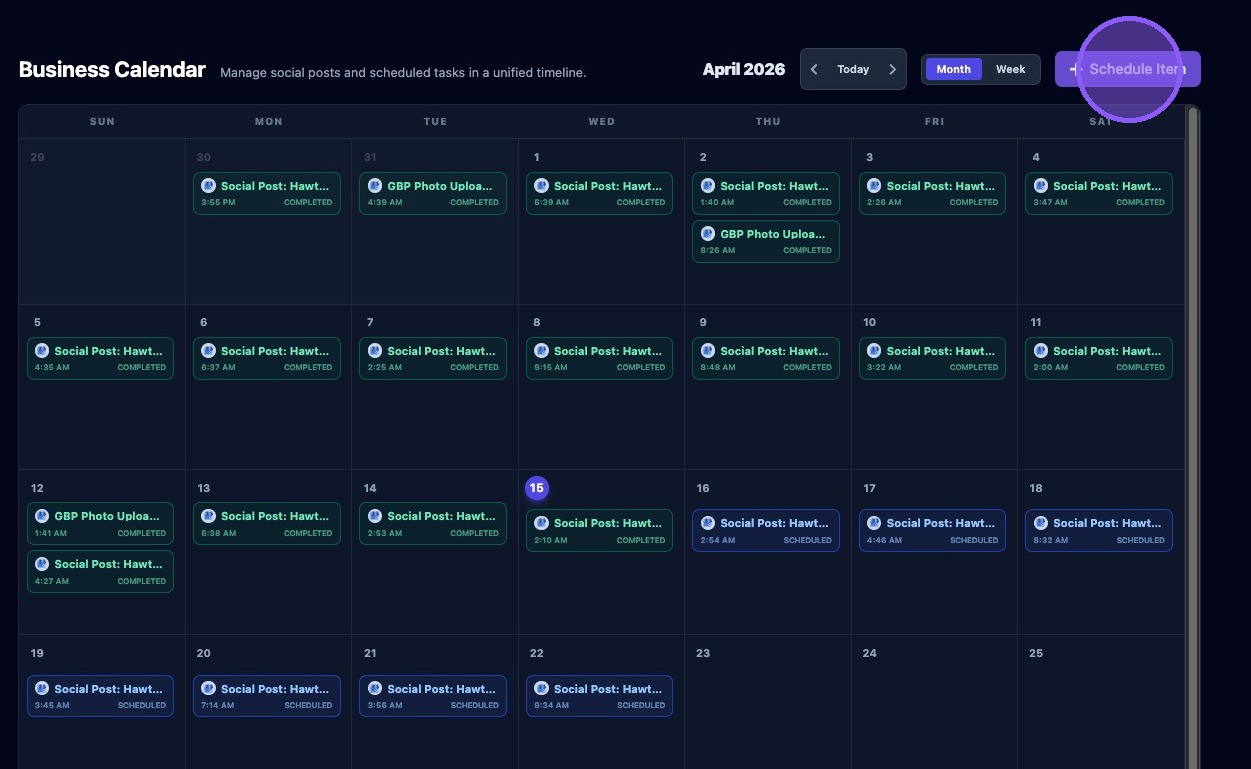
The Calendar is the execution schedule for all approved tasks, especially social posts and Google Business Profile image uploads. If you approve a task, it usually shows up here as a scheduled item. Think of this as the final publishing timeline for a business.
Each calendar entry represents a scheduled action. Common entry types include: Social posts, Google Business Profile image uploads, and other scheduled assistant tasks. Calendar entries include the business name, platform, and time.
How scheduling works:
- Assistant tasks are generated.
- Then you approve the tasks.
- Once approved, the system creates scheduled items.
- The "Scheduled Items Runner" executes them at the correct time.
If the calendar already has items in the upcoming window (usually the next 7 days), the assistant will stop generating new items until there is space.
Important: Items should not stack on the same day unless you manually create them. If you see stacking, spacing logic may be broken.
Troubleshooting: If items are not executing, check if the scheduled items runner is running. If too many items are scheduled on one day, then task spacing may be disabled or the calendar may already be full.
Accessing and Using the Calendar
To access the post composer. First click the Calendar of the business dashboard.

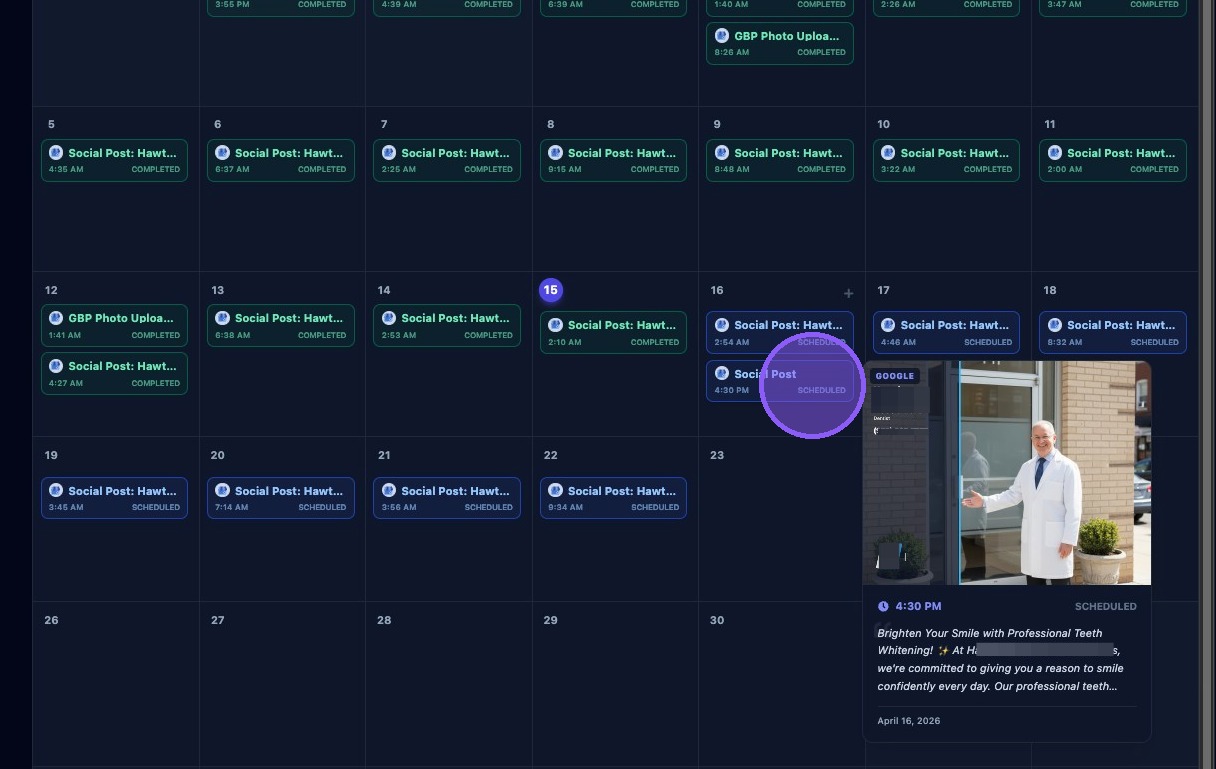
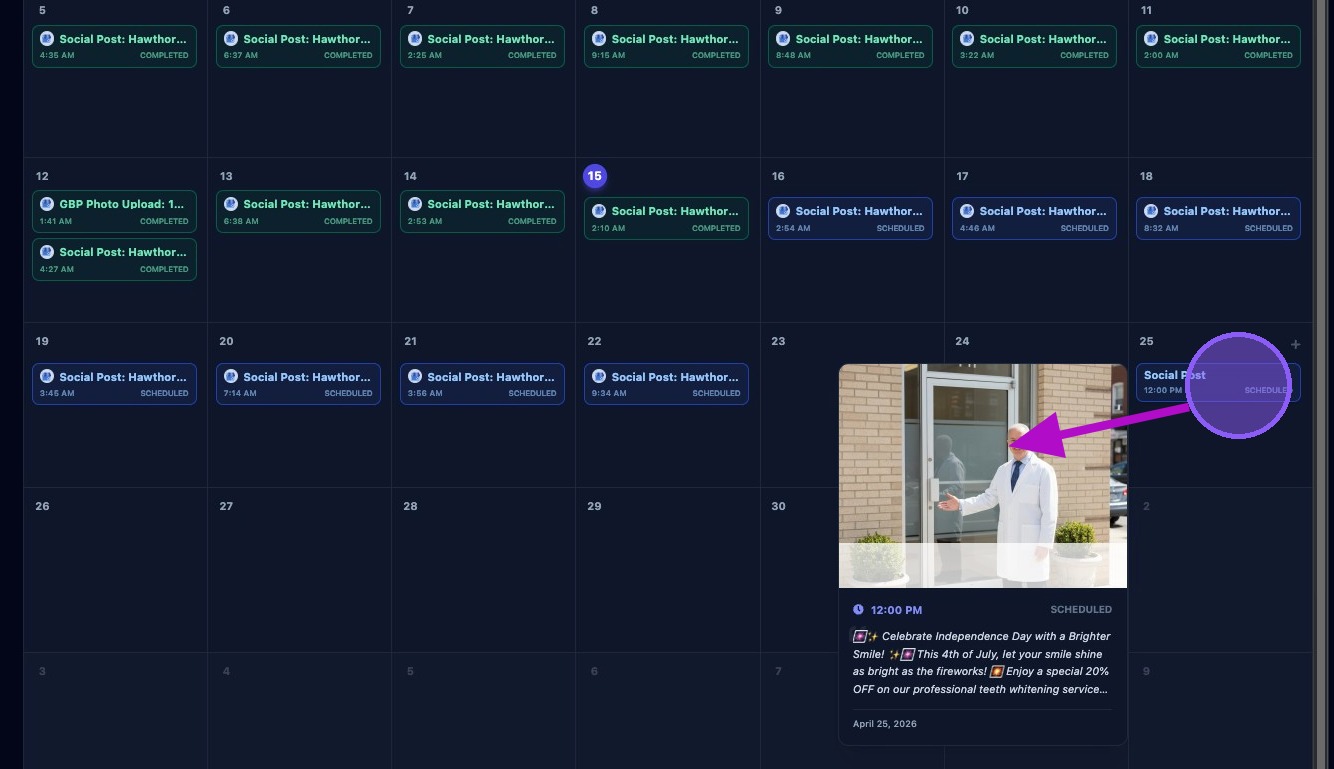
You will be presented with the current month calendar with all scheduled items for the business. Completed tasks are shown in green while scheduled tasks are shown in blue.
Hover over an entry to see a thumbnail of the item.
To reschedule an entry to a new date, click and drag it to a new date on the calendar. Then confirm the time.
Editing a Scheduled Entry
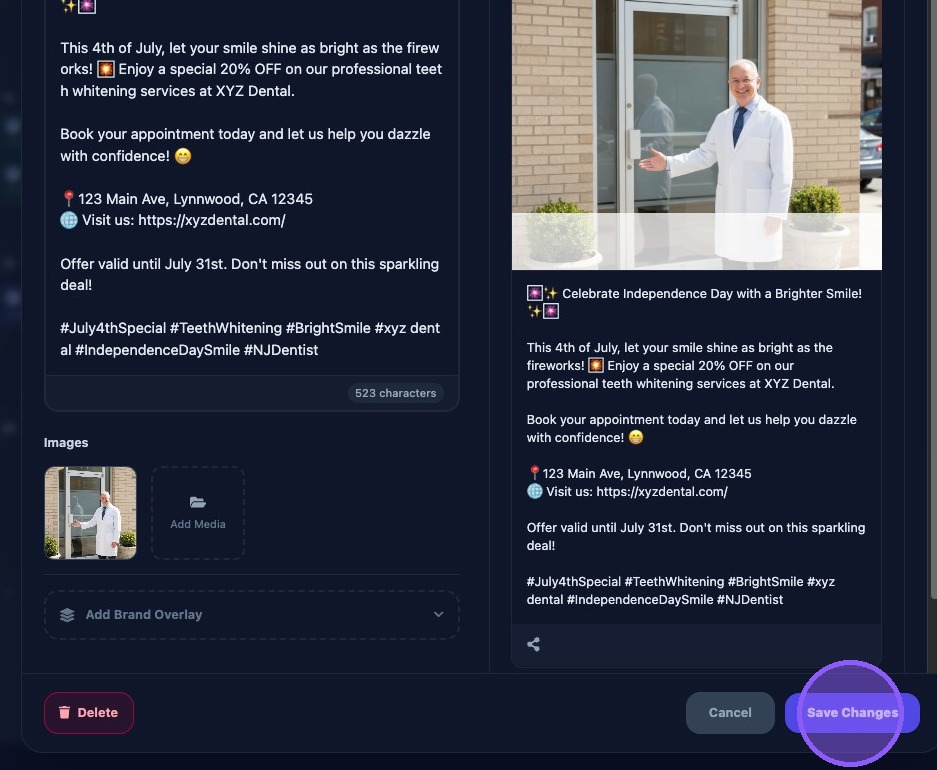
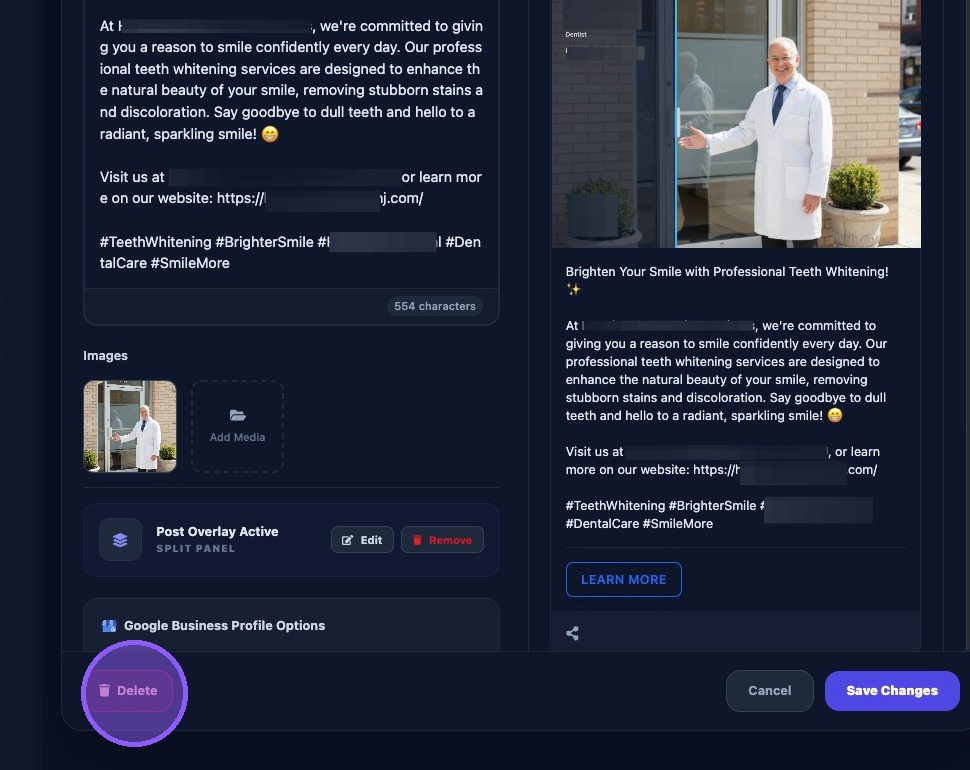
Click an entry to open edit it. After editing, click "Save Changes".
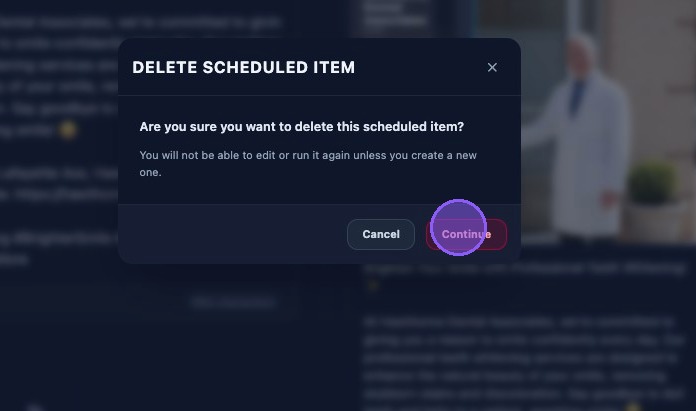
Deleting a Scheduled Entry
To delete a post, click it in the calendar. Then click the "Delete" button.
You will be asked if you are sure you want to delete this scheduled item. Click "Continue".
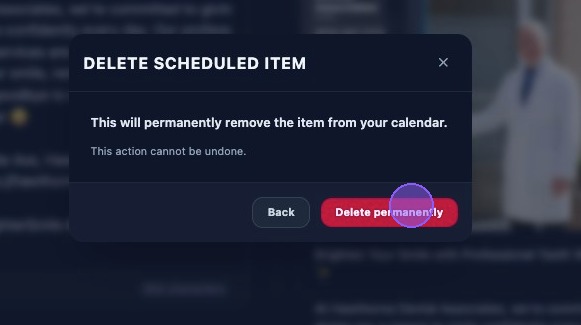
You will be warned that this permanently removes this from your calendar. "Click "Delete Permanently" to continue.
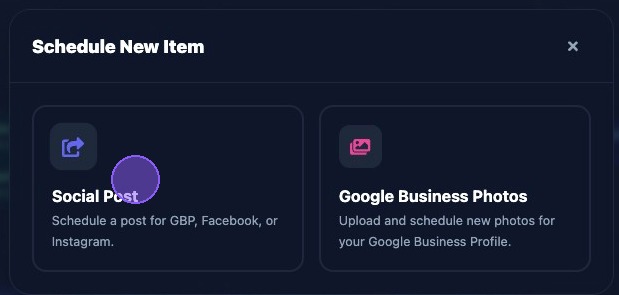
Creating a New Post
Click the "Schedule Item" button to start a new post process.
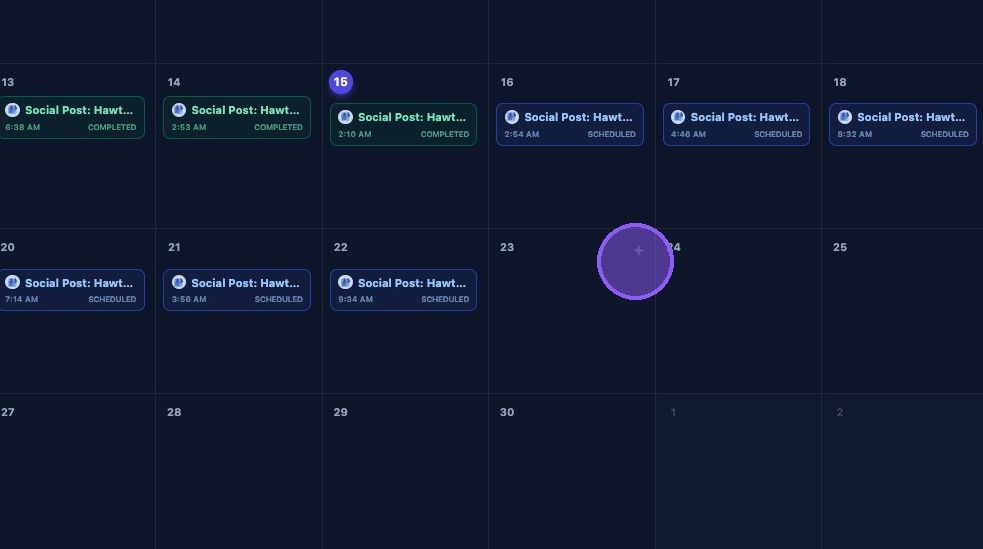
Alternatively, you can hover over a date in the future and click the "+" button to create a new post for that date.
Select "Social Post" to create and schedule a post for Google Business Profile, Facebook, or Instagram.
Scheduling the Post
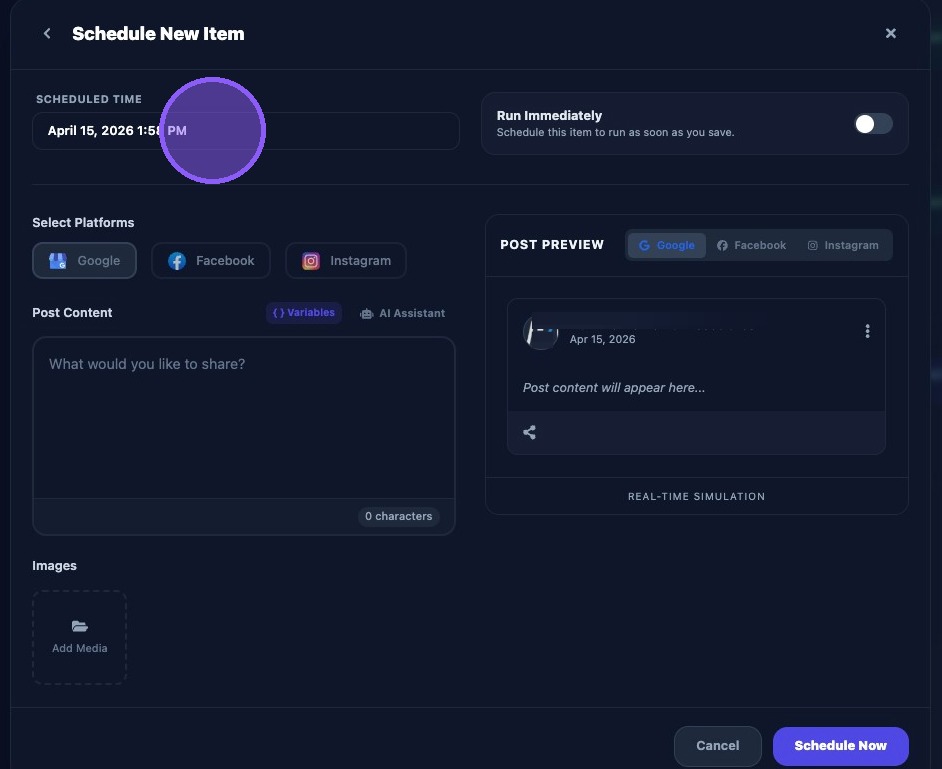
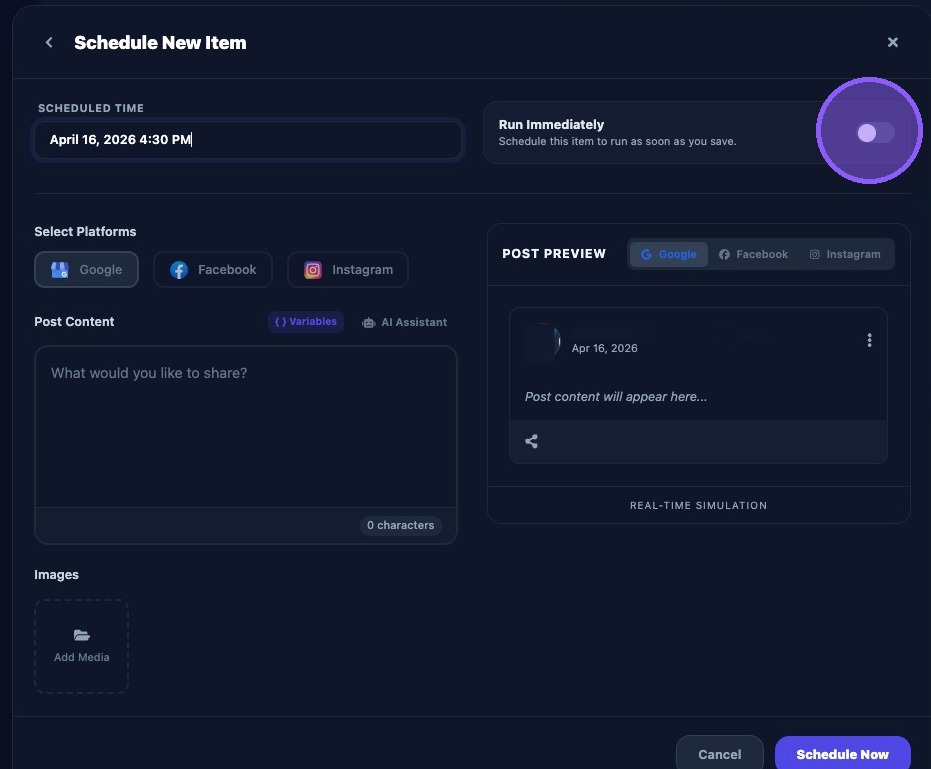
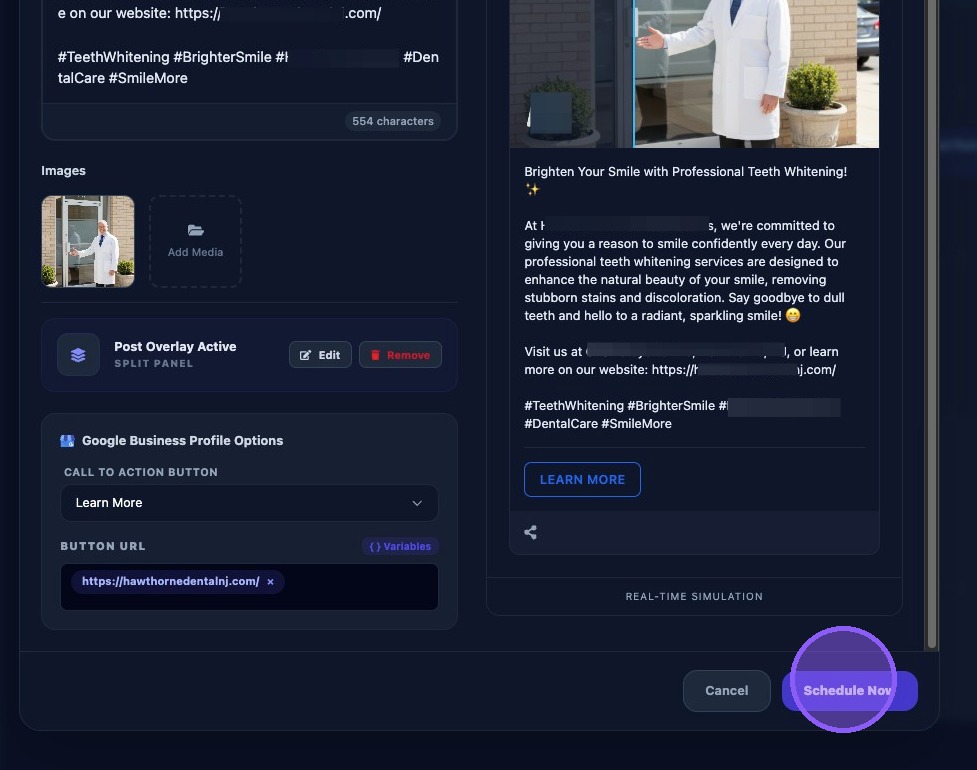
You are then presented with the Post Composer window.
At the top is the scheduled date (defaulted to today’s date if not selected prior in the calendar). To change the date and/or time click the date/time just below "Scheduled Time".
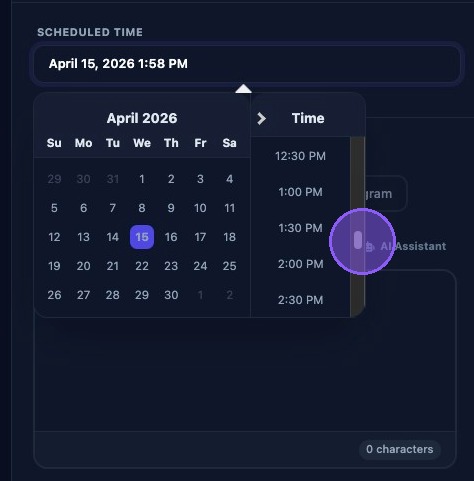
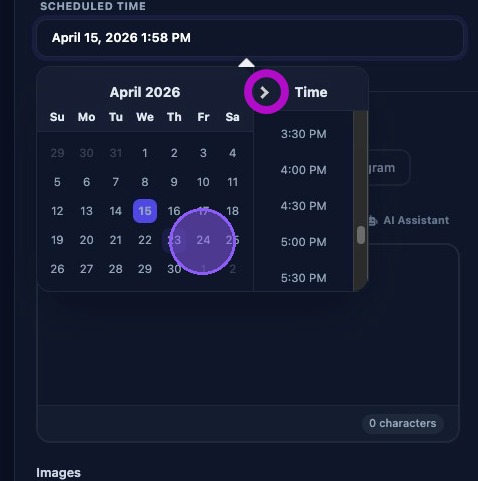
You will be presented with a popup calendar to select a future date and time.
Select the date using the right and left arrows to navigate through months and click the desired date.
Then scroll up and down to select a time (presented in half-hour increments) in the column to the right of the calendar. Click the desired time. The calendar popup will close and your new scheduled date and time will be displayed under "Scheduled Time".
Alternatively select "Run Immediately" to publish the post as soon as you click the "Schedule Now" button.
Note: Enabling this toggle disables and hides the popup calendar, and disabling the toggle will display the popup calendar.
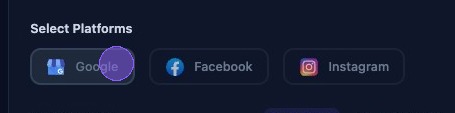
Selecting Post Platform
Then select which platform you would like for this post:
- Google Business Profile
Note: You must link a Facebook page in order to enable posts to Facebook, or Instagram.
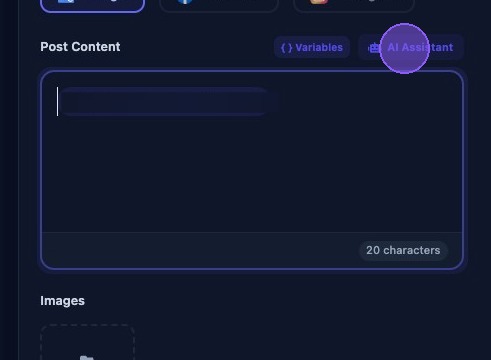
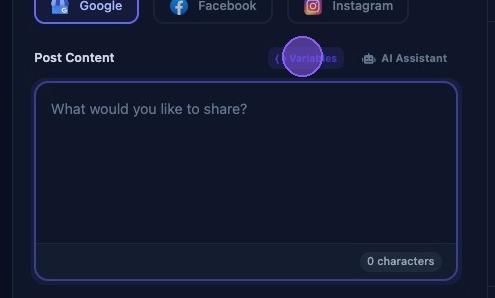
Adding Text to Post
Click in the text box below "Post Content" to begin composing your post. Here you can type the content or paste in client content.
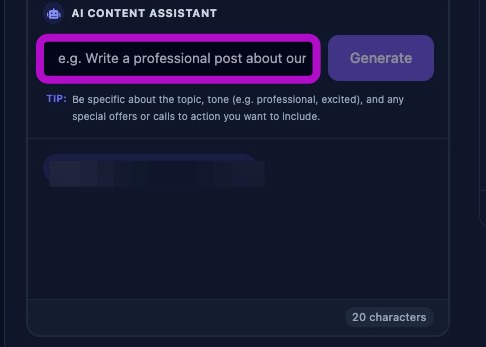
You also have the option of using AI to help you create content for your post by clicking on the "AI Assistant" button.
Then type in an AI prompt for the post content. Provide specific items to include in the client’s post.
In this example we wrote "Write a dental post for teeth whitening" (spelling “whitening” incorrectly on purpose). When satisfied with your prompt, click "Generate".
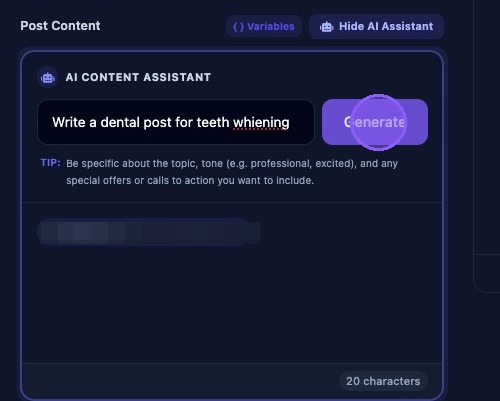
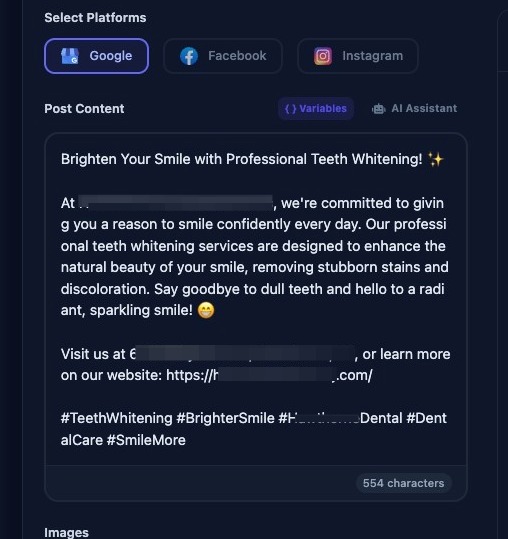
The AI generator will provide you with its suggested post content. Notice it caught our spelling error and also included the business name, address, website, an emoji and hashtags in the post.
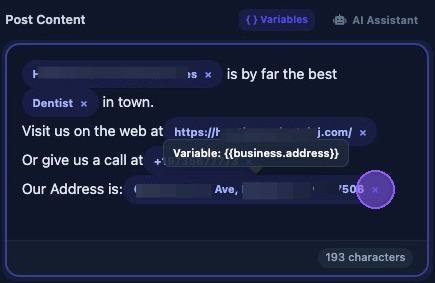
You can also include variables with your text content.
First click the location for the variable in the Post Content text box.
Note: if you do not select a location in the text content first, the variable will be added at the end of the text.
Then choose a variable from the dropdown list of variables here.
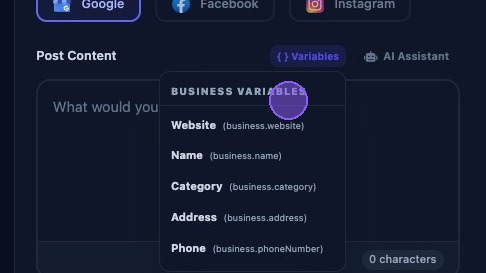
Variables appear as inline tokens in blue in the text, but render to real values in the preview. To delete a variable from the text click the "X” at the end of the field.
Adding Images to Post
To add images to the post, click the "Add Media" button under Images.

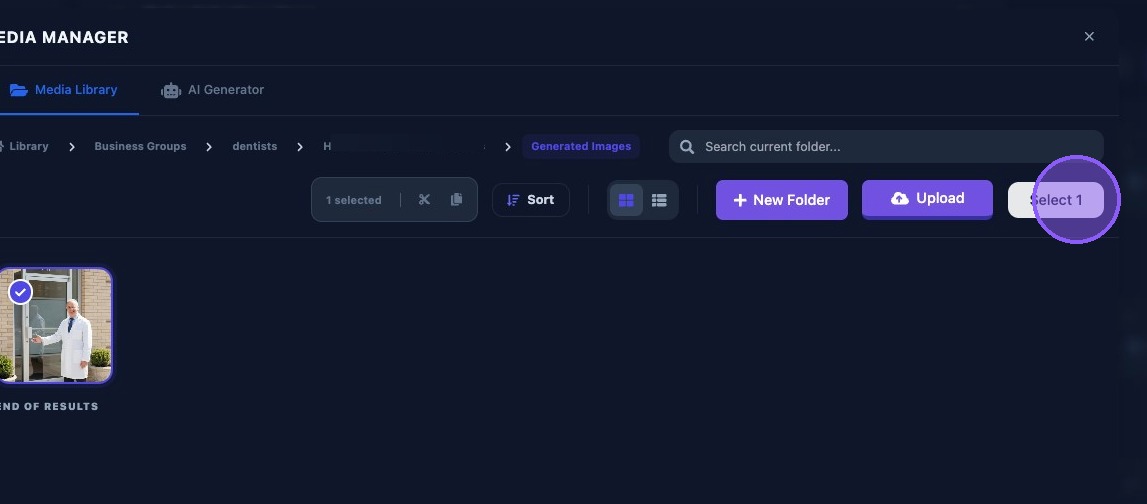
The Media Manager window will open to choose images. In this example we are clicking on "Generated Images"
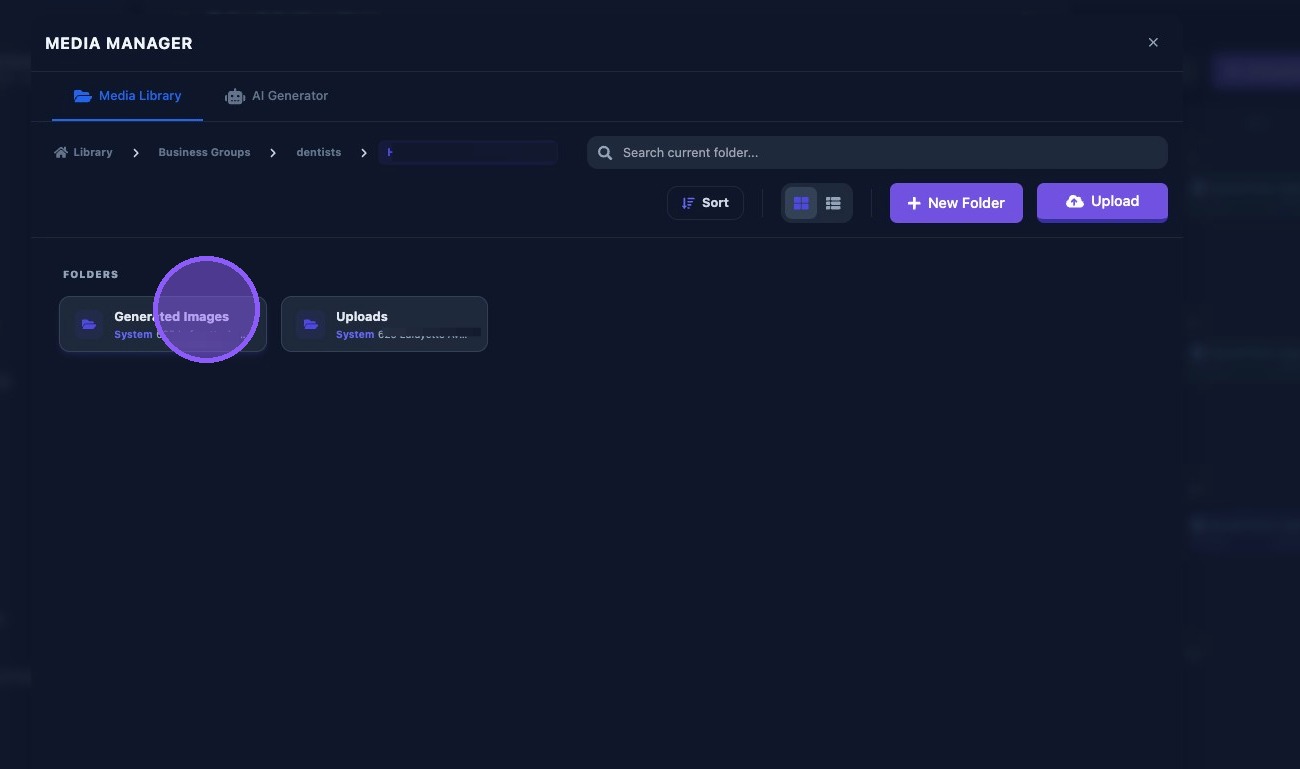
Click the desired image.
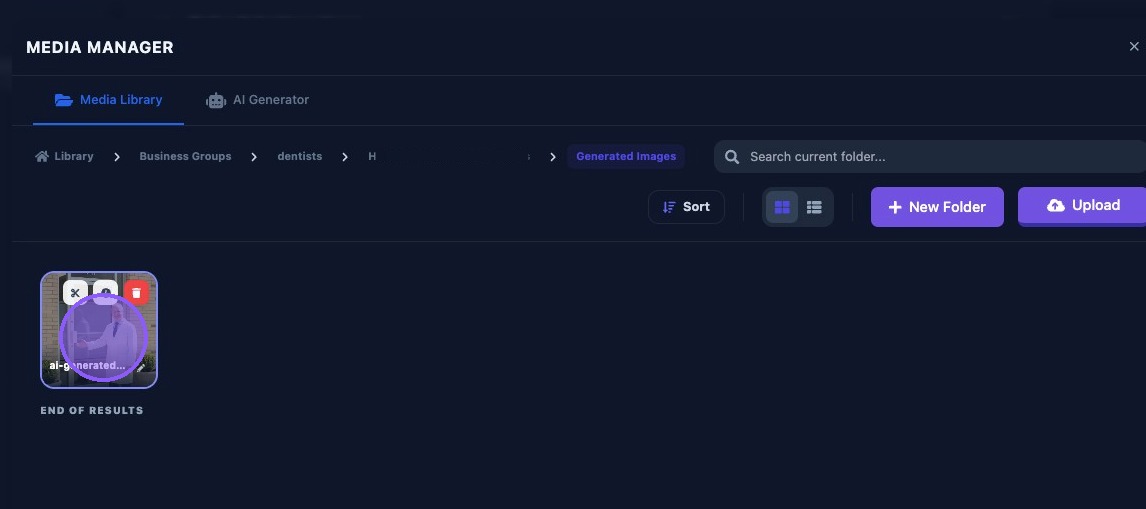
The selected image(s) will show a check mark. Then click "Select #" (where # is the number of selected images).
The selected image or images will be displayed under the Images section of the editor and be placed into the post. You can see how the image will look in the preview pane.
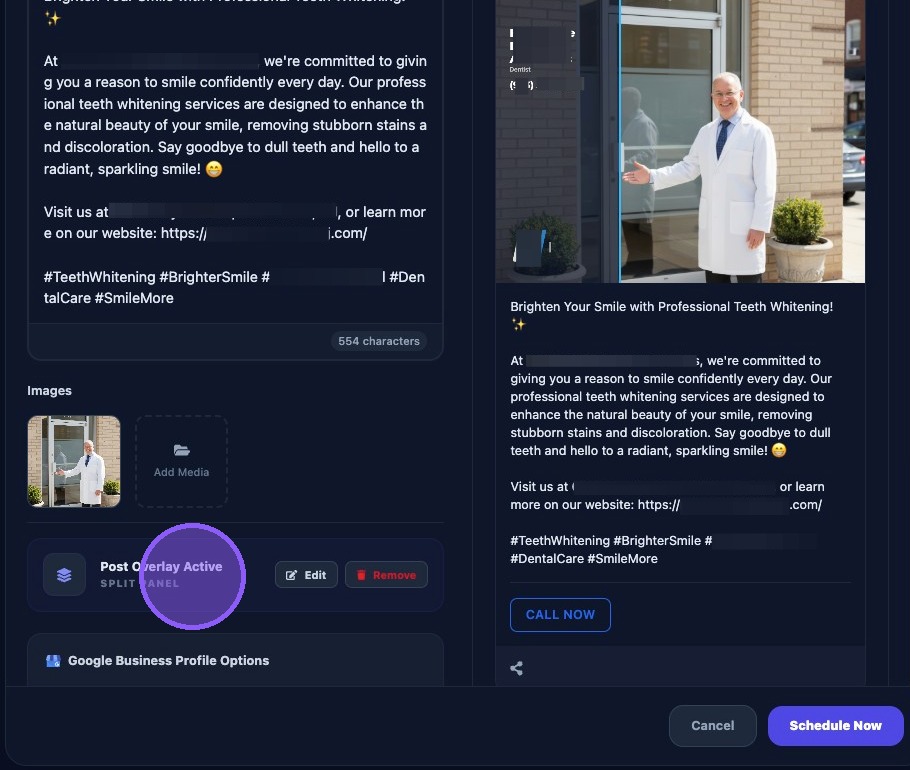
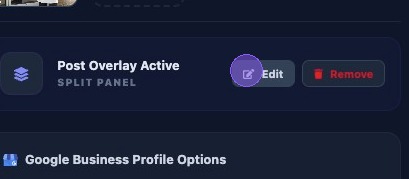
The default overlay will be applied to the post. In this case it is defaulted to split panel and active.
To edit the post overlay click "Edit" to bring up the "Post Overlay Editor".
To delete the overlay click the "Remove" button.
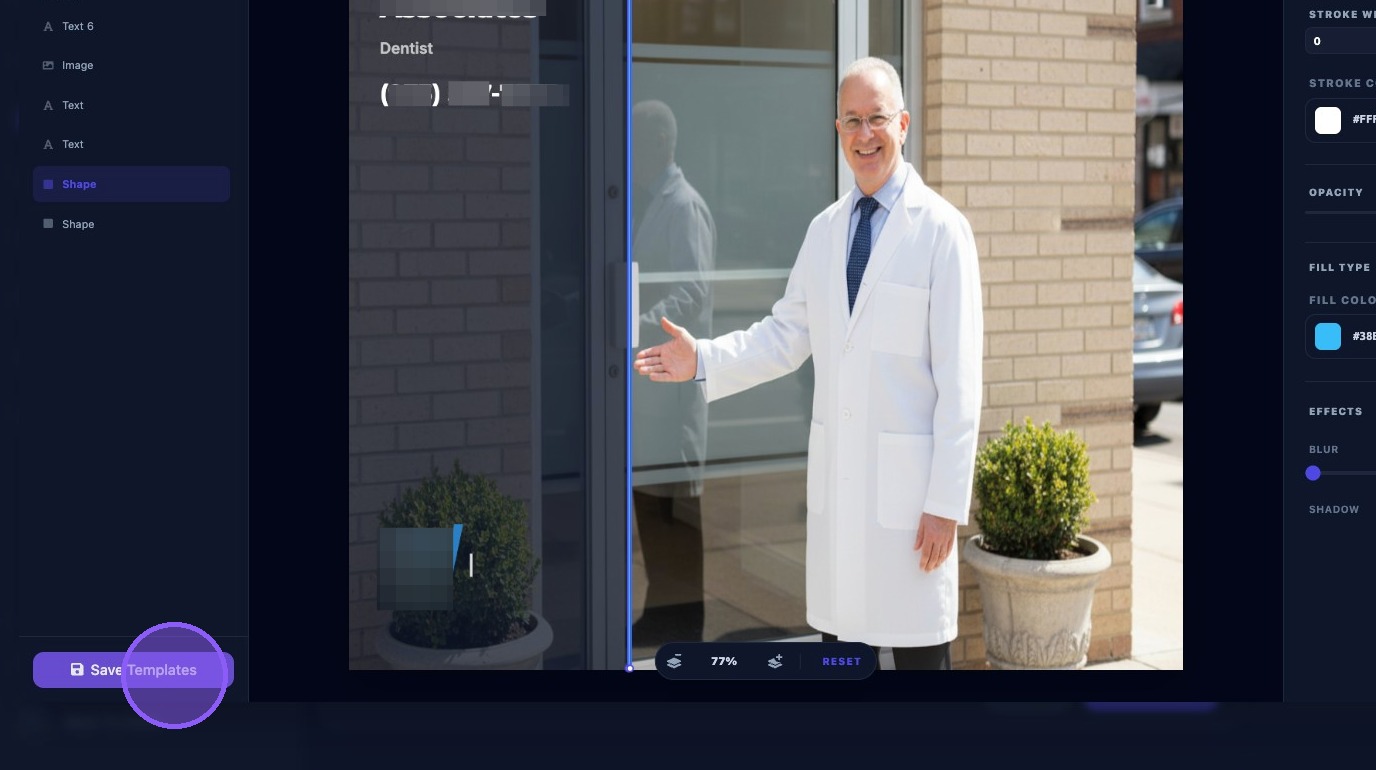
Clicking "Edit" opens the "Post Overlay Editor": a powerful tool for customizing the graphical overlay of your posts. (Please see the separate Guide for the full operation of the editor.)
Click "Save Template" when finished.
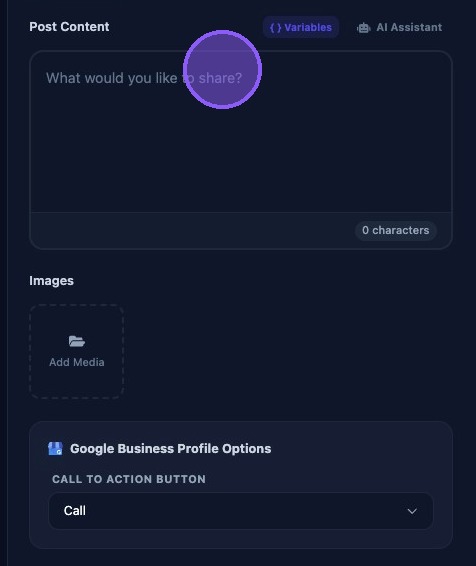
Adding Call to Action (CTA) Button
Google Business Profile option for the "Call to Action Button" (CTA) can be included at the bottom of the post (also displayed at the bottom of the preview frame).
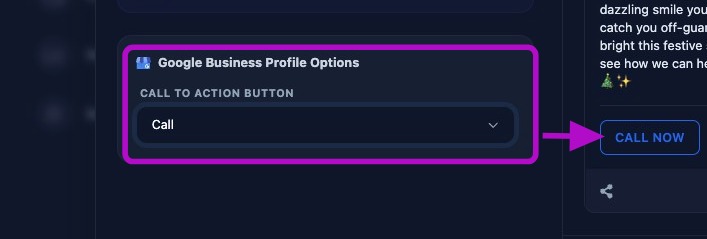
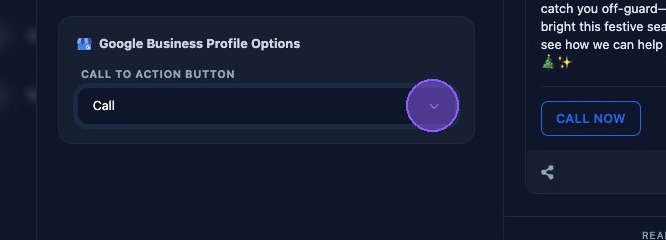
To select a CTA button, click the "Call to Action Button" dropdown arrow.
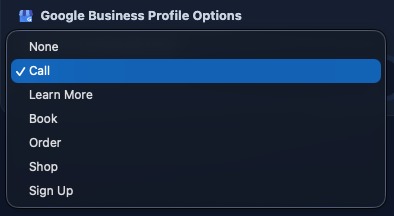
Select one of the six options, or if not needed on the post, select "None".
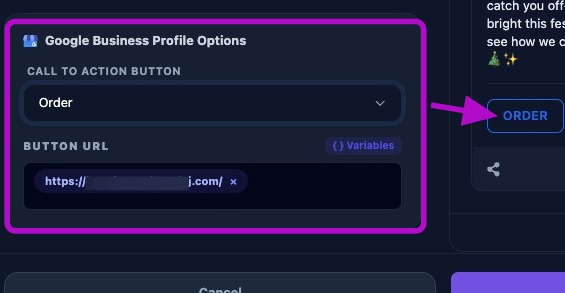
In this example we selected the "Order" CTA button.
Note the CTA Button URL below the selection. CTA URLs must be valid and should include https://.
If you change CTA types, the URL should remain unless you explicitly replace it.
Keep CTA URLs consistent, usually the main website or booking page.
Scheduling the Post
When you are done with your Post you can go ahead and click “Schedule Now” and the post will be added to the calendar (unless "Run Immediately" was enabled the post will publish immediately).
Your post is scheduled and added to the calendar. A thumbnail of the post will appear when you hover over the scheduled task in the calendar.