Business Assistant: Review Responses and Settings
This guide shows how Business Assistant’s Autopilot drafts, manages, and posts suggested Google Business Profile review replies so you can respond faster and more consistently. It explains where to find pending suggestions, how to edit, approve or discard them (and prevent repeats), and how to configure Autopilot settings like tone, length, rating thresholds, emoji handling, and prompt modifiers. Follow it to save time while keeping replies aligned with your brand and risk preferences.
The review response system generates a suggested reply when:
- A new Google Business Profile review is detected.
- The review rating meets the minimum star threshold in settings.
- And no response already exists for that review.
If a response already exists (even if it was discarded), a new suggestion should not be created.
If the suggested response is inappropriate, discard it. Discarded responses should never be suggested again for the same review.
Accessing Review Response Tasks
Navigate to the dashboard of a business.
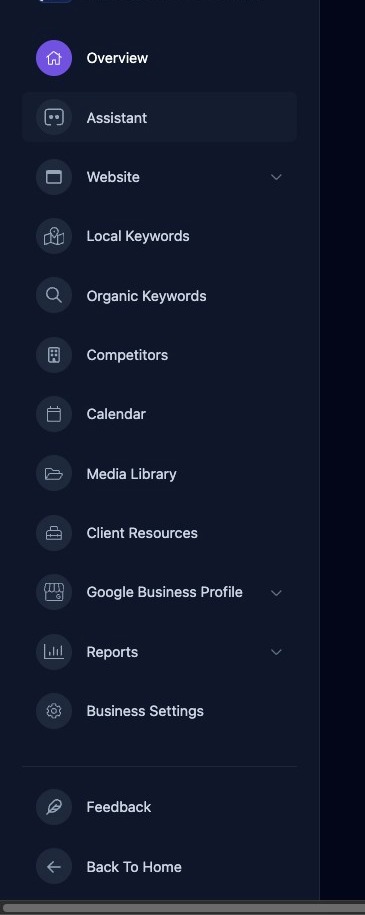
Click "Assistant".

Locate a Response Task
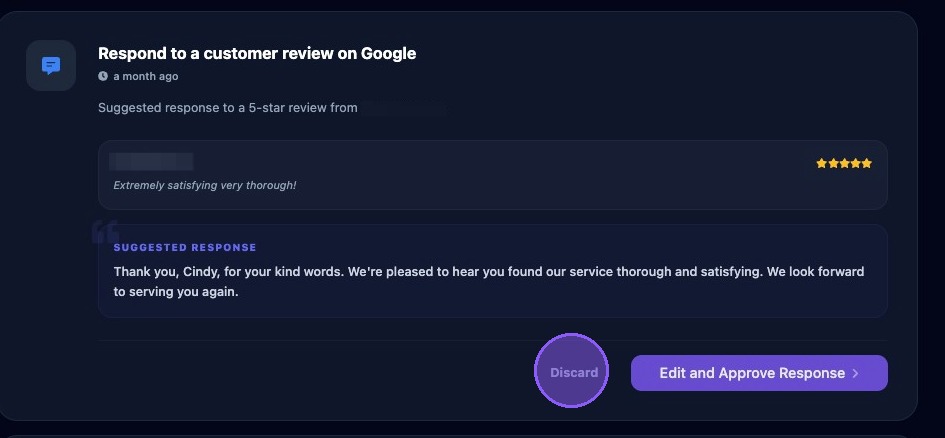
Scroll down the list of tasks listed under "Pending Recommendations" in the Business Assistant section. Locate the customer review you wish to review.
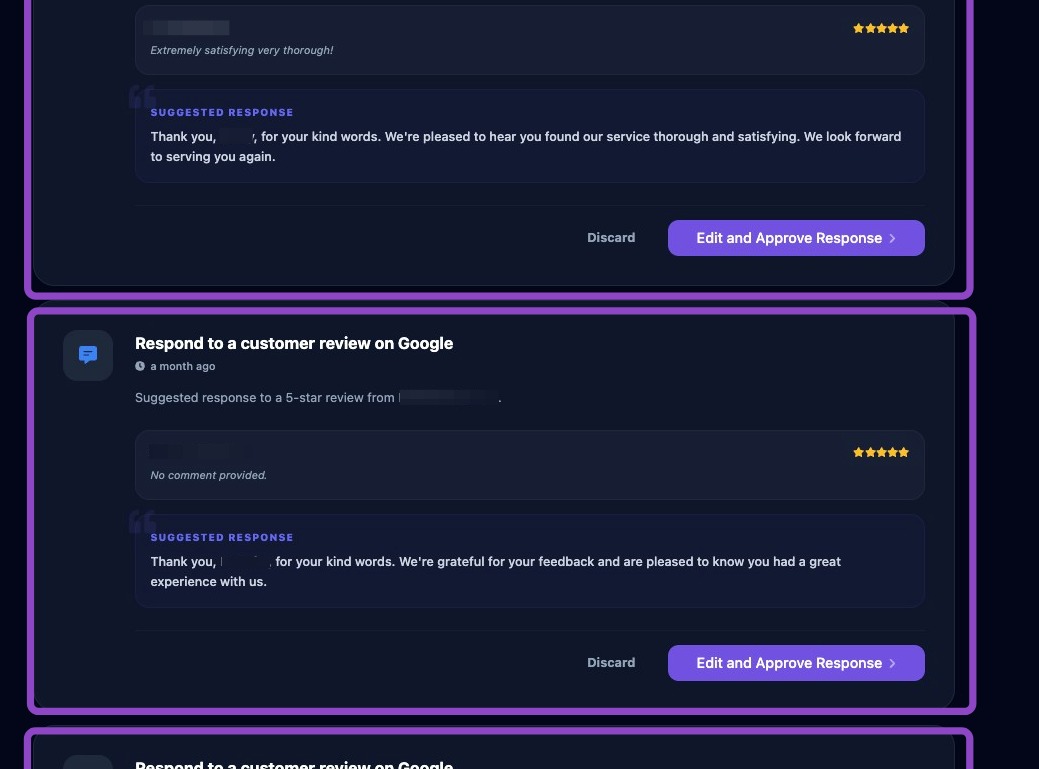
Edit and Approve a Response Task
Click "Edit and Approve Response" to edit and publish the response.
Or click "Discard" to delete the task. Discarded responses should never be suggested again for the same review.
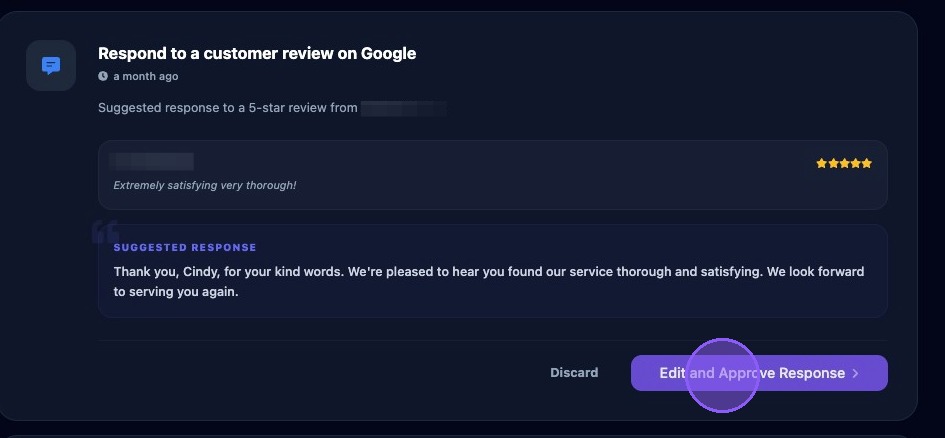
After clicking "Edit and Approve Response", you will be provided the opportunity to review the suggested response and edit the text if needed, adding any additional text or personalization.
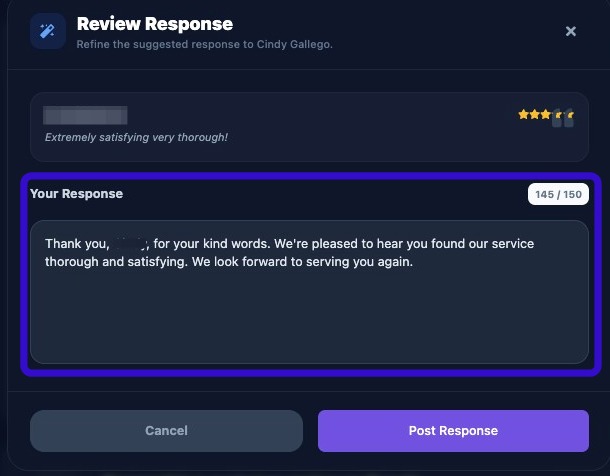
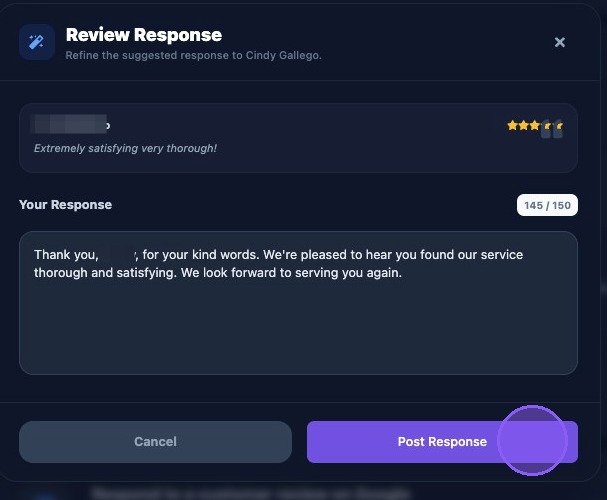
When you are done editing your response, click "Post Response" for immediate posting.
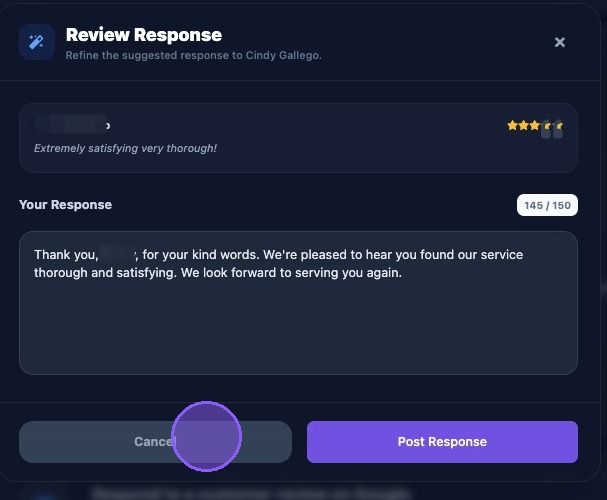
Clicking on "Cancel" or "X” will keep the Review Response task in the Business Assistant task list.
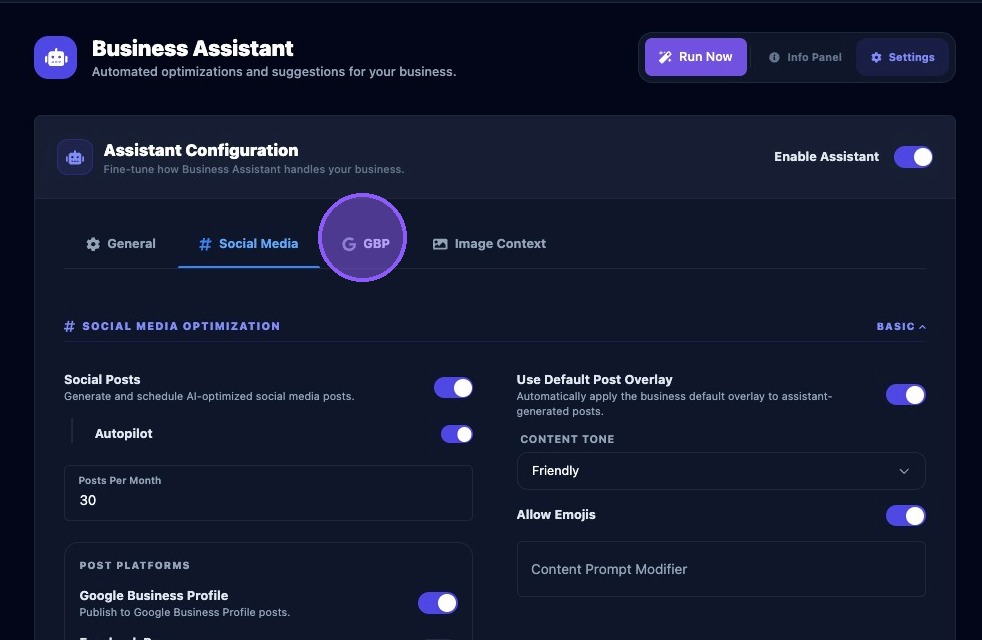
Adjust Settings and Enable Autopilot for Review Responses
Click the settings button at the top of the Business Assistant section.

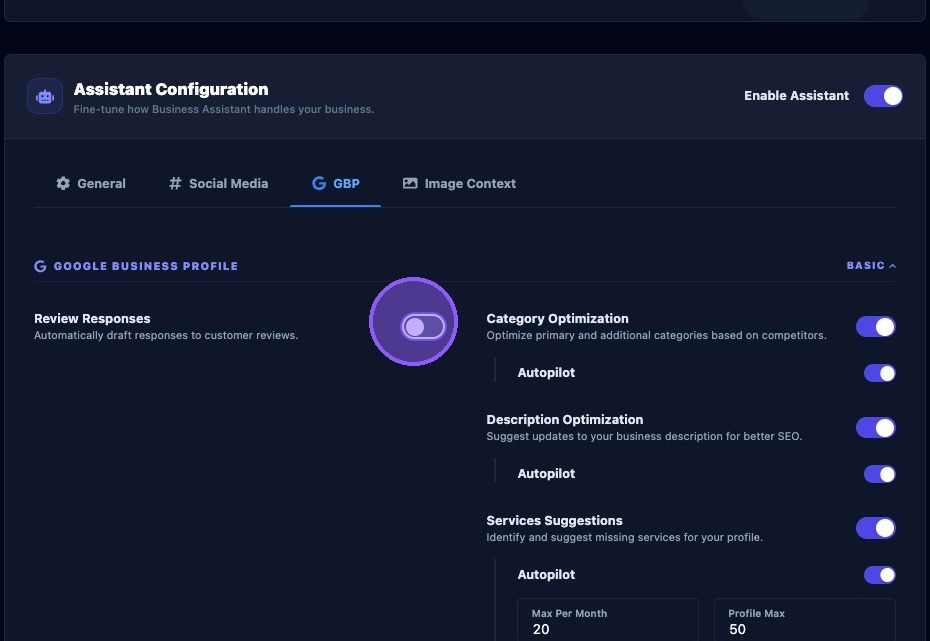
Then click the Google Business Profile tab to access the Review Responses and Autopilot settings.
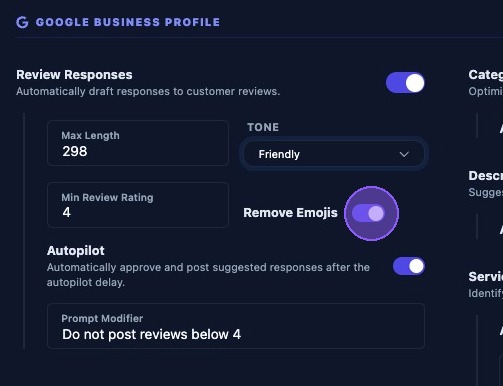
Click the "Review Responses" to enable the system to automatically draft responses to customer reviews.
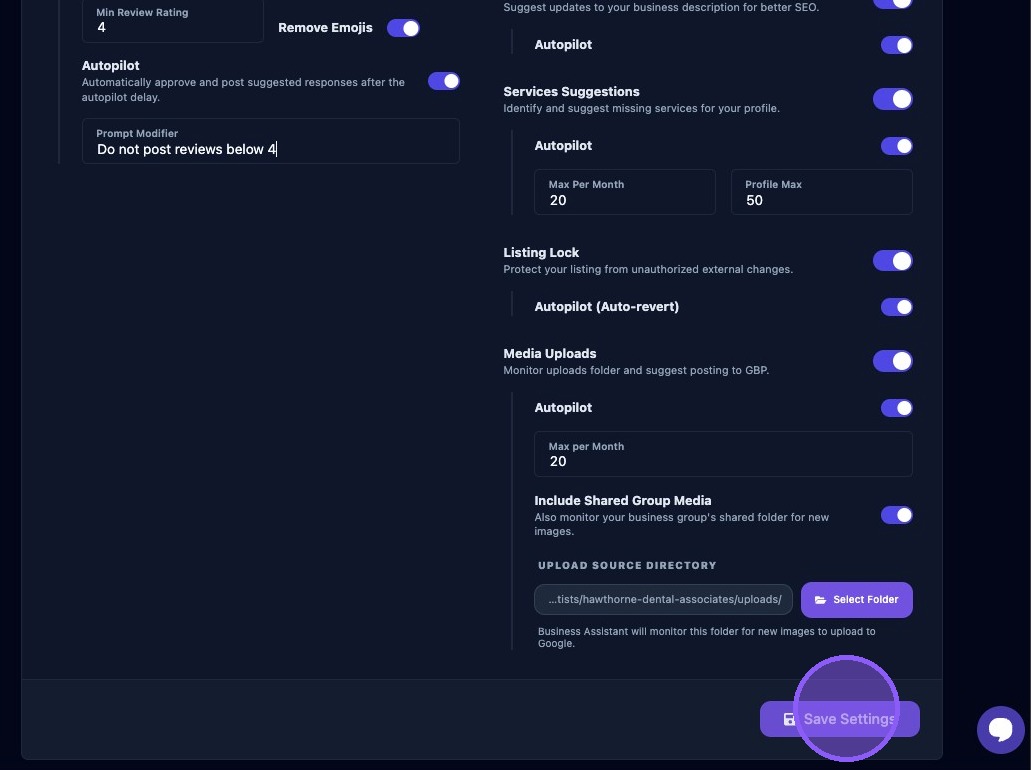
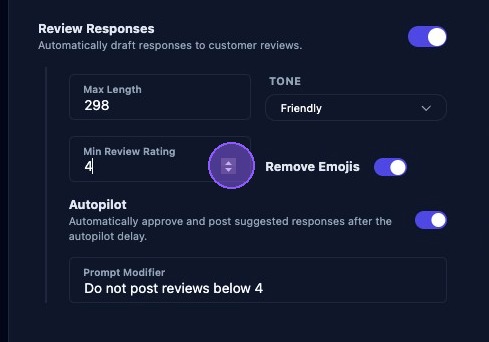
Enter a value in the "Max Length" field (or use the up/down buttons) to adjust the maximum character length of your response.
This is a soft target length, not a hard limit. Responses can exceed this length. It is used to guide the AI, not truncate responses to exactly the max length. Example values are 300 and 500.
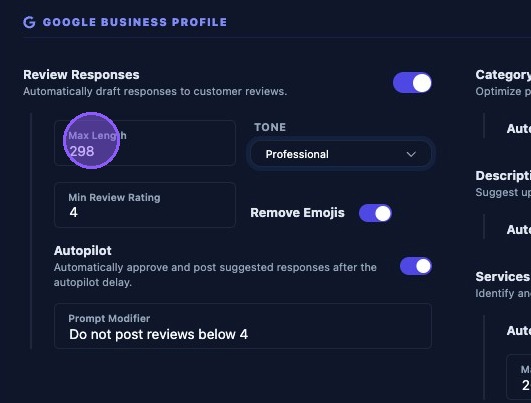
The minimum review rating setting is used to generate a response and prevents the system from responding to low-rating reviews unless you explicitly want it to.
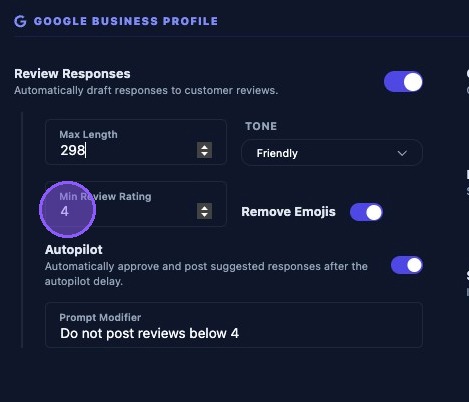
To set the minimum rating, enter a value in the "Min Review Rating" field between 1 and 5, or use the up/down buttons. Most businesses use 4 as the default value to respond to only positive reviews (4- and 5-star). Setting to 1 means it will respond to all reviews.
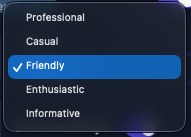
Select the "Tone" dropdown menu to select the type of response tone to be used in the response.
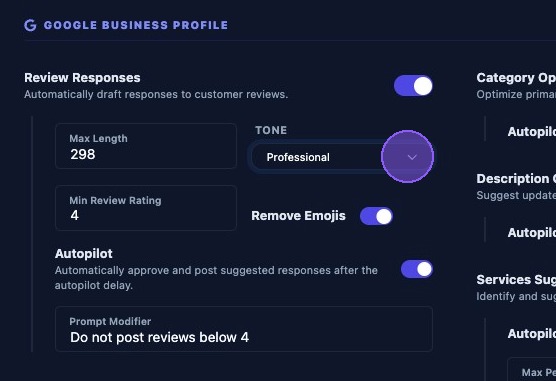
Choose one of the five tone options: Professional, Casual, Friendly, Enthusiastic, or Informative.
Enable this to have AI remove emojis from responses. Formal industries should usually leave this enabled.
Disable if it is okay for AI to include emojis in the Review Responses. Only turn this off for Casual brands.
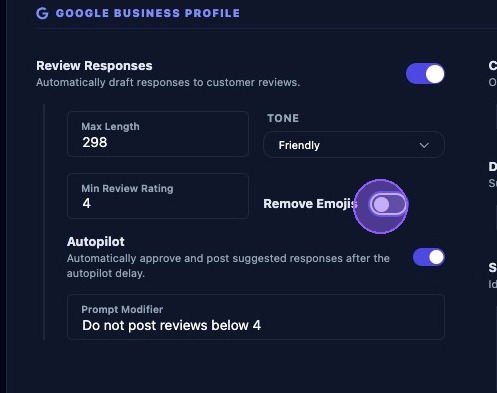
To turn Autopilot on for review responses, use this toggle button.
If enabled, responses are posted automatically. This is risky for most businesses and is rarely recommended because:
- Responses may need personalization.
- Negative reviews often require careful handling.
Enable this only if you trust the generated responses.
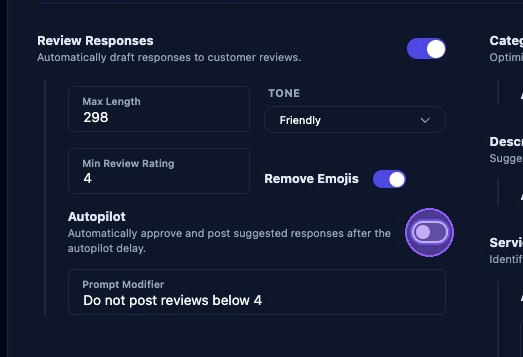
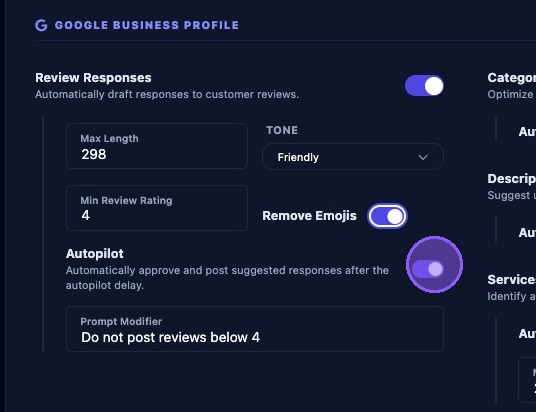
Use the "Prompt Modifier" field to provide AI with additional instructions for Autopilot Review Responses. This is extra text that is appended to the AI prompt. It is useful for including:
- Brand voice guidelines
- Specific messaging requirements
- Hashtags or callouts you always want included
Keep this short and clear. An example AI Prompt Modifier is: “Use a confident tone and mention family-owned.”

Click “Save Settings” when done.