Business Assistant: Social Posts
This guide shows how the Assistant automatically creates and schedules AI-optimized social posts, and how to review, edit, and approve them (including text, variables, images, overlays, and CTAs) so posts match your brand. It also explains crucial settings—platform connections, posts per month, media sourcing, AI image/text modifiers, and autopilot—so you can control when posts are generated and what content and images are used. Follow it to avoid missed inputs, ensure valid CTA URLs, and save changes correctly.
How social posts are generated:
The system examines several criteria before creating post drafts:
- The targeted number of posts per month
- Any pending tasks that have already been created
- Scheduled items already on the calendar
- Post media requirements (if enabled)
- Established platform connections (GBP, Facebook, Instagram)
If any required input is missing, the Assistant skips creation and logs a reason in the run metadata.
How to Select and Review Social Post Tasks
Navigate to the dashboard of a business.
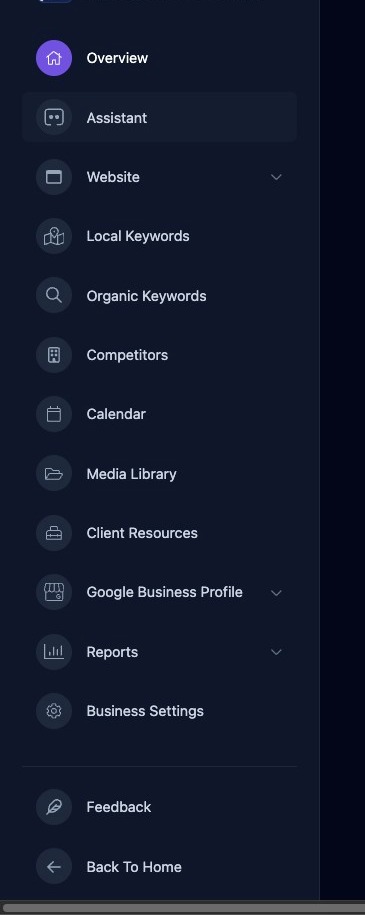
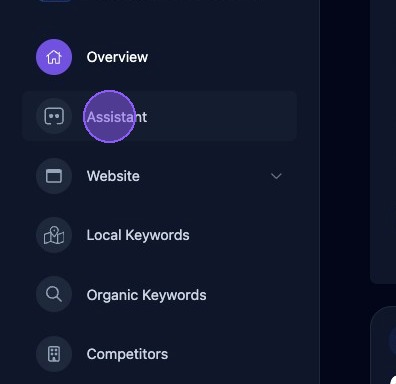
Click “Assistant.”
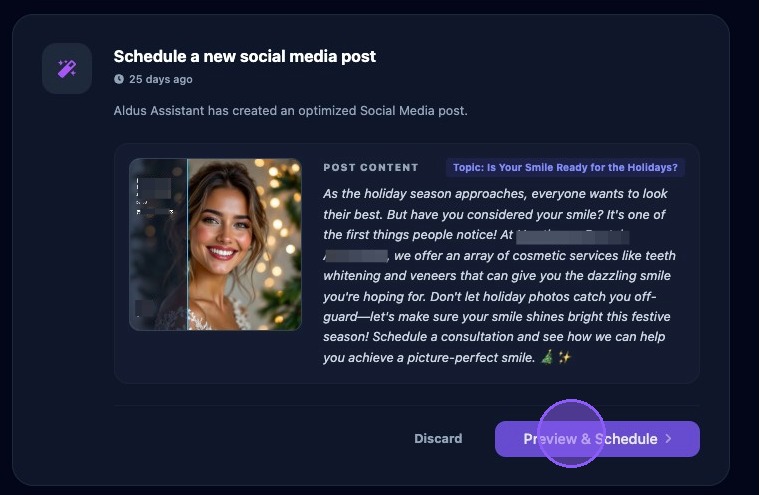
Scroll down your list of Business Assistant Autopilot tasks until you locate a task titled "Schedule a new social media post" that you want to review.
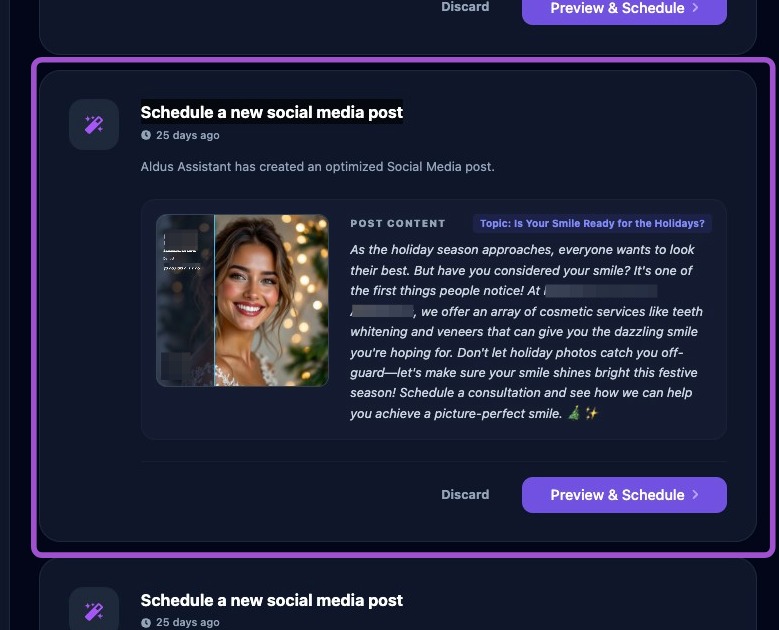
Click the "Preview & Schedule" button to start the review process.
Alternatively, you can click "Discard" to delete the entire suggested Social Post.
The Social Post Preview Window
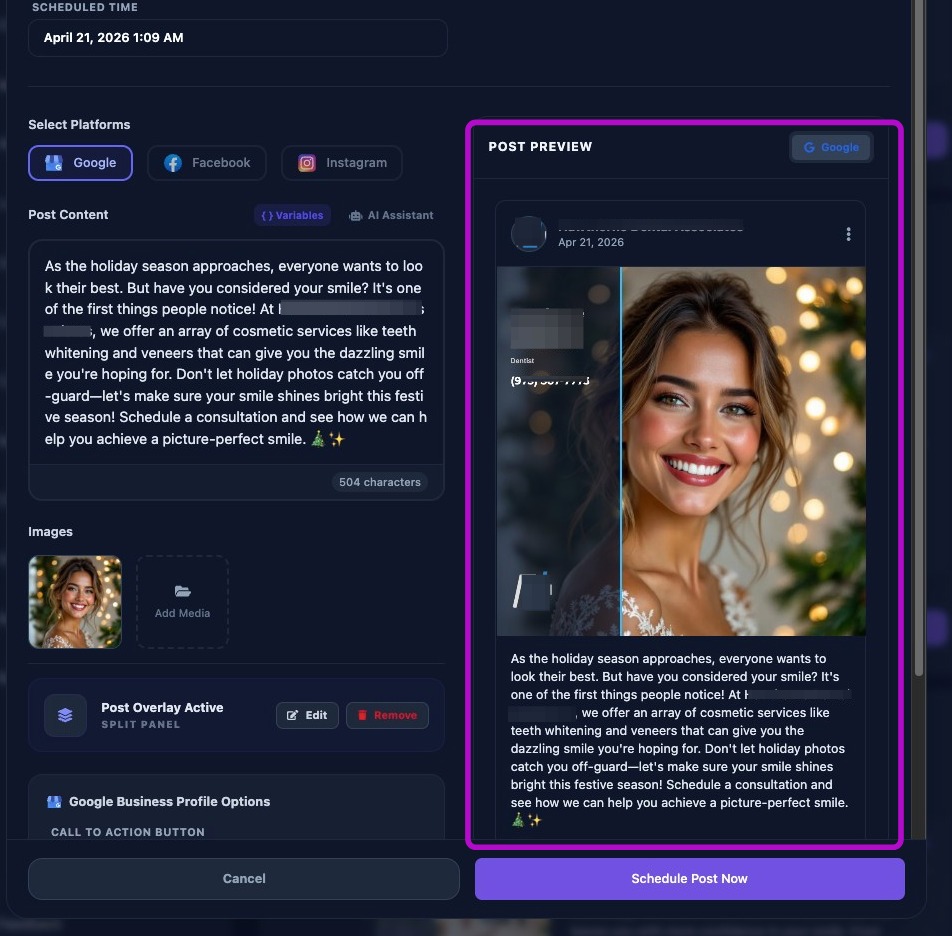
Clicking "Preview & Schedule" opens the Social Post Task in a pop-up window to review, edit, and approve the post to be scheduled.
A preview of the post is presented on the right side of the window to see real-time changes to the post.
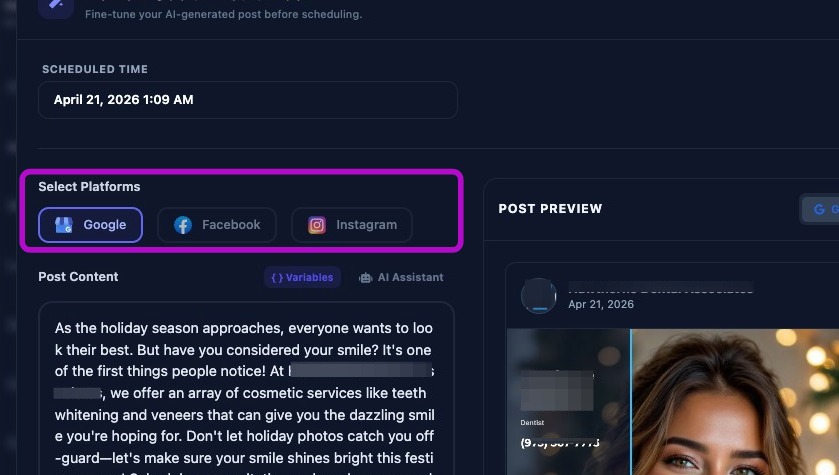
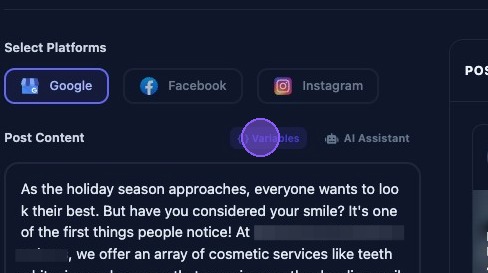
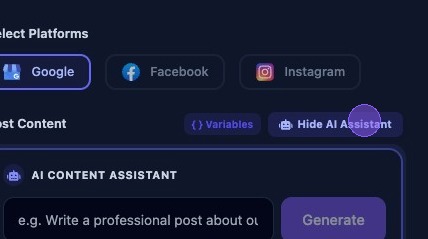
Selecting Social Post Platform
On the top left of the window, verify the correct platform connection selected by the Assistant for this Social Post (Google, Facebook, or Instagram).
Editing Social Post Content: Text, Variables and AI
Next, review the suggested content provided by the Assistant. You can edit the text content directly here. The number of characters in the post is displayed at the bottom of the content.
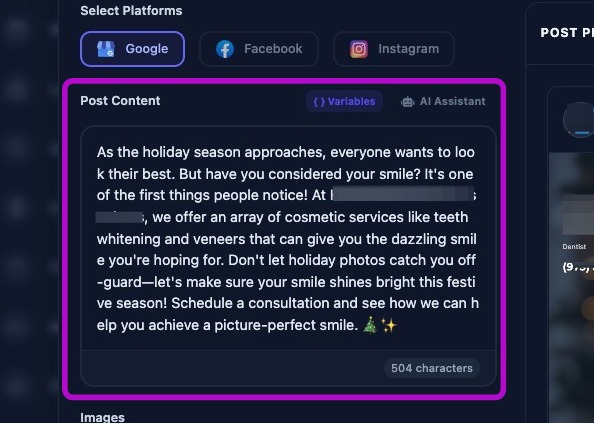
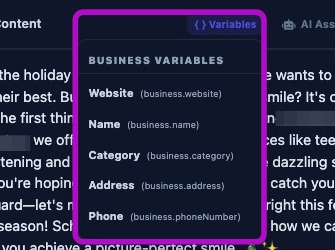
You can also insert business variable tokens in the text. First click in the text where you want to insert the variable. Then click "{ } Variables".
A dropdown menu will appear where you can select the business variable you wish to insert into the text. Choose from:
- Business Website
- Business Name
- Business Category
- Business Address
- Business phone number
Variables are displayed as inline tokens in the Post Content section. Hovering over a variable shows the actual variable path. The preview window on the right renders the real value so you can see the final output.
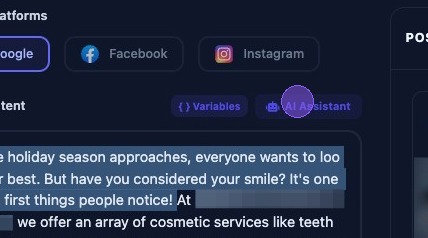
If you want to replace the suggested text, you can have AI help you write a new post. Simply click "AI Assistant" to bring up the AI prompt.
Type an AI prompt to describe your message content.
When composing your prompt, be specific about the topic, and the tone (for example: professional, excited, or fun). Be sure to include any special offers or calls to action you want to include in the content of the post.
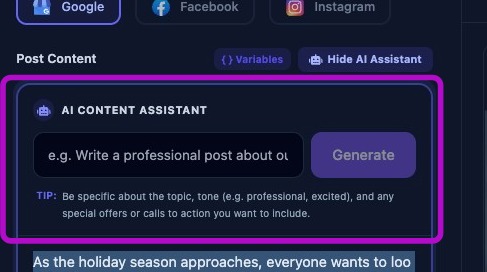
When finished, click "Hide AI Assistant".
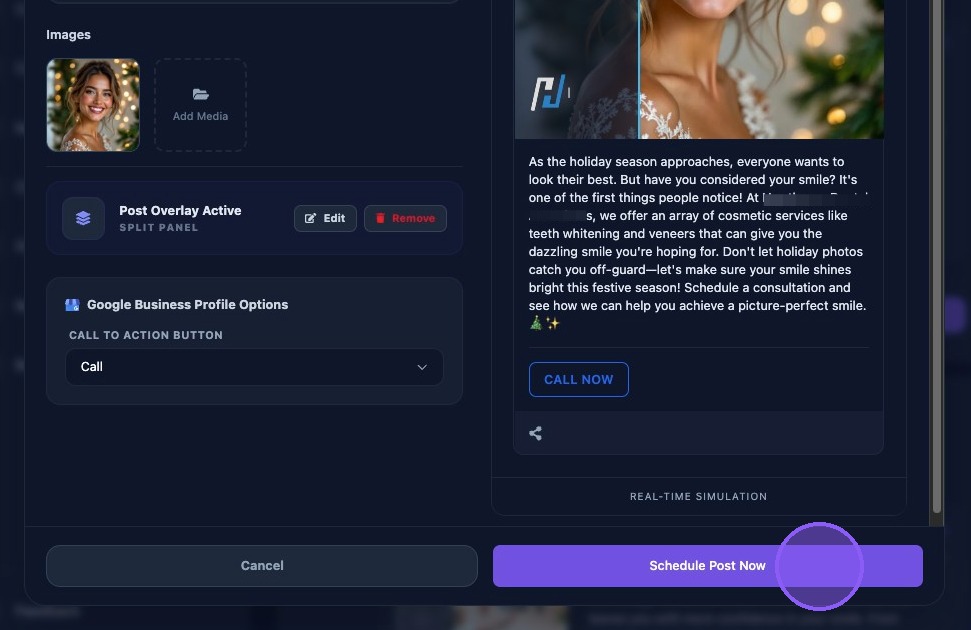
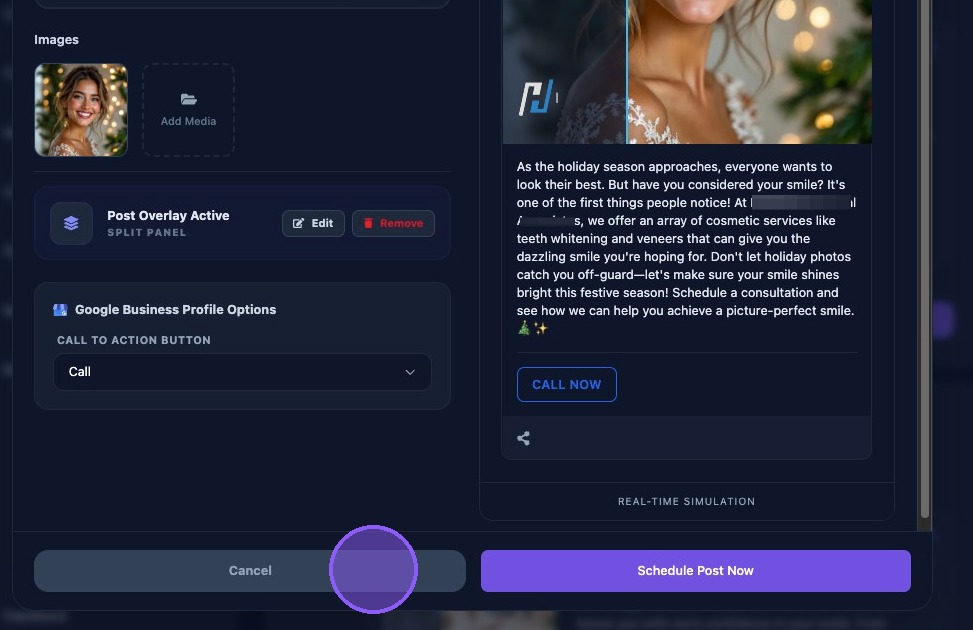
Editing Social Post Content: Images and Overlay
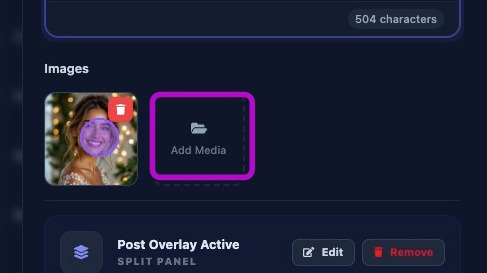
When finished composing the post text content, review the suggested image. Here you can:
- Keep the suggested image by leaving it as-is
- Delete the suggested image by clicking on it and then clicking on the trash can
- Add images to the post by clicking on the "Add Media" button
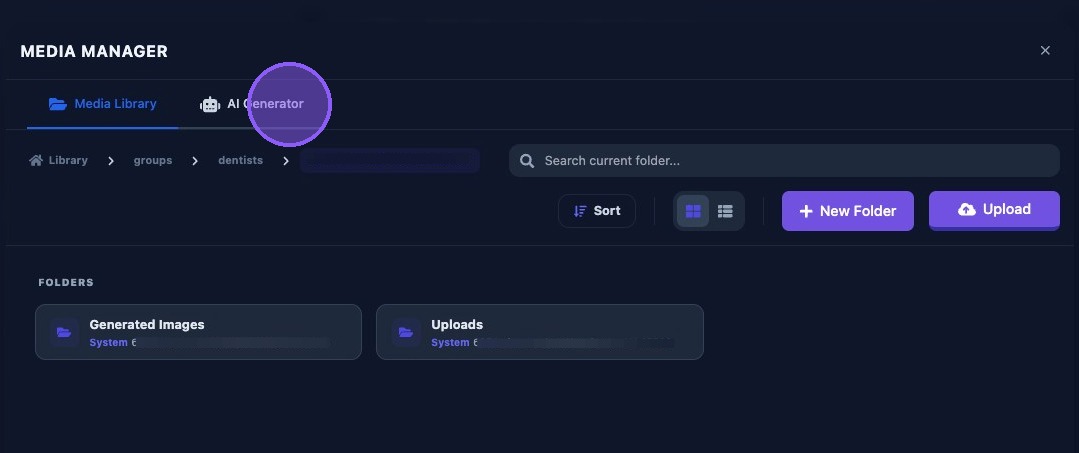
Clicking on the "Add Media" button will take you to the Media Manager to select additional images.
If Media Required is enabled and no uploads exist, posts will not be generated. This is intentional to avoid text-only posts when the business requires imagery.
The Media Manager contains all client uploads, all AI images, or a mix of both. Click "AI Generator" to generate new AI images.
See the Media Manager guide for its full operational capabilities.
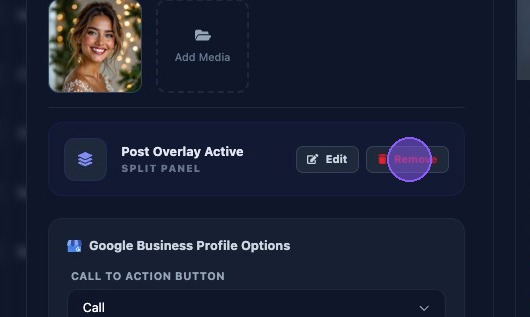
Next, review the suggested post overlay type and status. In this example the type is "Split Pane" and the status is "Active".
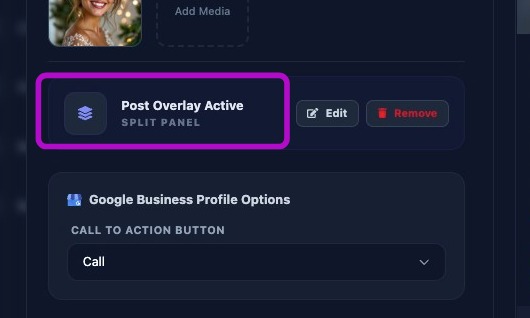
To delete the suggested post overlay click the "Remove" button.
To edit the suggested post overlay click the "Edit" button.
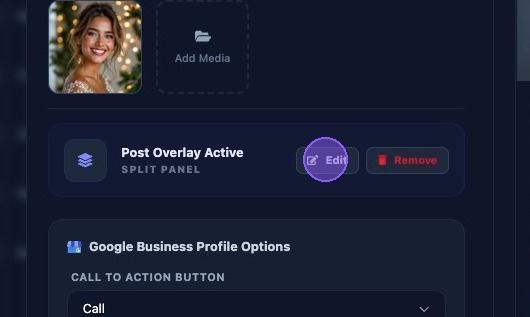
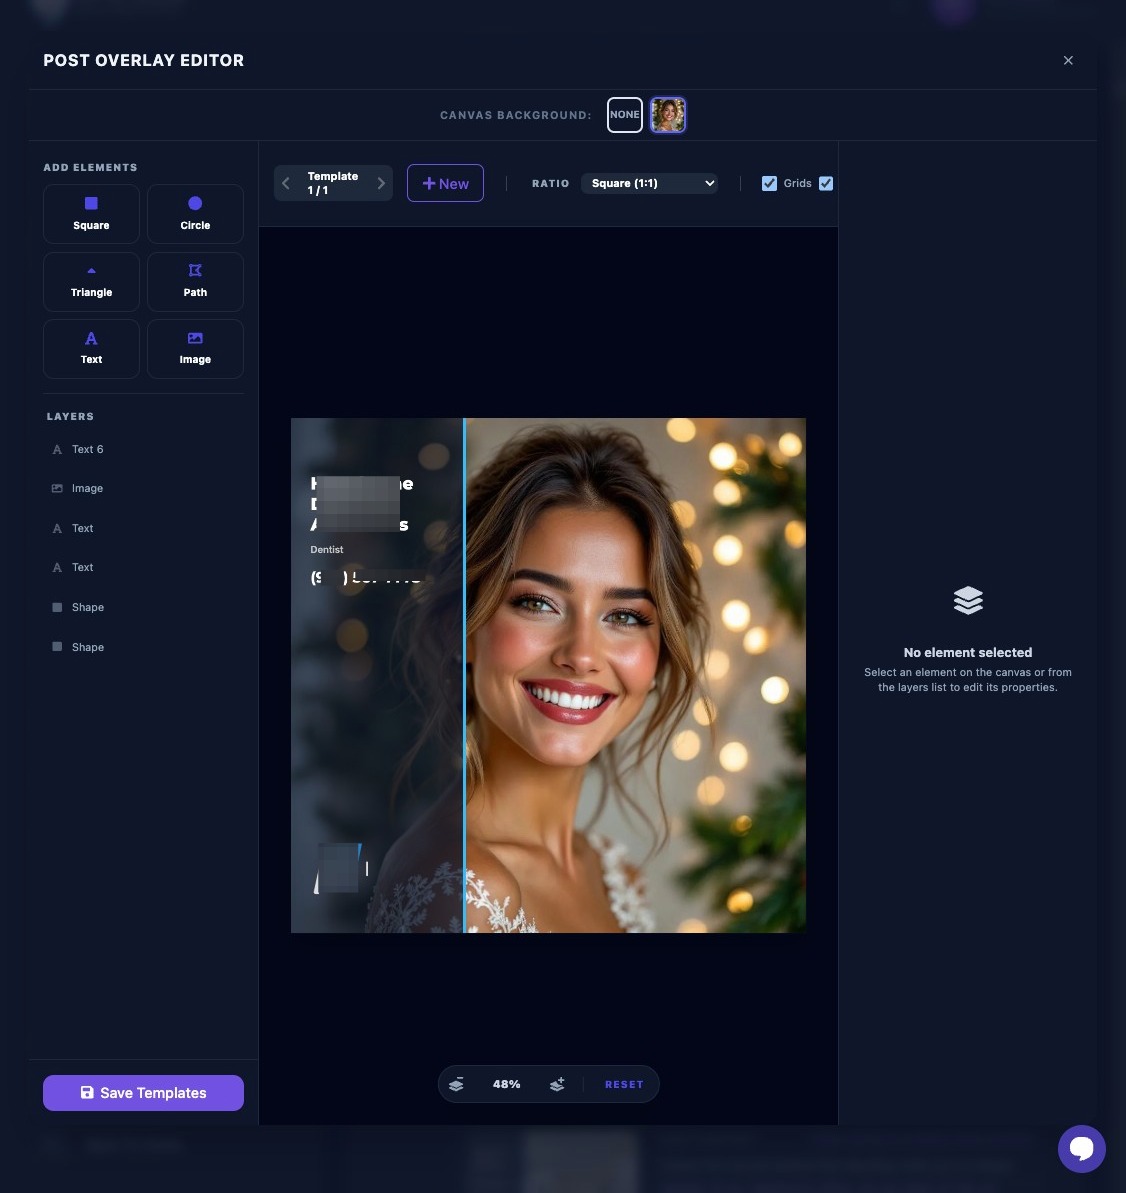
Clicking "Edit" opens the "Post Overlay Editor": a powerful tool for customizing the graphical overlay of your posts. (Please see the separate Guide for the full operation of the Post Overlay Editor.)
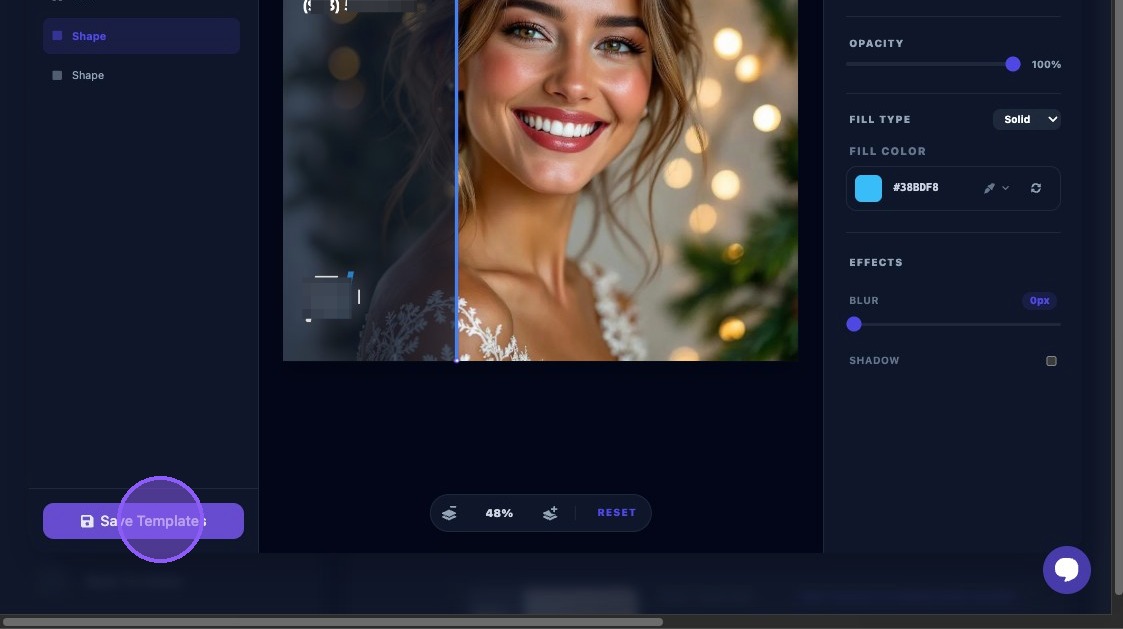
Click “Save Template” when finished.
Editing Social Post Content: Call to Action Button
Review the Google Business Profile option for the "Call to Action Button" (CTA) that will be included at the bottom of the post (and also displayed at the bottom of the preview frame).
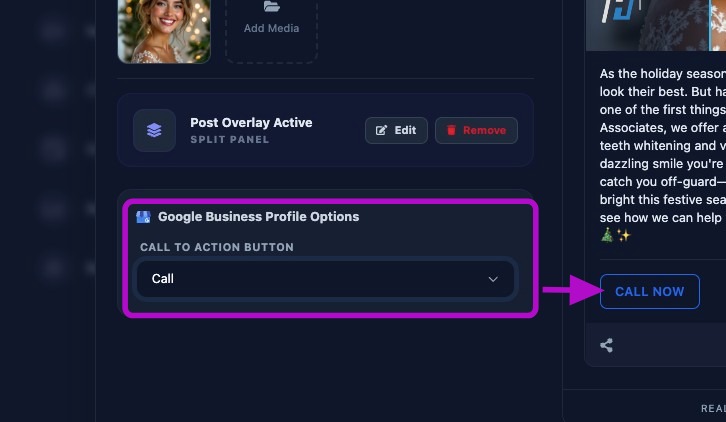
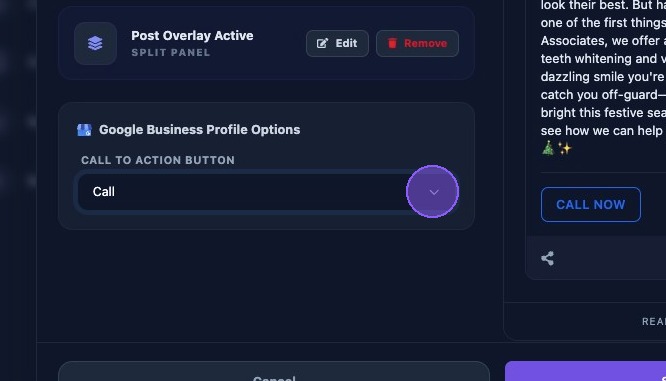
To select a different CTA button, click the "Call to Action Button" dropdown arrow.
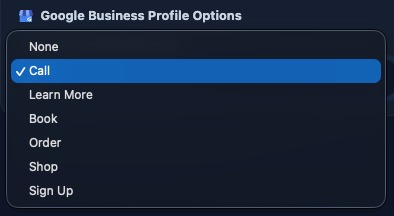
Select one of the six CTA options, or if not needed on the post, select "None".
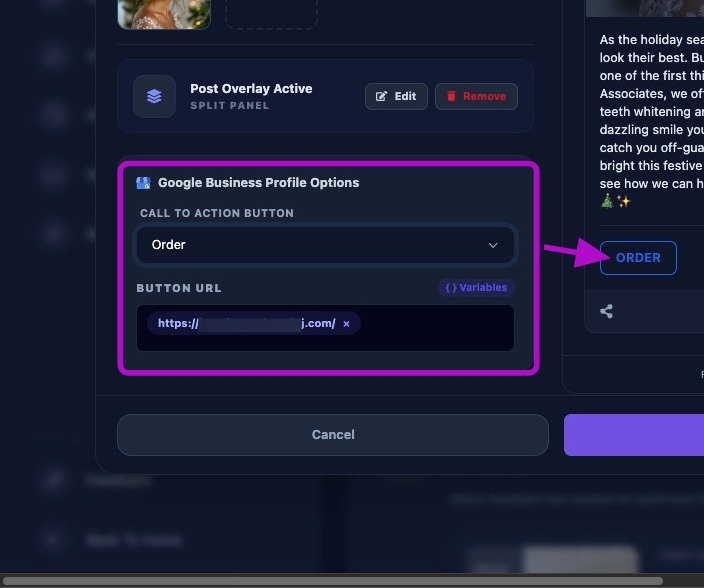
In this example we selected the "Order" CTA button.
Note the CTA Button URL below the selection. CTA URLs must be valid and should include https://.
If you change CTA types, the URL should remain unless you explicitly replace it.
Keep CTA URLs consistent, usually the main website or booking page.
Save or Cancel Your Changes
Click “Schedule Post Now” to save your changes and schedule the post on the calendar.
Scheduling rules are used by the Assistant to schedule posts. The Assistant will:
- Check the calendar for the next available day.
- Avoid multiple posts on the same day unless manual overrides are used.
- Respect schedule window settings (such as business hours or custom times).
If the calendar is already full for the next week, no new tasks are created until space frees up.
If you do not want to save your changes and schedule the post, click "Cancel".
Settings for social posts
Click the settings button. at the top of the Business Assistant section.

Click the "Social Media" tab.
These settings control the social posts task factory and calendar scheduling for social posts.
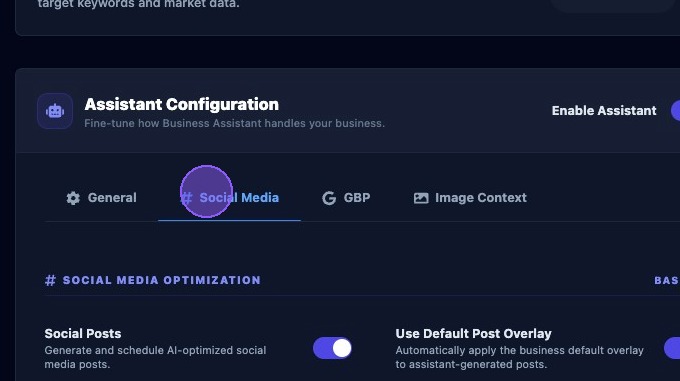
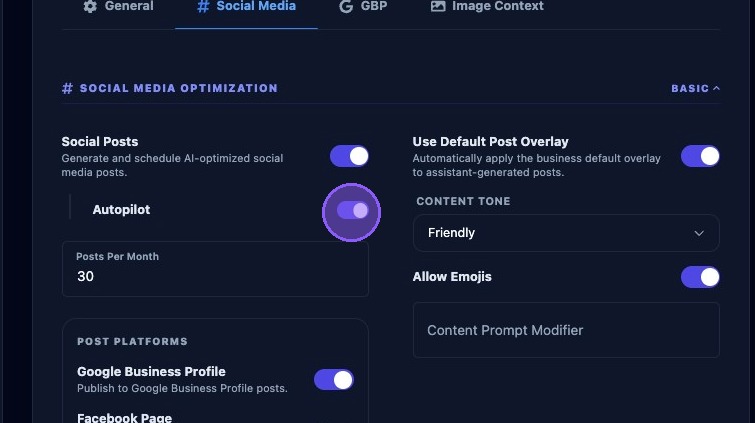
Settings for Enabling social posts, Autopilot and Posts Per Month
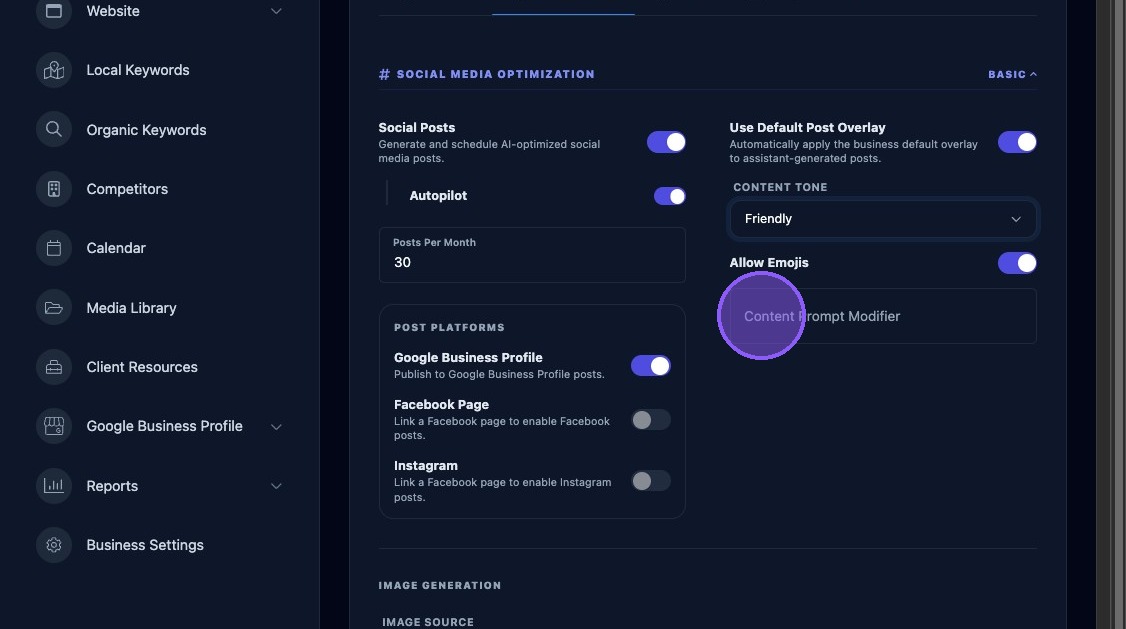
To start generating social posts, click the turn on the toggle next to "Generate and schedule AI-optimized social media posts."
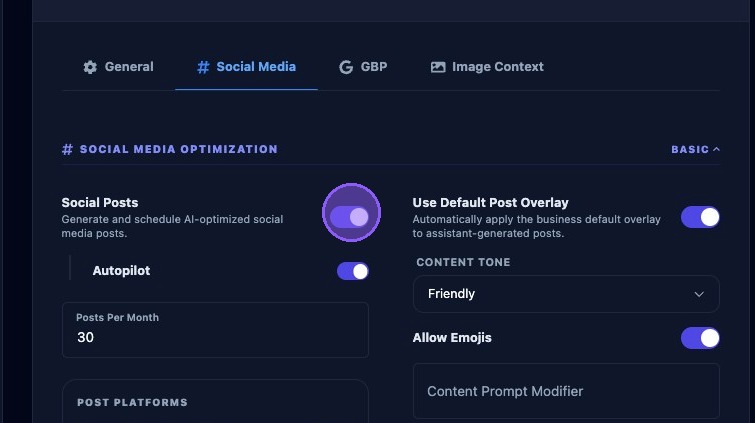
To enable Autopilot for social posts, toggle "Autopilot" on.
If Autopilot is enabled, social post tasks will execute automatically.
If Autopilot is disabled, you must approve each task manually.
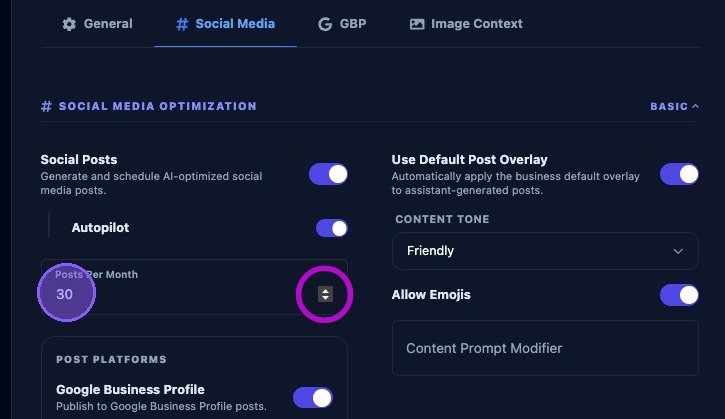
Click the "Posts Per Month" field and enter the target number of posts the Assistant should generate for each month. Example values are: 8, 12, 20, or 30.
Posts per month is used to calculate weekly targets, exact daily spacing is not guaranteed.
Setting a very high number of posts per month may cause the Assistant to hit daily task caps and the calendar may fill quickly.
Settings for Selecting Social Post Platforms
Toggle on or off the desired social media post platforms where you want to publish. Platform choices are:
- Google Business Profile
- Facebook Page
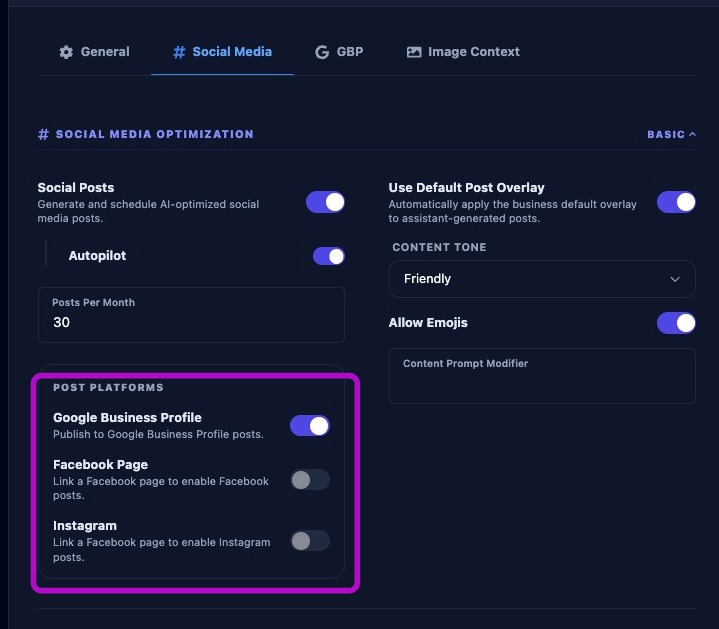
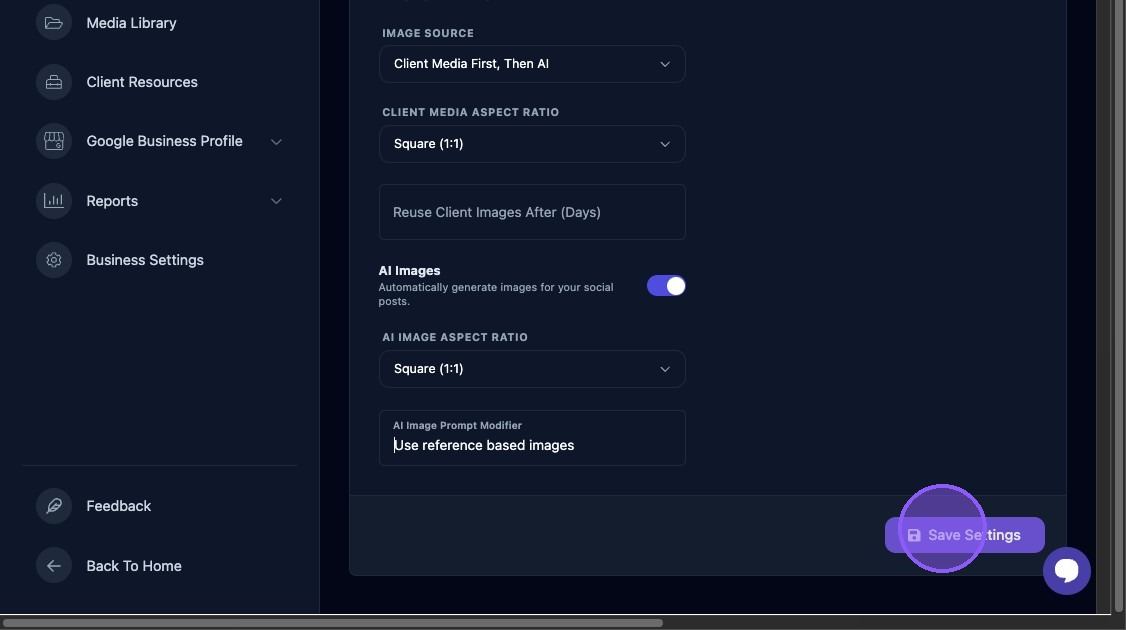
Image Generation Settings
Click the dropdown for "Image Source" to select where the Assistant can pull images from. Options typically include:
- Client Media Only
- Client Media First, Then AI
- AI Images Only
- No Images
If you select “Client Media Only”, images are pulled only from the Media Library Uploads folder. If no uploads exist in this folder, no posts will be generated.
If you select “AI Images Only”, images are generated by AI based on the prompt. AI image generation must be enabled in system settings to work properly.
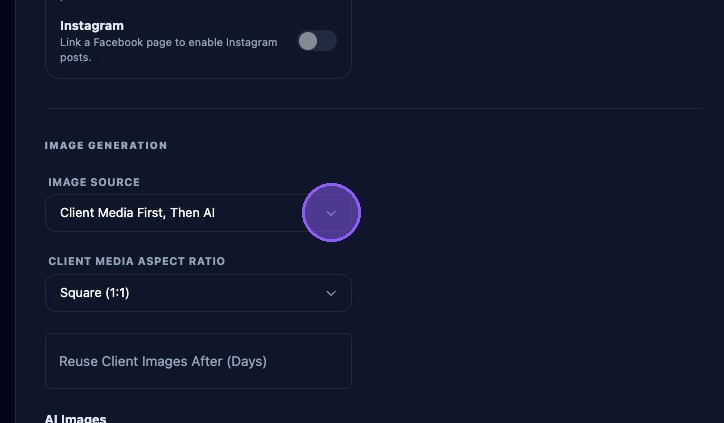
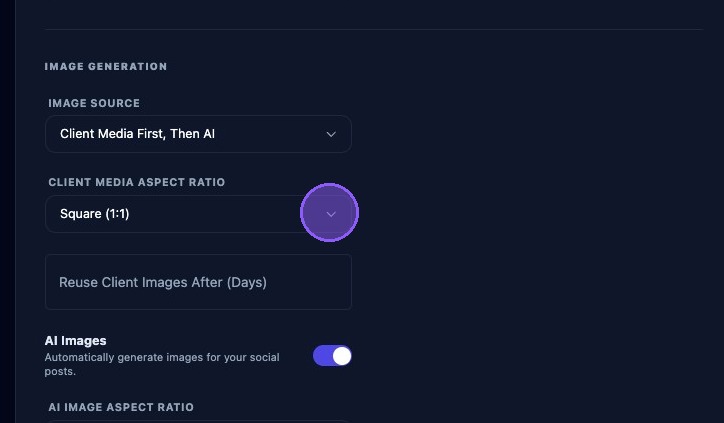
Click the dropdown for "Client Media Aspect Ratio" to determine how the Assistant will perform image cropping. Options typically include:
- Square (1:1)
- Widescreen (16:9)
- Original (No Crop)
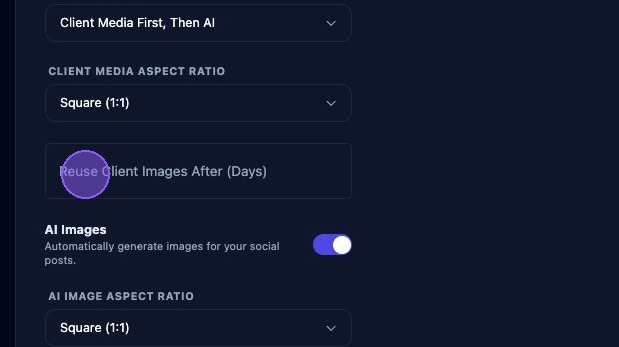
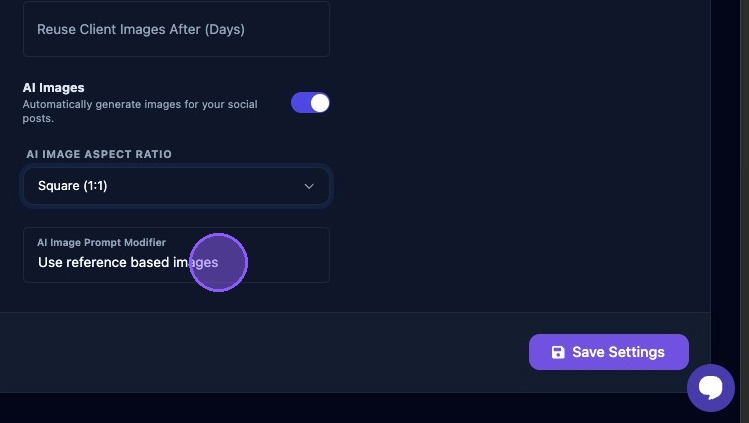
Click this field and enter a number of days to elapse before a client image can be reused.
Use a longer interval when you want more variety between repeated client images.
Leave the field blank if images should not be reused automatically.
If you want to automatically generate AI images for your social posts click this toggle on.
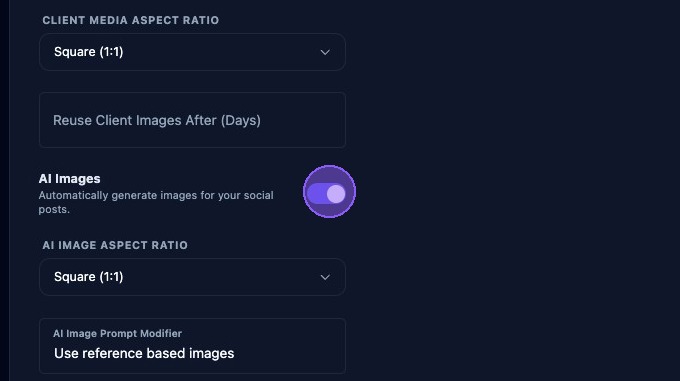
Click the dropdown for "AI Image Aspect Ratio" to determine how the Assistant will perform AI image cropping. Again, options typically include:
- Square (1:1)
- Widescreen (16:9)
- Original (No Crop)
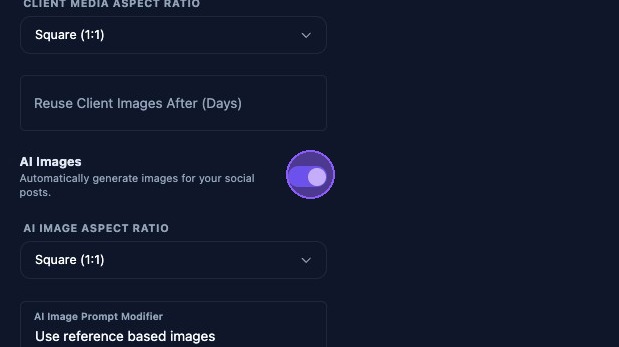
Click the "AI Image Prompt Modifier" field to enter extra text that will be appended to the AI prompt for AI image generation. This is useful for:
- Adding brand voice guidelines in images.
- Specific messaging requirements in images.
- Hashtags or callouts you always want included in the images.
Keep this short and clear. For example: “Provide a confident and professional looking employee.”
Settings for Content and Post Overlay
Click this toggle on to automatically apply the business’s default overlay to all assistant-generated posts.

Click the dropdown menu to select an AI content tone. The Tone setting determines the writing style of AI-generated content. Options may include:
- Friendly
- Professional
- Casual
- Enthusiastic
- Informative
Use "Friendly" for most local businesses, and use "Professional" for industries like legal or medical.
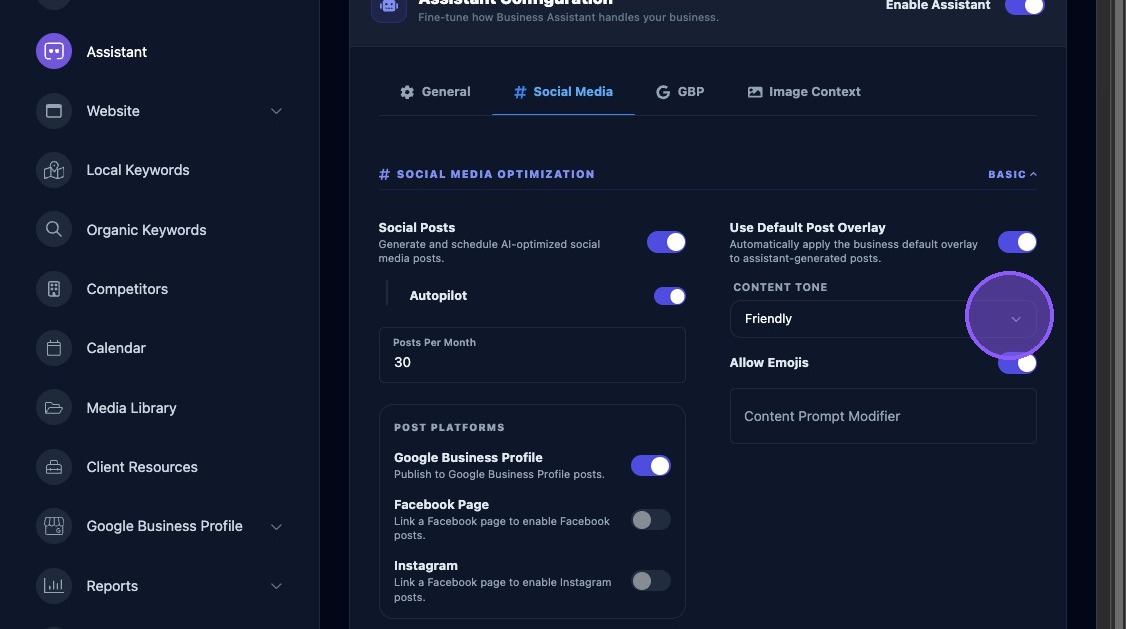
When enabled, the AI can include emojis. Emojis should generally be used for casual brands. Turn it off for formal industries.

Click in the "Content Prompt Modifier" field to enter extra text that will be appended to the AI prompt for AI text content generation. It is useful for:
- Adding brand voice guidelines in text content
- Specific messaging requirements in text content.
- Hashtags or callouts you always want included in the text content.
Keep this short and clear. For example: “Use a confident tone and mention family-owned.”
Saving Your Settings
Click “Save Settings” often.
Most changes on this page are not applied until you click Save. If you navigate away without saving, changes are lost. Get in the habit of saving after every section.