Businesses: Managing Media Library
This guide shows how to quickly find, organize, edit, and reuse a business’s media so you can manage images efficiently across social posts and Google Business Profiles. It explains folder structure, search/sort options, list vs grid details, and folder best practices (Uploads vs Generated Images). You’ll also learn quick actions—crop, replace/save, download, delete—and how to tag files as used or available for future posts.
Managing the Media Library
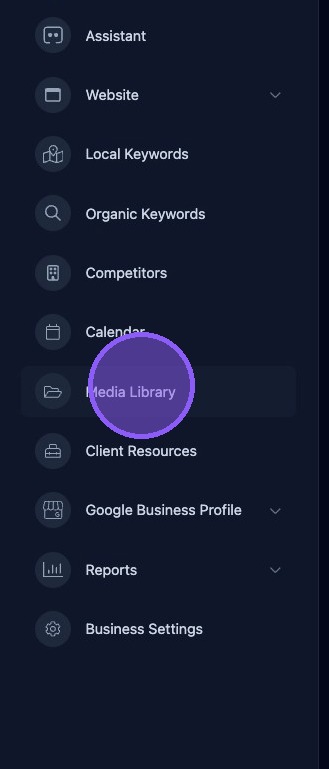
Click "Media Library" for the business location.
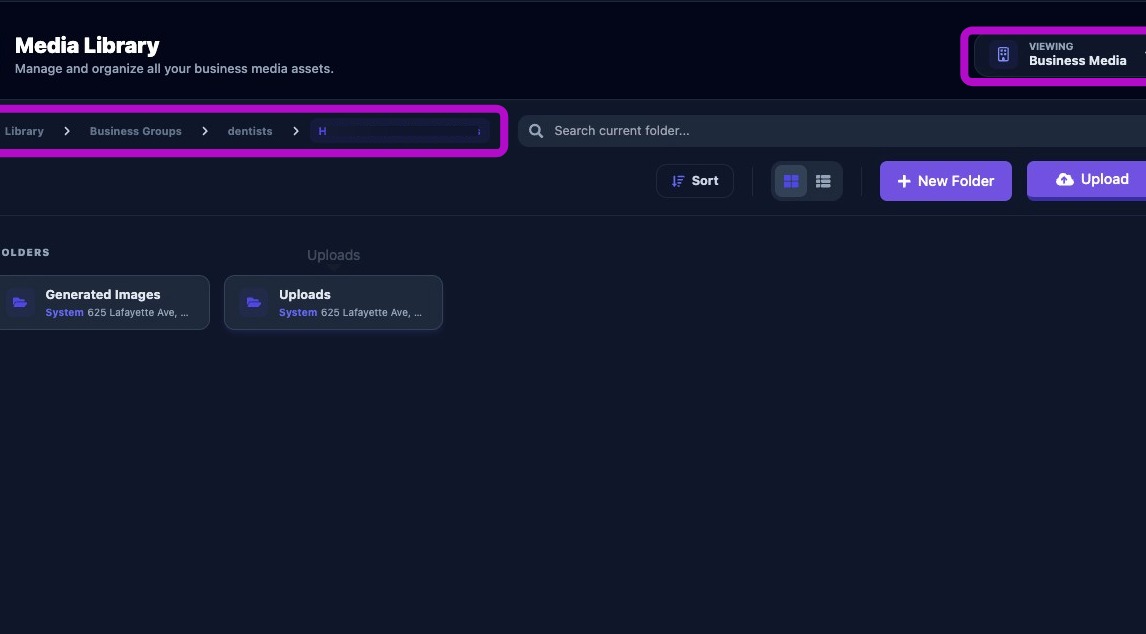
It is important to understand the file structure and location of folders within the media library. Click the viewing selector in the upper right to switch between various levels of media such as Business Media and Group Media. You can click any folder to navigate back through your organization’s library.
In this example we are located in the organization’s library, then in a folder of Business Groups, then in a folder of Dentists, and finally in the folder for the Business Name in that group (business name redacted).
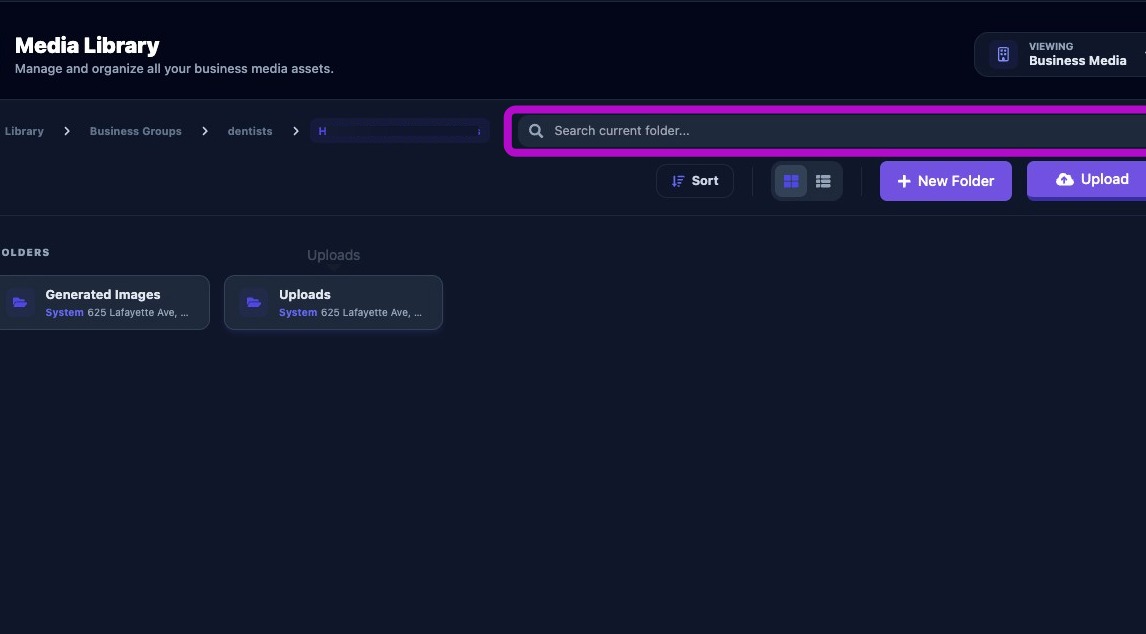
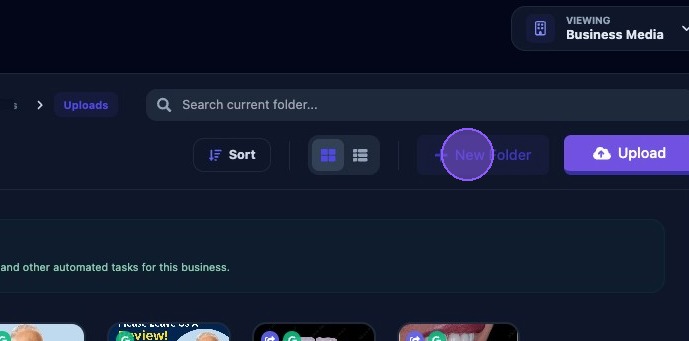
You can search the current folder for media file names at any time.
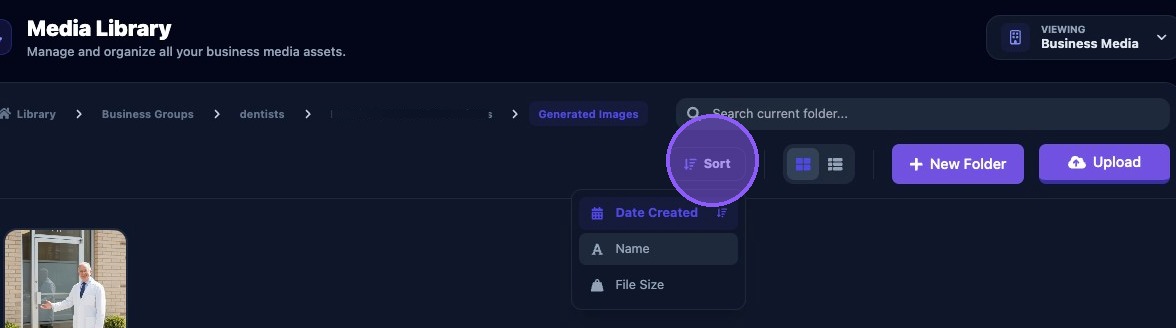
You can sort the media files in the current folder by:
- Date Created
- Name
- or file size
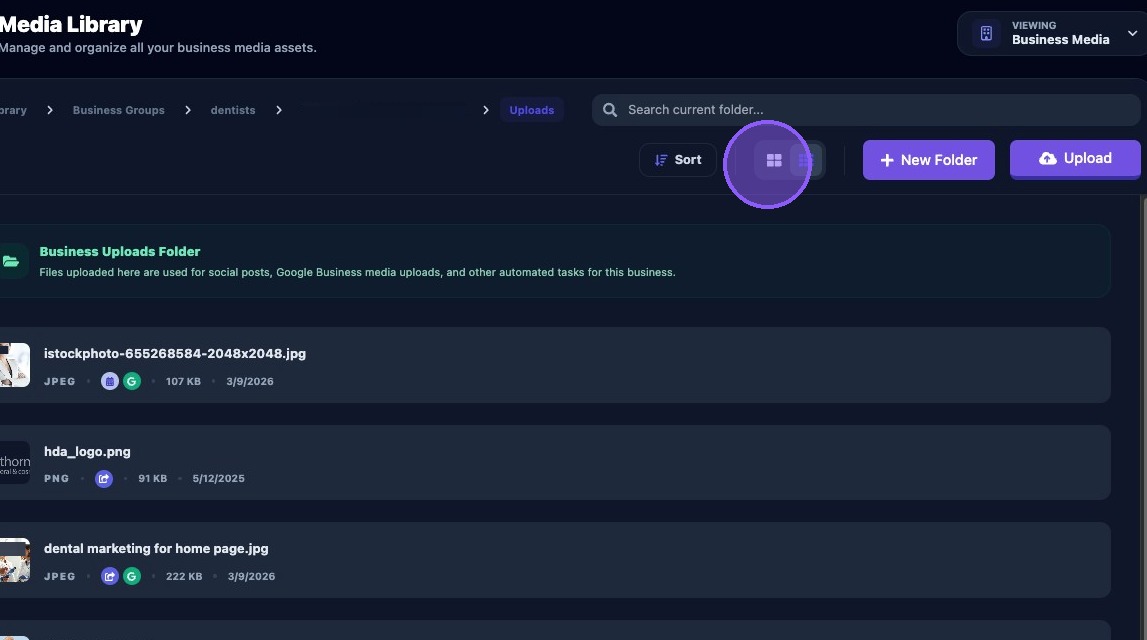
List view
Click here to toggle the media files between a grid view and a list view.
Note that depending on the view, each file displays various information about the file and can include:
- Type of file (JPEG, PNG, etc)
- Size of the file
- Date uploaded
- Green circle icon with a "G" - was uploaded to Google Business Profile
- Blue circle icon with an arrow - was used in a social post
- Light blue circle icon with blue calendar - is scheduled for an upcoming social post
Grid View
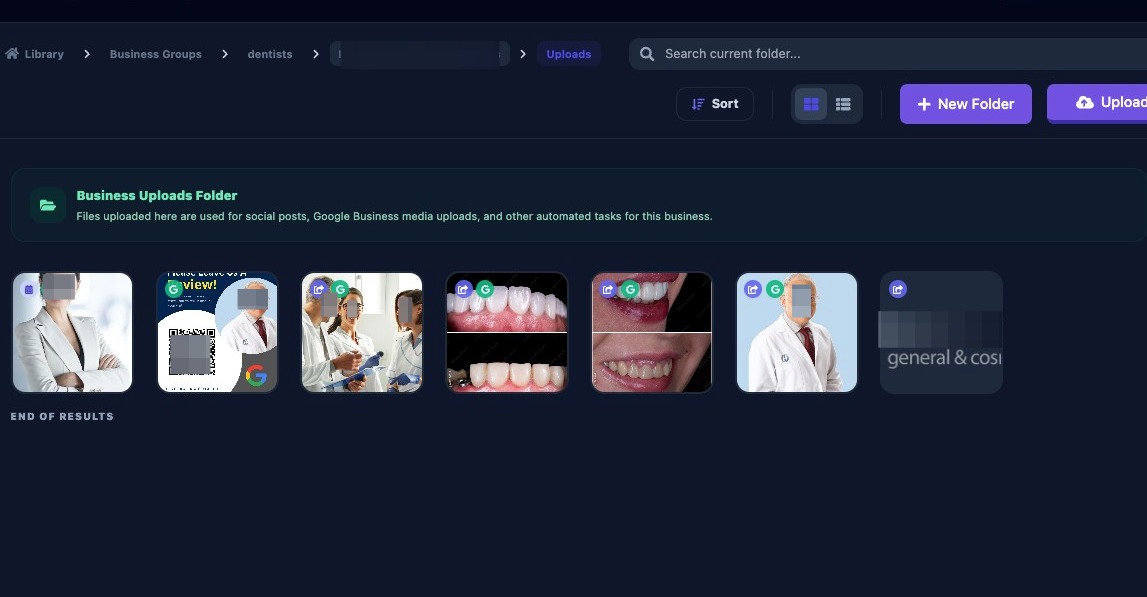
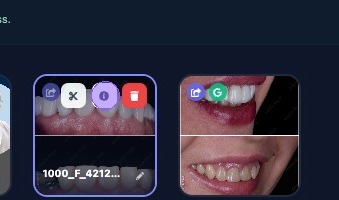
Hovering over an image will reveal three icon buttons:
- Scissors - to crop the image
- "i" - to open a side panel for more info
- Red trash can - to delete the image
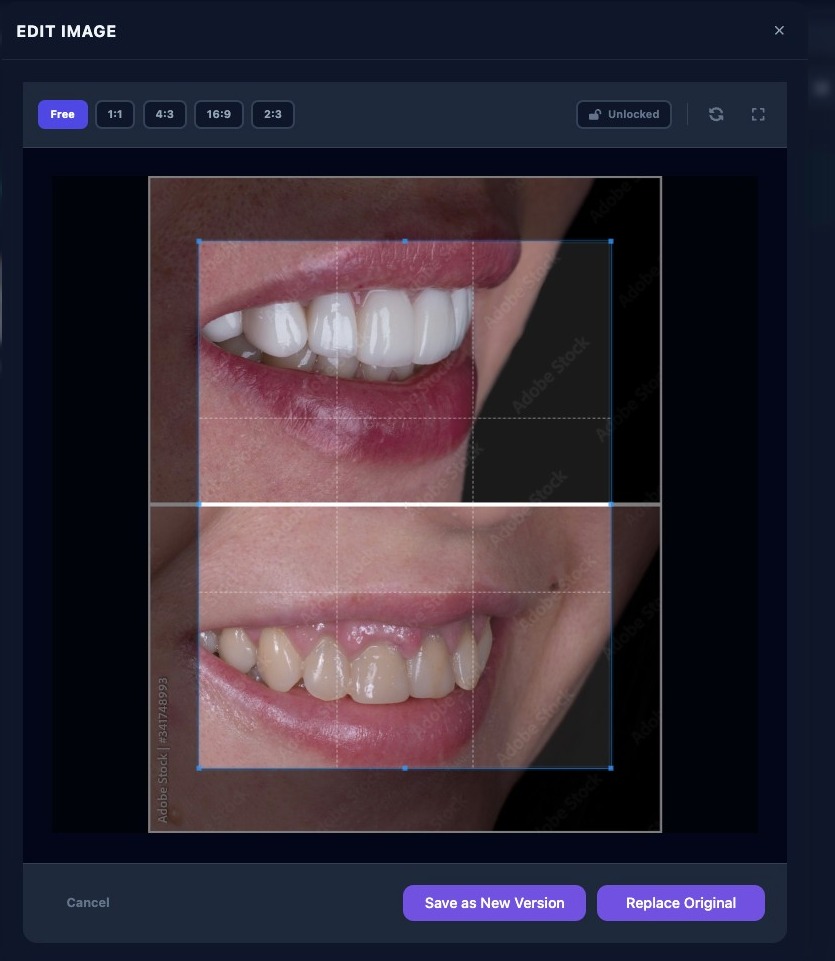
Click the scissors icon and an Edit Image window will pop up.
Here you can:
- Crop the image
- Choose a cropping aspect ratio or freeform
- Lock or unlock the image
- Rotate the image
- Reset the image back to original when opened (before saving)
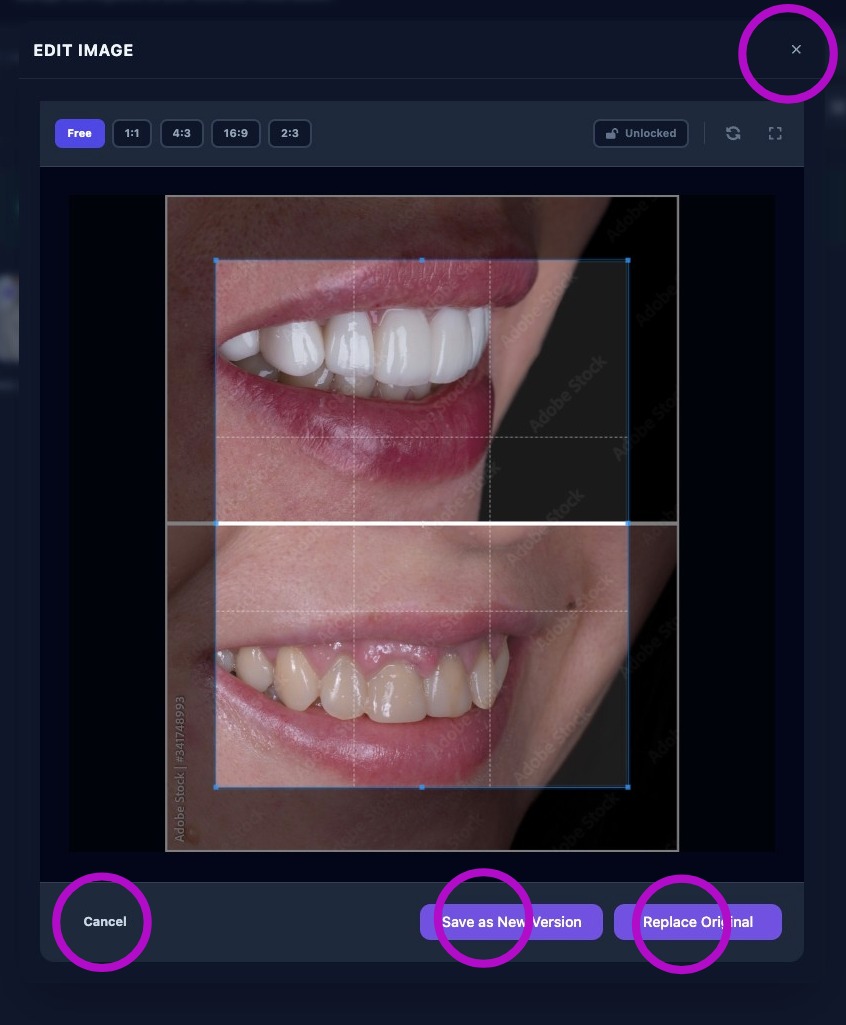
When done you can choose to either:
- Click “Cancel” or click the "X” in the upper-right corner
- Click “Save As New Version” to keep the original as-is and create a new image
- Click “Replace Original” to delete the original and replace it with the new image
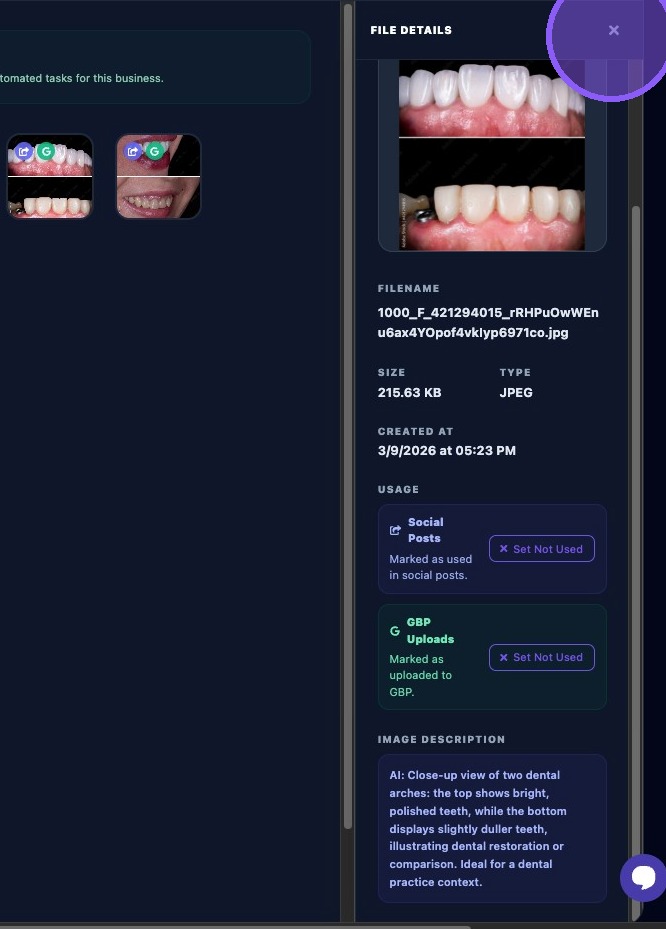
Click the “i” icon on an image to open a side panel for more info. At the top of the panel, you will find buttons to crop the image, download the image, or delete the image
Below that you will find the name of the file, the size, the file type, date and time it was created or uploaded.
Next, it will show if the photo has been marked as used for social posts and GBP uploads. You can override this mark by clicking on the "X” next to "Set not used". This will allow the image to be used again for social posts or GBP uploads. You can also toggle this setting back to used by clicking on "Set used".
Lastly, it provides an AI image description of the image and how it would best be used for posts. To close the panel, click the "X” in the upper right corner.
Each business location must have an "Uploads" folder and should have a “Generated Images” folder for AI content. Clicking on either of these will open and reveal the media files and folders within.
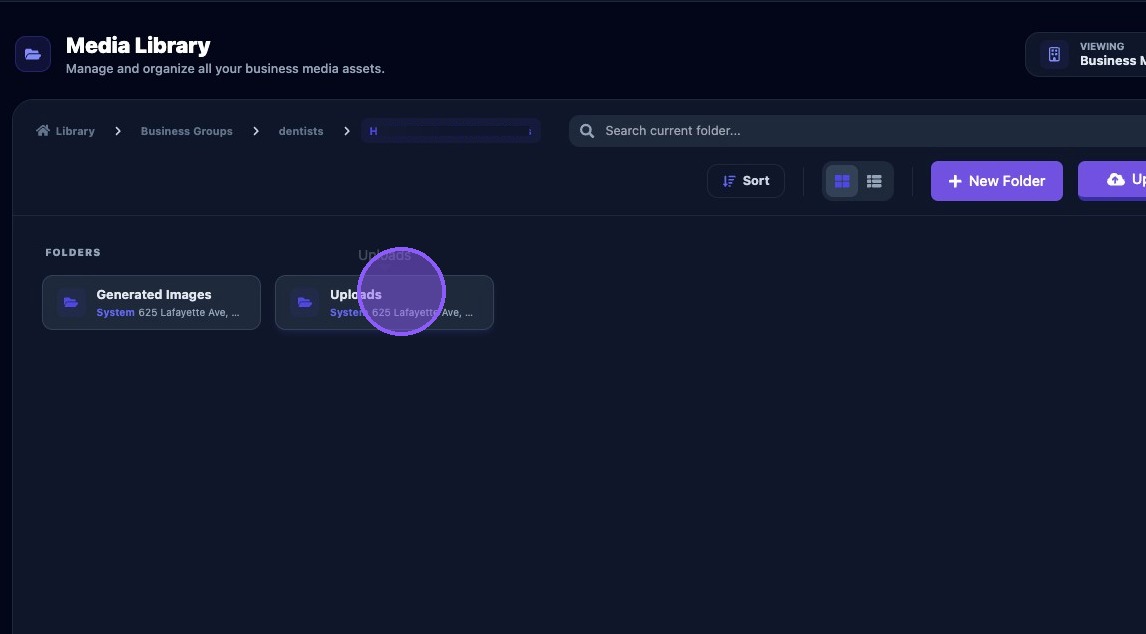
To help organize media files, click "New Folder” button while inside either the "Uploads" folder or the Generated Images” folder.
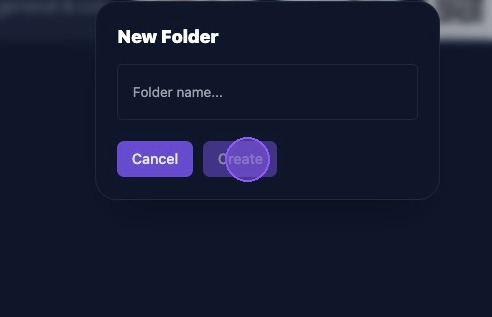
Give the new folder a name and click “Create”. Click “Cancel” if you do not want to create a folder.
Keep all client media in the Uploads folder.
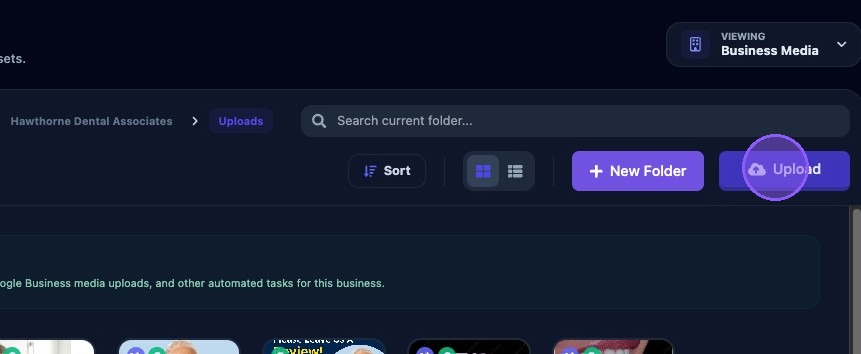
Click “Upload” to upload media from your computer. You will be presented with your operating system’s file selector window to select image files for uploading.
Files can be JPEG, PNG, WebP, or HEIC. Non-JPG/PNG images are converted to standard formats. Files up to 50MB are accepted.
Once uploaded, media can be used by Assistant tasks and scheduled uploads.