
Businesses: Accessing Business Settings
This guide explains how to correctly configure the Business Settings for a single location's core identity, trade area, refresh timing, contacts, integrations (Google, Facebook, Analytics, Search Console) and AI/context data are accurate. Fixing these settings prevents downstream errors—wrong time zones, addresses, or disconnected accounts will break maps, reports, refreshes, and social/review functionality. Follow it to ensure reliable local rankings, reporting, and automated workflows.
The Business Settings Page Controls:
- The business’s core identity (name, address, phone, website).
- The time zone and refresh schedule used by background workers.
- The trade area used for local keyword maps and geographic reporting.
- Linked platforms such as Google Business Profile and Facebook.
- Business‑level configuration that other pages depend on (if enabled).
It is the page you should open first when something is “off” for a business.
If any of these are wrong, downstream features will behave incorrectly. For example:
- A wrong time zone causes weekly refreshes to run at the wrong hour.
- A wrong address affects map pins, trade area shapes, and local rankings.
- A disconnected Google Business Profile account prevents reviews, posts, and performance data from loading.
Navigating to Business Settings
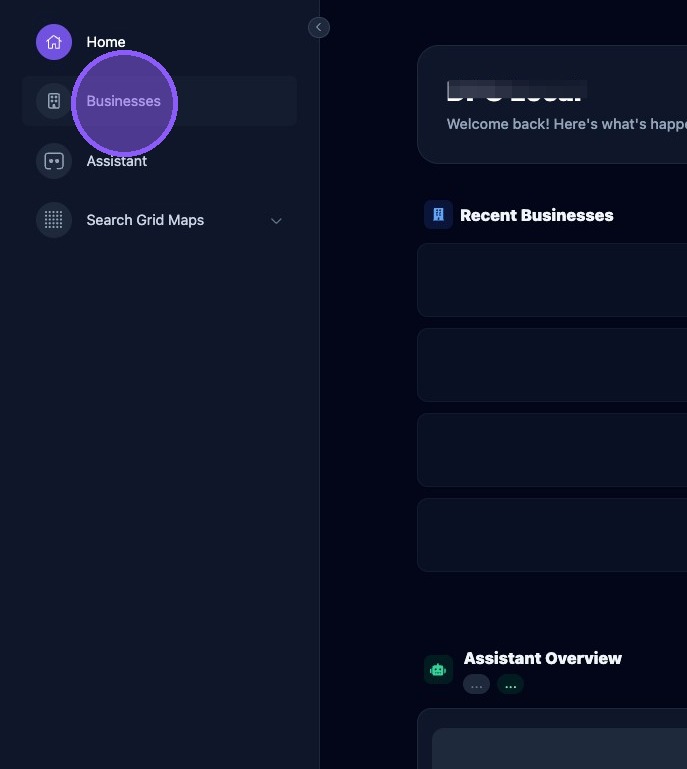
From the "Home" screen, click businesses.
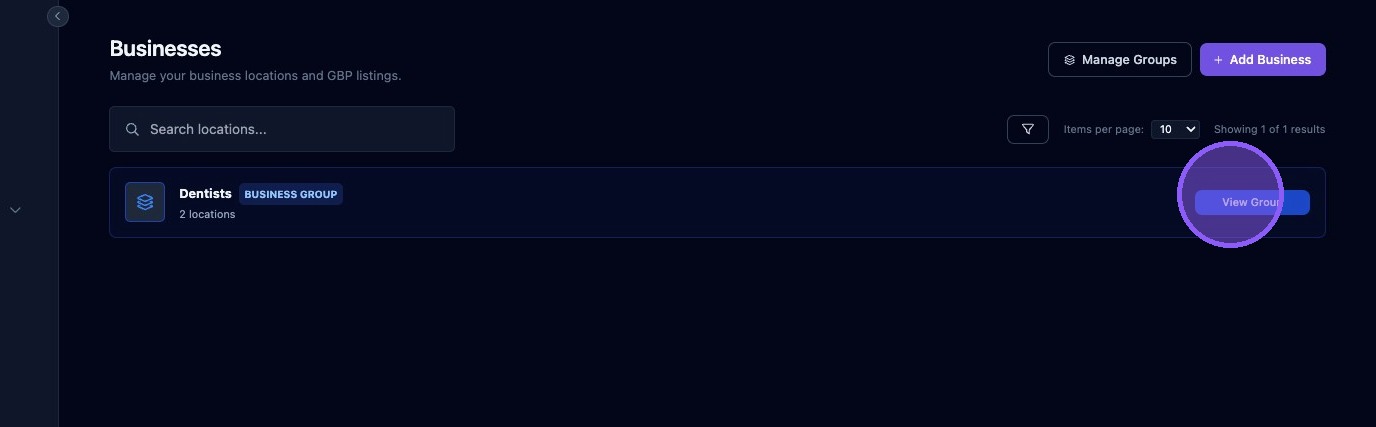
If you use Business Groups, click "View Group". If not, skip to the next step.
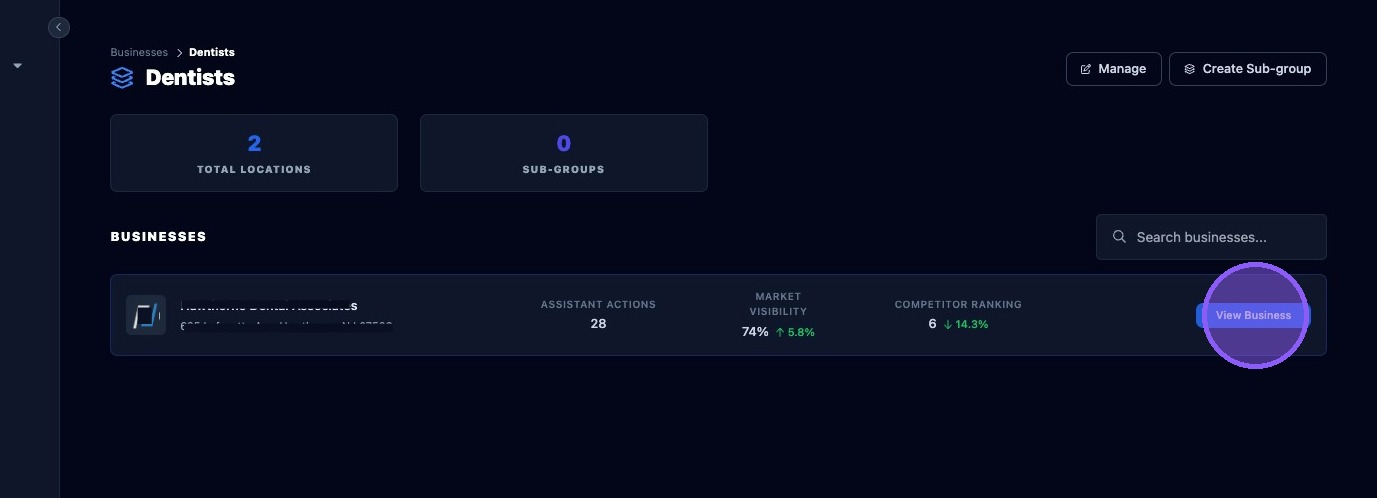
Click “View Business.”
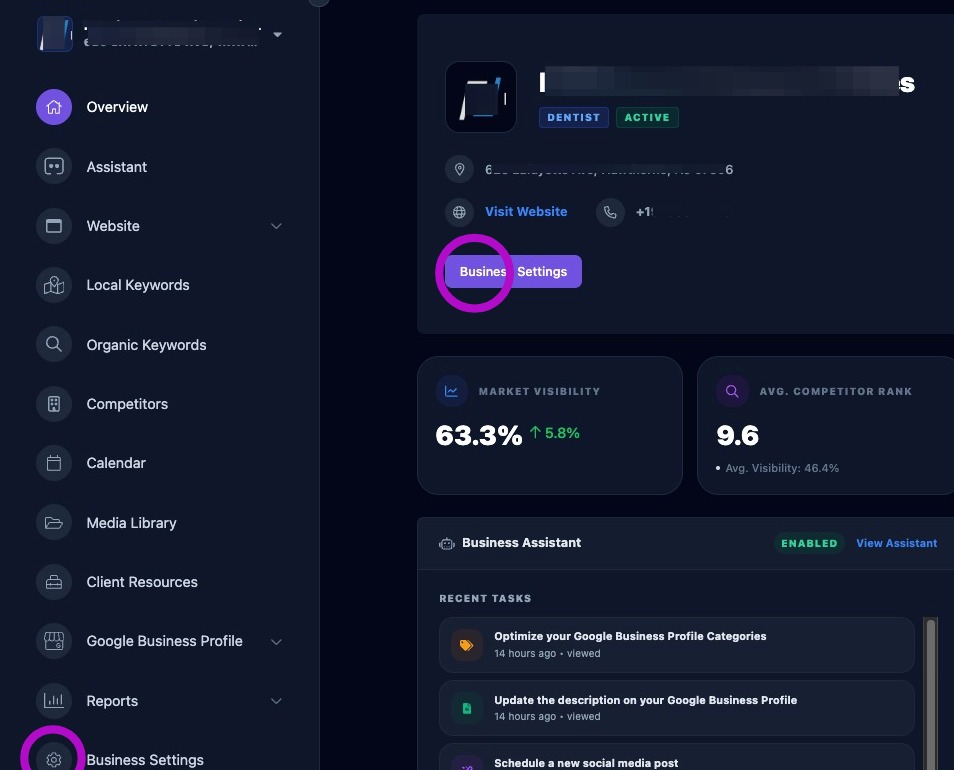
To access, click "Business Settings" at the bottom of the dashboard or the quick link "Business Settings" button on the Business Overview panel.
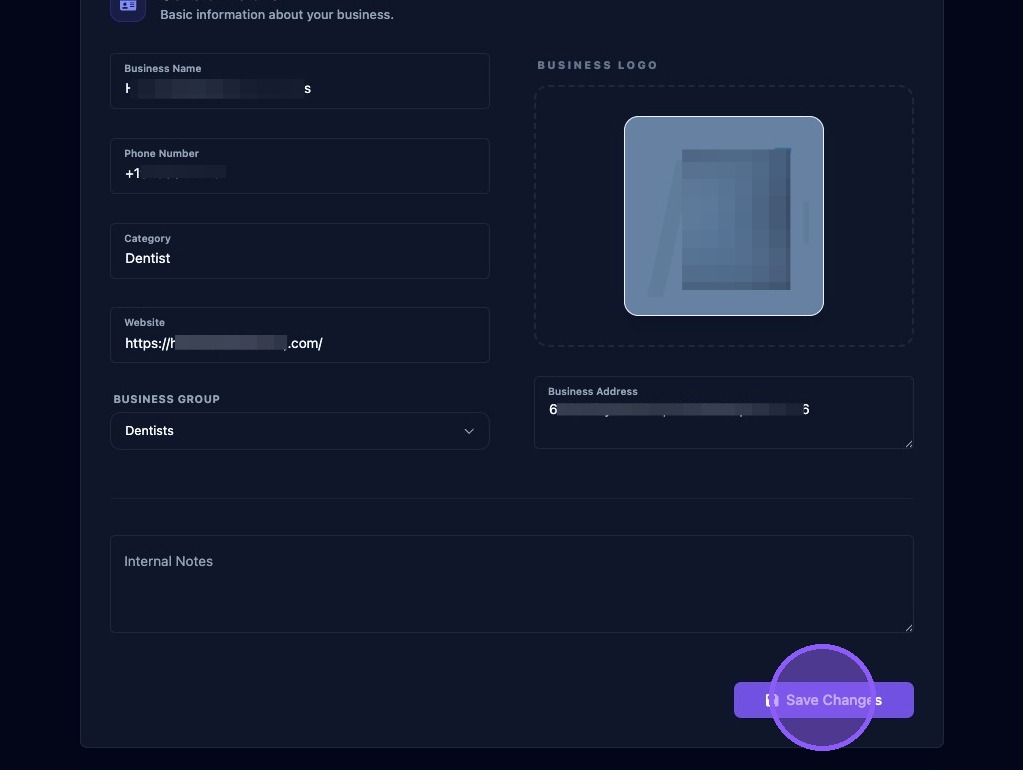
Section 1: General Details
Section 1 is where you manage general details and basic information about your business.
This section defines the canonical identity of the business inside the platform. These fields are not only used for display; they are used in prompts, overlays, reports, and schedules.
Fields and how to use them:
- Business Name: Use the official customer-facing name as it appears on the storefront and Google Business Profile. Avoid adding taglines or keywords unless they are in the legal name. Example: “Emergency Dentist of Van Nuys”.
- Address: Use the full street address, city, state, and ZIP. The address is used to geocode the business and set the map center. If you update the address, you should recalculate the trade area after saving. Example format: “7864 Van Nuys Blvd Suite A, Panorama City, CA 91402”.
- Phone Number: Use the primary business line. Prefer international format with country code. Example: “+18188624494”.
- Website: Use the full public website URL. Include https://. This URL is used for the review tool, reports, CTA defaults, and hosted site.
- Category: This is the internal business category used in overlays and summaries. It should match the primary Google Business Profile category if possible.
- Logo: Upload the business logo to use throughout the platform
All fields can be edited directly in this section. Click "Save Changes" after edits. This writes to the business record and updates derived fields. If you change name, address, or phone, expect downstream data to update on the next refresh.
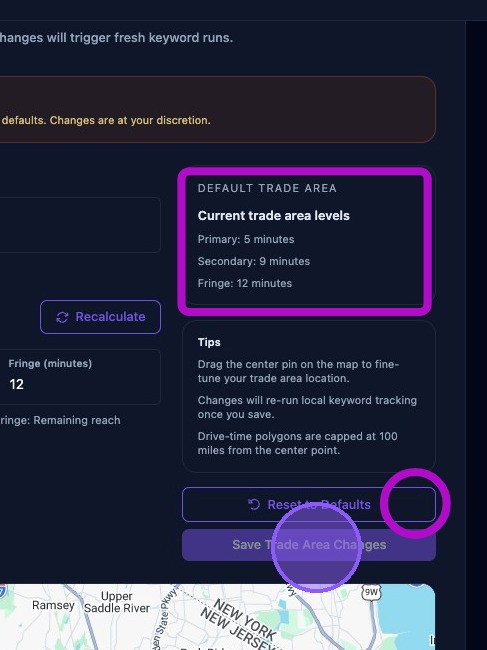
Section 2: Trade Area
Section 2 Trade Area defines the geographic region used for local keyword maps and many SEO metrics. It is one of the most important settings on this page.
Set the Center Location: The trade area is centered on a location that can be set in two ways:
- Search for a location
- Click the center location input.
- Type the address or business name.
- Choose the correct result provided.
- Drag the pin
- Drag the center pin to fine-tune the exact location.
- Use this if the geocode result is slightly off.
You can also manually edit latitude/longitude by clicking the pencil icon if available.
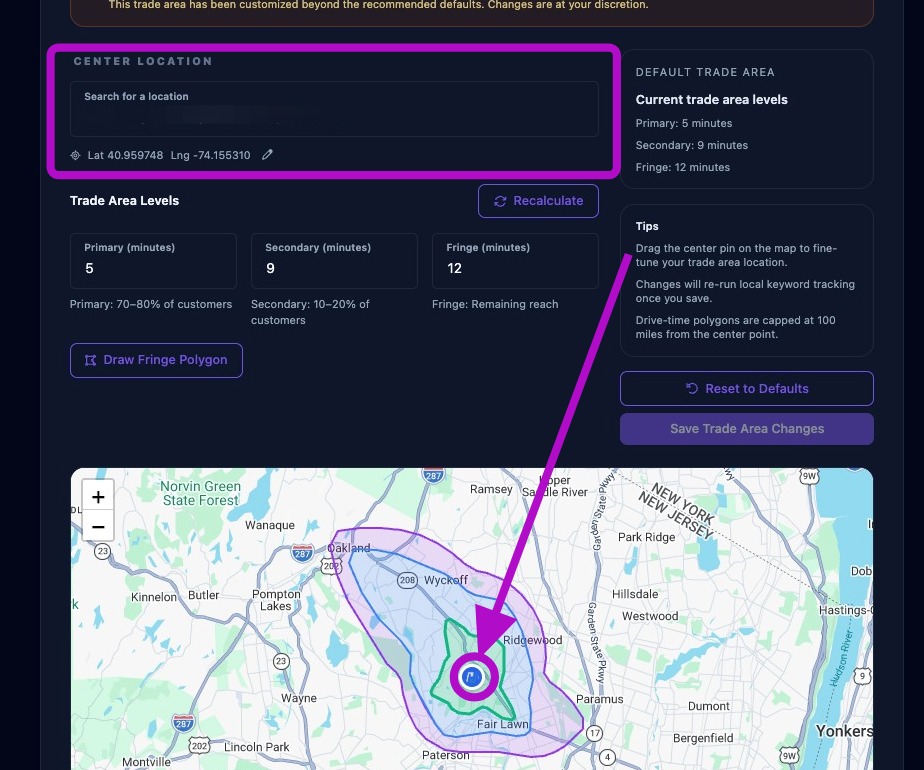
Multi-level trade area controls: Adjust how far your local marketing reach extends for Primary, Secondary, and Fringe layers (each layer is a larger driving time ring). You will see three numeric inputs for each layer:
- Primary Minutes - The core area where most customers come from. (Recommended: 5–10 minutes for dense urban locations).
- Secondary Minutes - The next layer for moderate customer density. -(Must be greater than Primary).
- Fringe Minutes - The outer layer where customers may still come from. (Must be greater than Secondary).
Rules:
- Each number must be greater than the previous by at least 2 minutes.
- All values must be whole numbers.
- Drive-time polygons are capped at 100 miles from the center point.
Aldus strongly recommends:
- Use category defaults unless you have clear service‑area data.
- Keep the primary area tight for best ranking accuracy
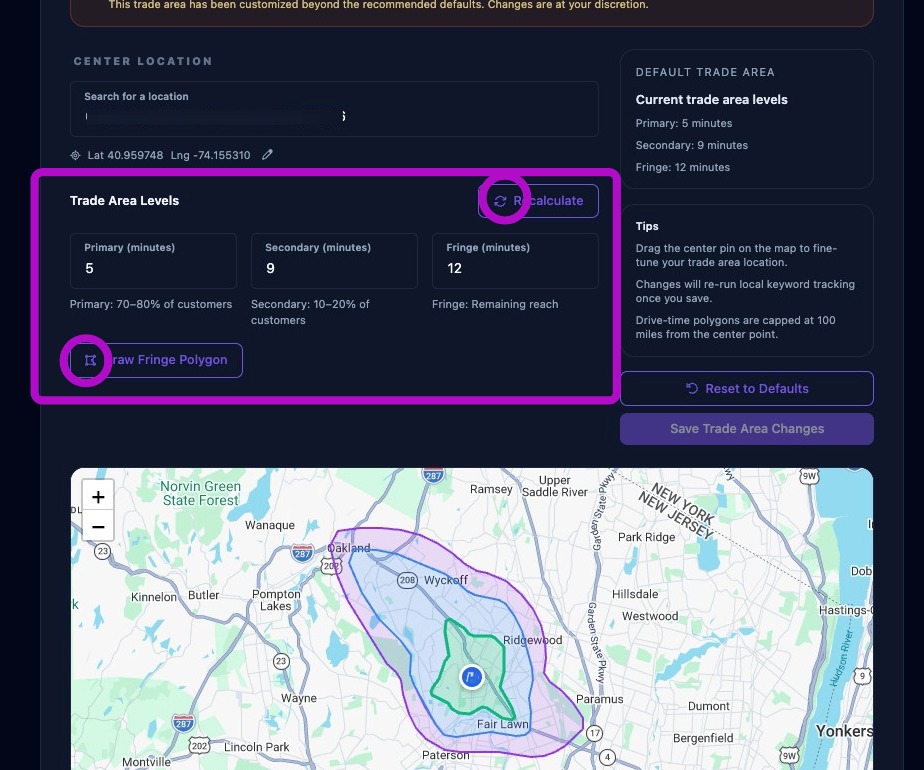
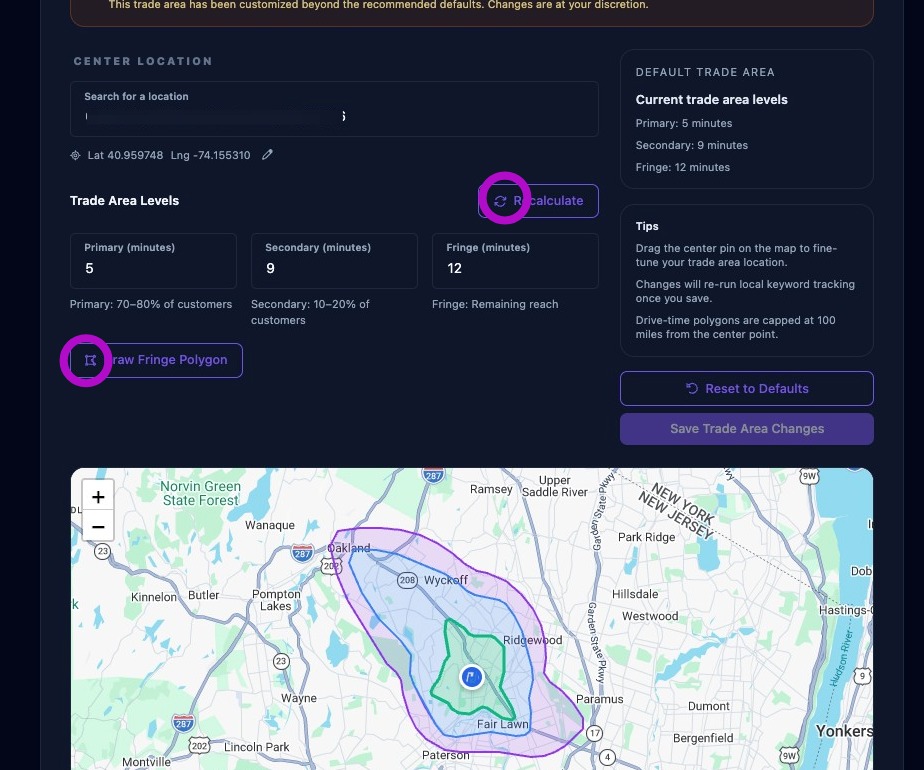
Clicking the "Recalculate" button:
- Builds a new polygon from your values.
- Applies water boundary clipping if enabled.
- Shows a live preview on the map.
Clicking the "Draw Fringe Polygon" will redraw the fringe area.
If changes were made, the “Save Trade Area Changes” button will change to "Recalculate Trade Area" Click it to redraw the map based on new settings.
If you change the trade area from the default category value, the system flags it as an override. This is intentional and helps the team remember it was customized. You can always reset to default multi-level values if needed by clicking "Revert to Defaults". This will recalculate the areas. Defaults are shown in the area highlighted.
After either action above, you must click "Save Trade Area Changes" afterward to accept new settings. Note: Changes will trigger fresh local keyword rerun.
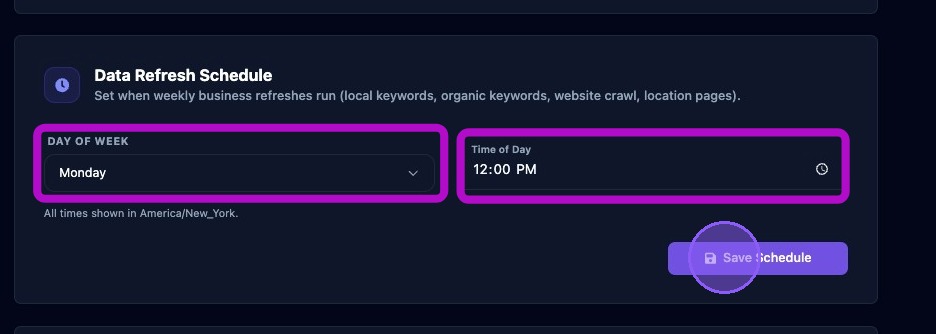
Section 3: Data Refresh Schedule
Data Refresh Schedule controls weekly refresh timing for multiple systems, including:
- Local keyword refreshes
- Organic keyword refreshes
- Website crawls
- Business score refreshes
- Location pages refreshes
- Automated assistant tasks
Set the "Day of Week":
- Choose the day you want weekly refreshes to run.
- Monday is common for weekly reporting.
Set "Time of Day":
- Set a business‑hours time.
- Usually mid‑day.
- The time should be interpreted in the business time zone.
Save changes by clicking "Save Schedule"
Keyword schedules control how often local keyword maps refresh. These are configured in Business Settings but are closely tied to keyword performance.
If schedules are wrong, your keyword data will become stale. This affects visibility scores, average rank, competitor tracking, and reports.
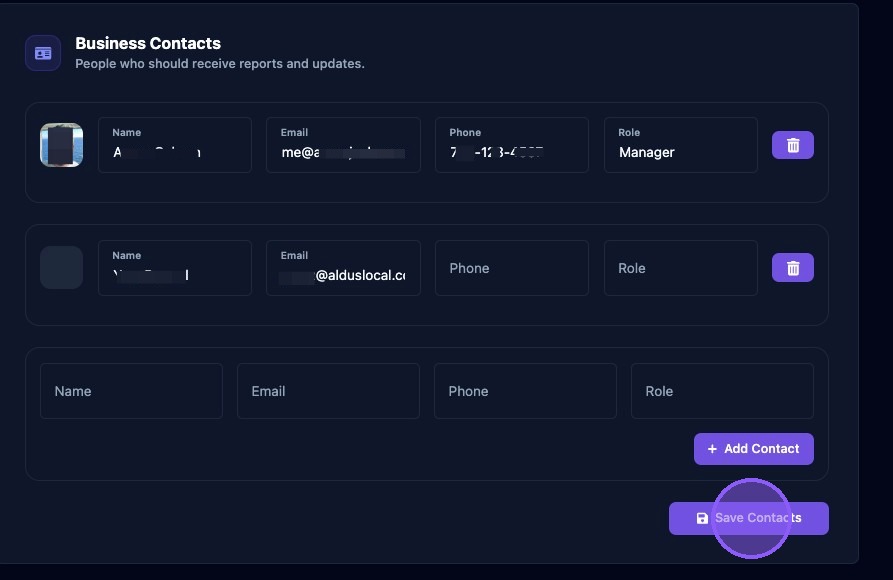
Section 4: Business Contacts
Business Contacts are people associated with the business who should receive reports and updates.
To edit a contact, click in an existing field next to their name and make changes.
To delete a contact, click the trash can icon to the right of their name.
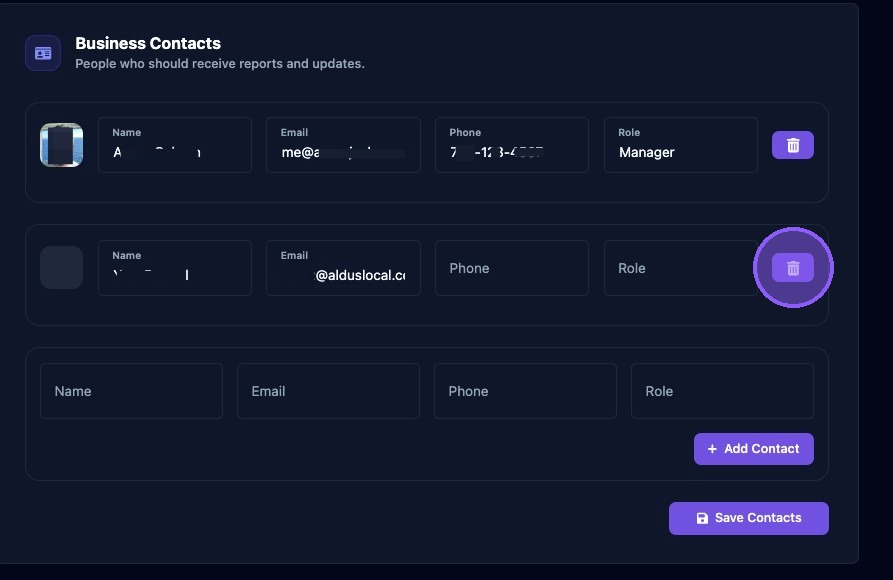
To add a new contact, enter the name, email, phone, and title in the blank fields at the bottom and click "Add Contact".
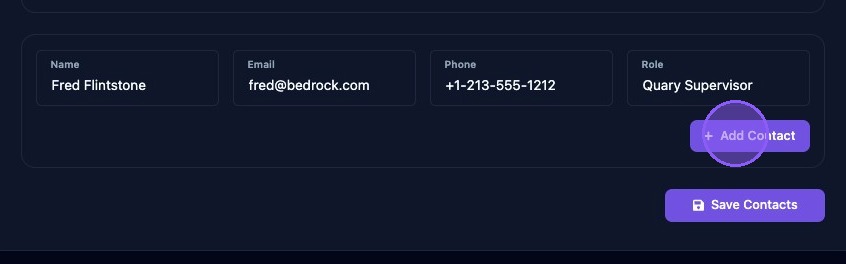
After editing, deleting, or adding a contact, you still need to click "Save Changes" to finish the process.
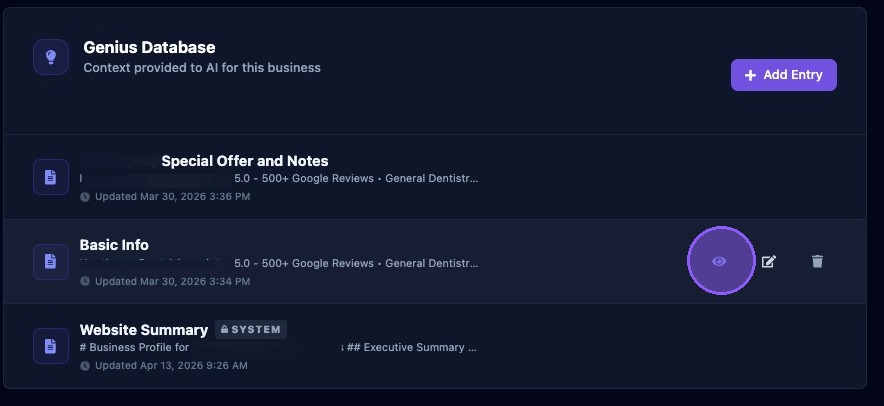
Section 5: Genius Database
The Genius Database provides AI context for this business through a series of entries that form a comprehensive database about the business.
These entries provide AI with all the necessary information to perform various tasks and functions within Aldus Local. Some examples include:
- System Created
- User-created
- Basic info
- Special offers
- Website summary
To add a new entry, click the "Add entry" button.

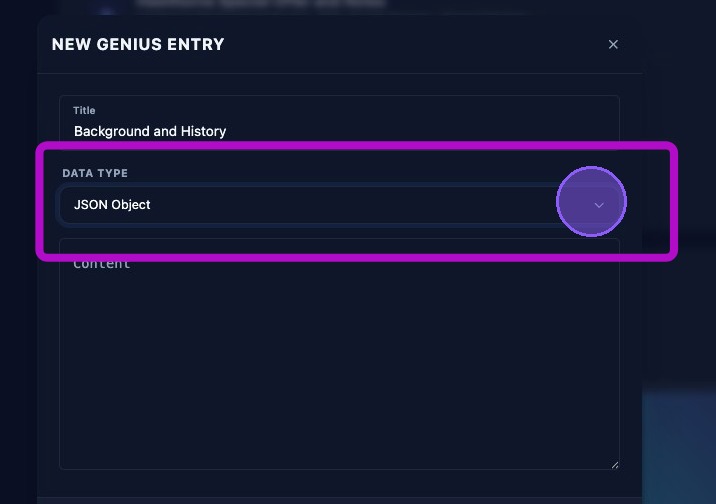
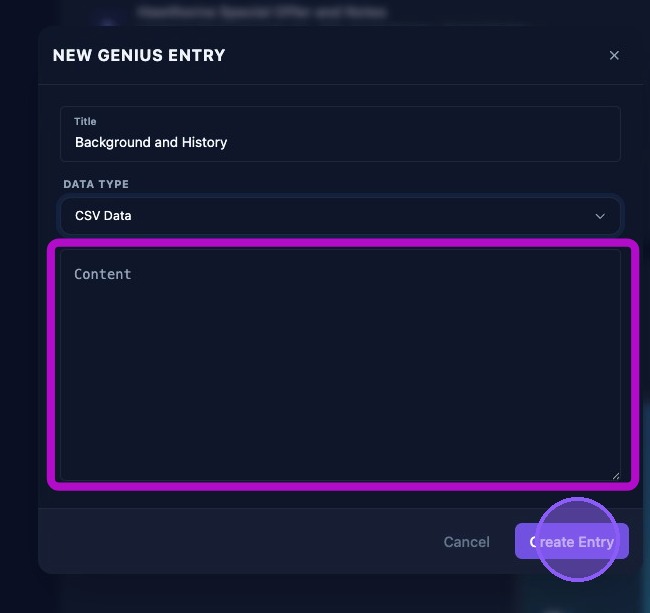
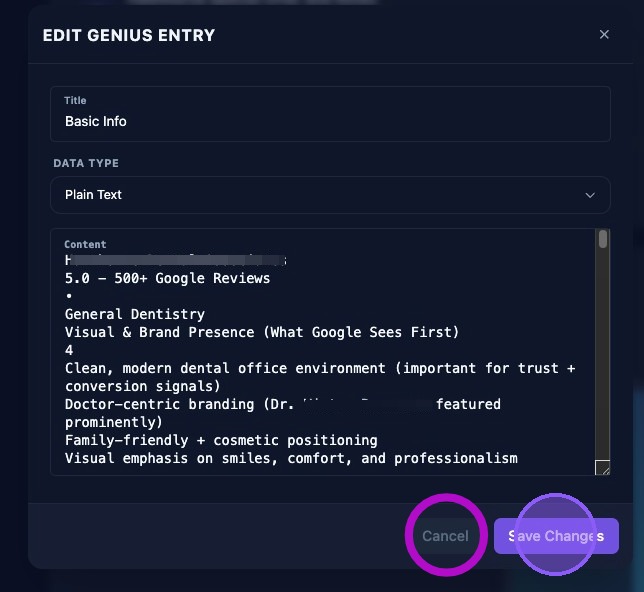
Fill in a brief description of the entry in the "Title" field.
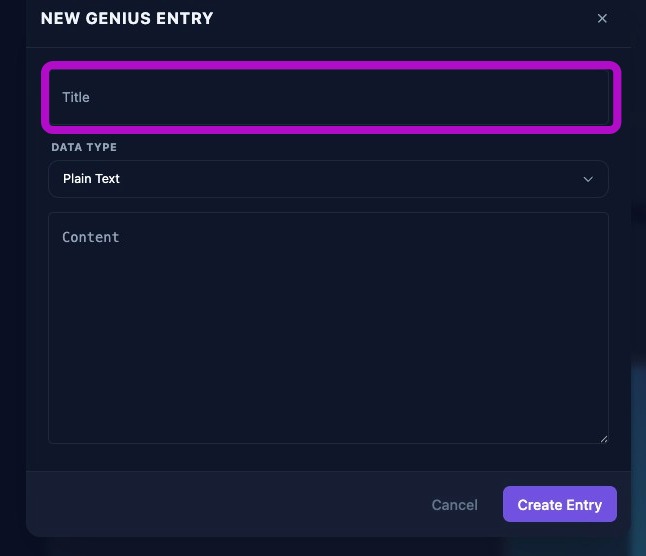
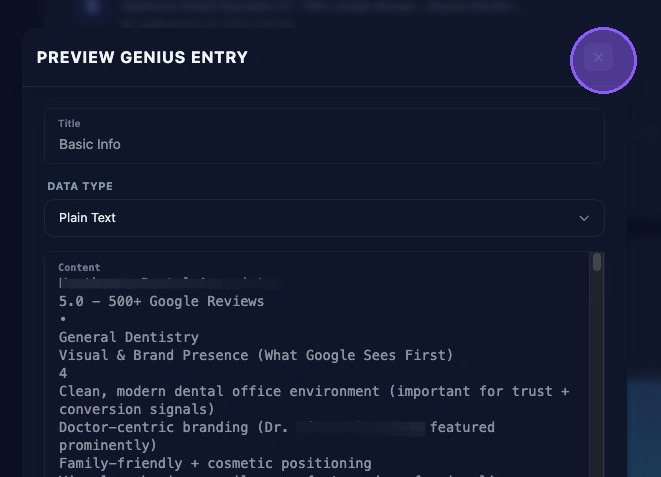
Select a data type from the dropdown menu. Options are:
- Plain text
- JSON Object
- CSV data
Then type or paste in relevant data for the "Content" area of the entry. Click "Create entry" to save.
Next time AI is accessed for relevant tasks, this information will be considered by the AI engine.
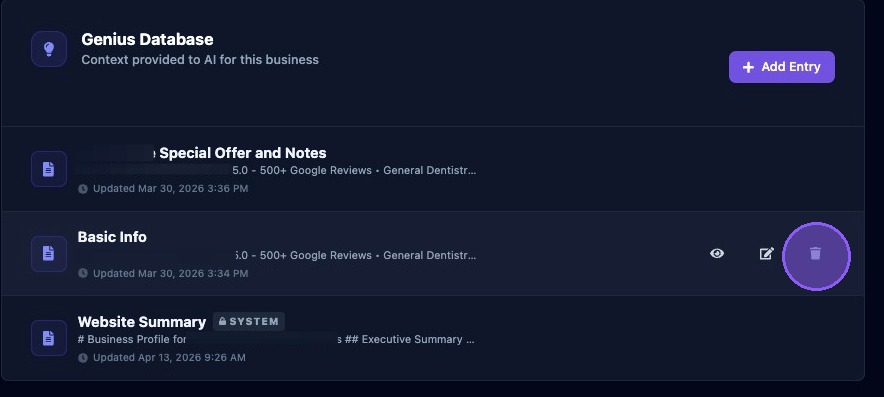
To view an entry, click the eye icon.
After viewing an entry, click the “X” in the upper right corner to close.
To edit an entry, click the pencil icon. Note: some entries are system generated and cannot be edited.

To delete an entry, click the trash can icon. It is not recommended to delete an entry unless absolutely certain.
Click "Save Changes" or "Cancel".
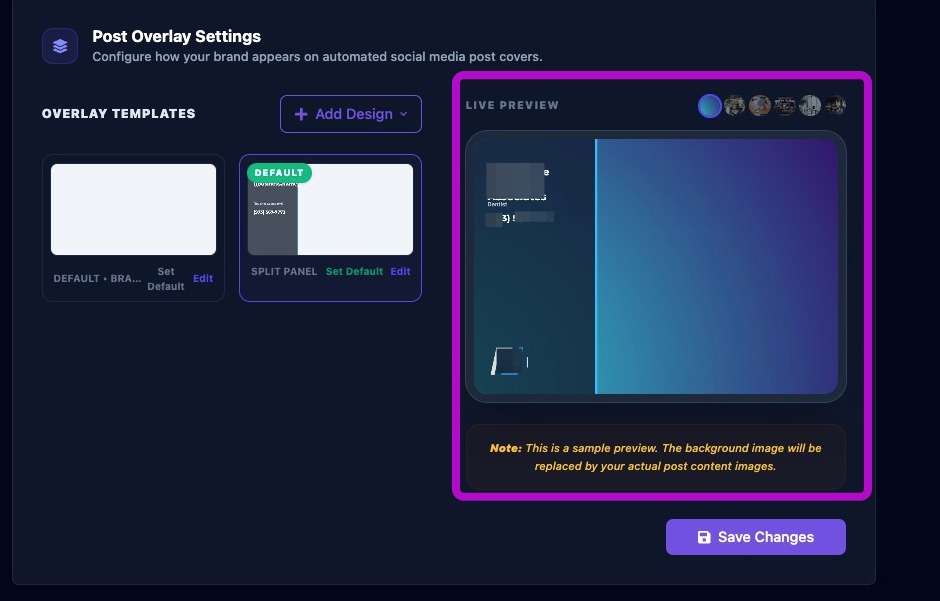
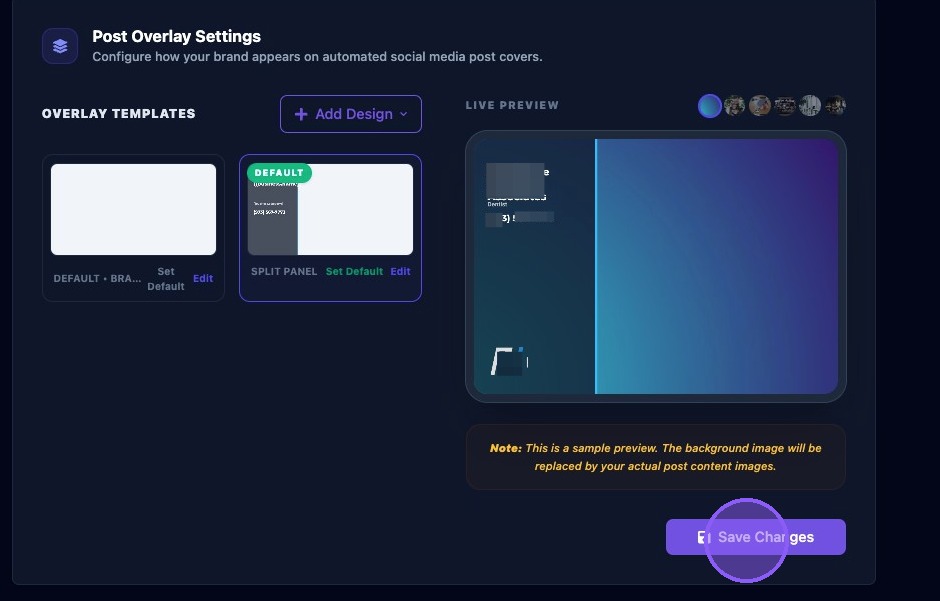
Section 6: Post Overlay Settings
The Post Overlay Settings configure how your brand appears on automated social media post covers.
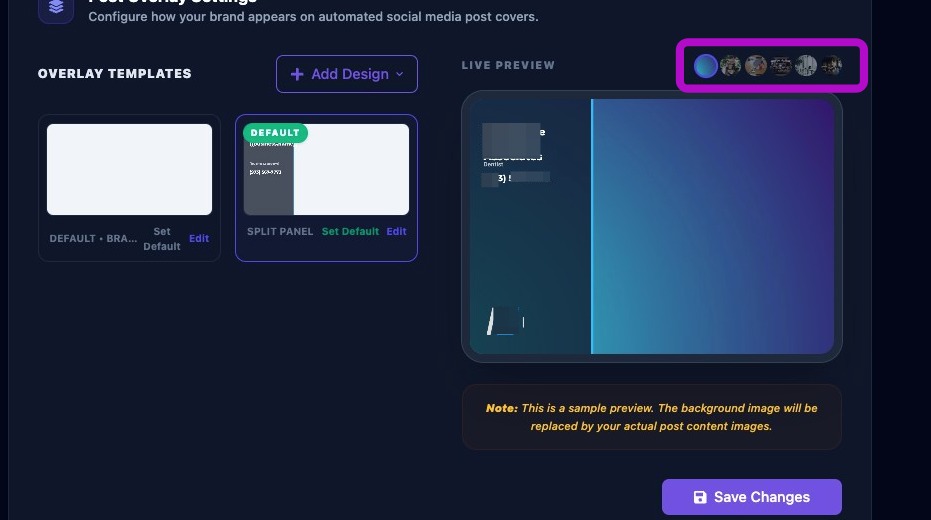
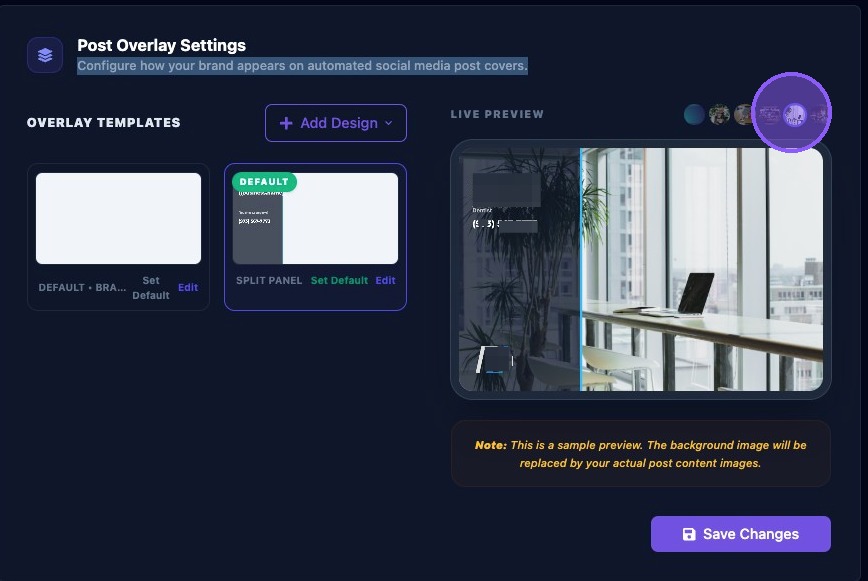
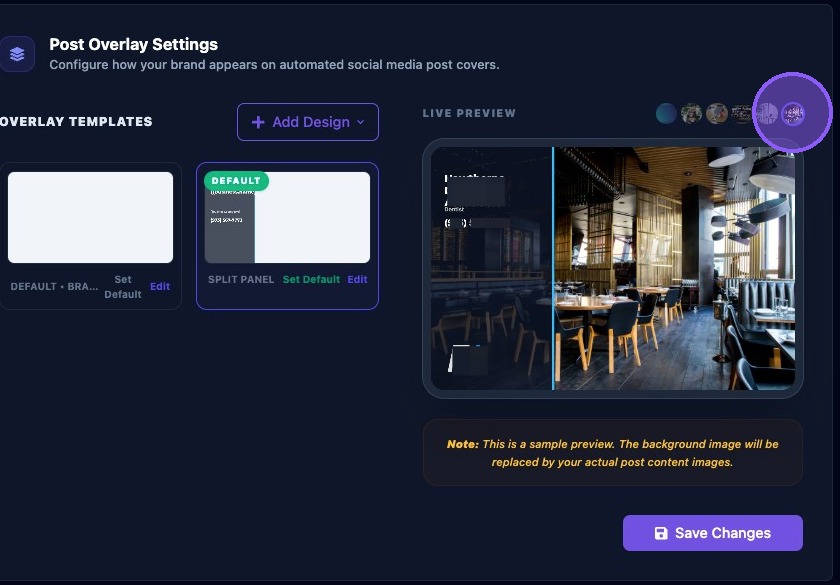
The right pane displays a live preview of the current overlay selection.
Click on the round buttons at the top of the preview to see how your overlay would look with various sample images. This sample image will be replaced with your actual post content images. Sample images are:
- Plain color background
- Coffee house
- Modern Home
- Clothing Store
- Tech Office
- Restaurant
Tech Office Sample Image
Restaurant Sample Image
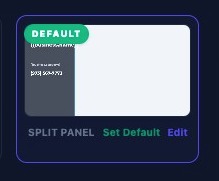
The left pane displays the overlay templates for the business. Clicking one of the templates changes the overlay selection and loads it into the preview on the right. The selected template appears with a blue frame in the pane.
If no additional customization is needed, click "Save". If additional customization is needed, continue to the next step.
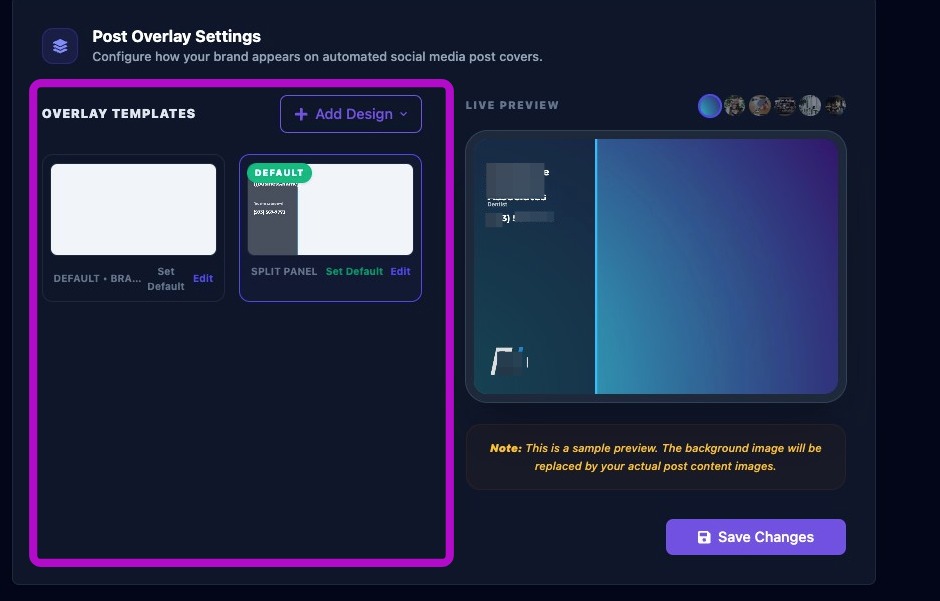
The bottom of each template displays the title and two options: "Set Default" and "Edit".
Clicking "Set Default" will set the template as the one that comes up automatically with the Assistant.
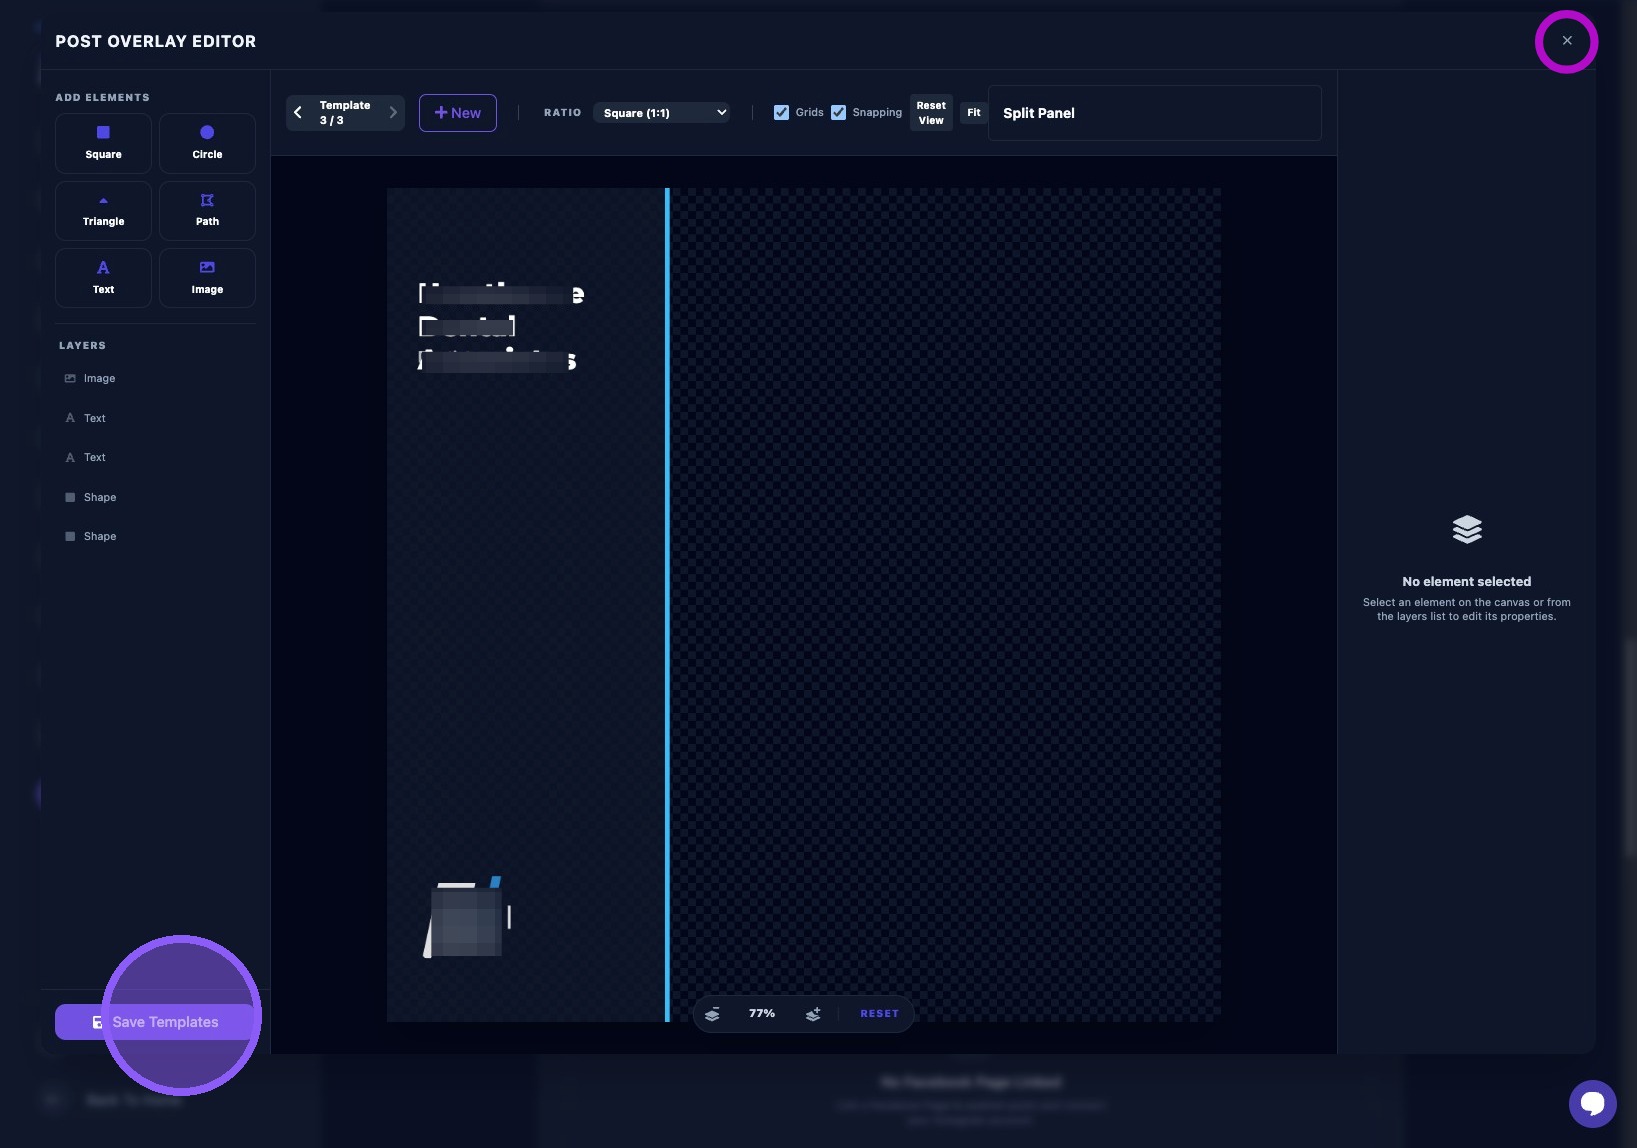
Clicking the "Edit" button will bring up the "Post Overlay Editor" so the template can be customized. (See "Post Overlay Editor" for operation instructions).
To create a new template, click "+ Add Design". You will be presented with three options from the dropdown menu:
- Start from scratch -
- Opens the "Post Overlay Editor" to create a blank design
- Choose from library
- Opens the "Design Library" to pick from stock templates
- Clicking on a template opens it in "Post Overlay Editor"
- Generate with AI
- Will create custom designs using AI to pick from
- Selecting opens it in "Post Overlay Editor"

After editing a template (existing template, from scratch, from the library, or AI generated) in The Post Overlay Editor, click "Save Template" to save your new design.
To cancel or close without saving your work, click the “X” in the upper right corner.
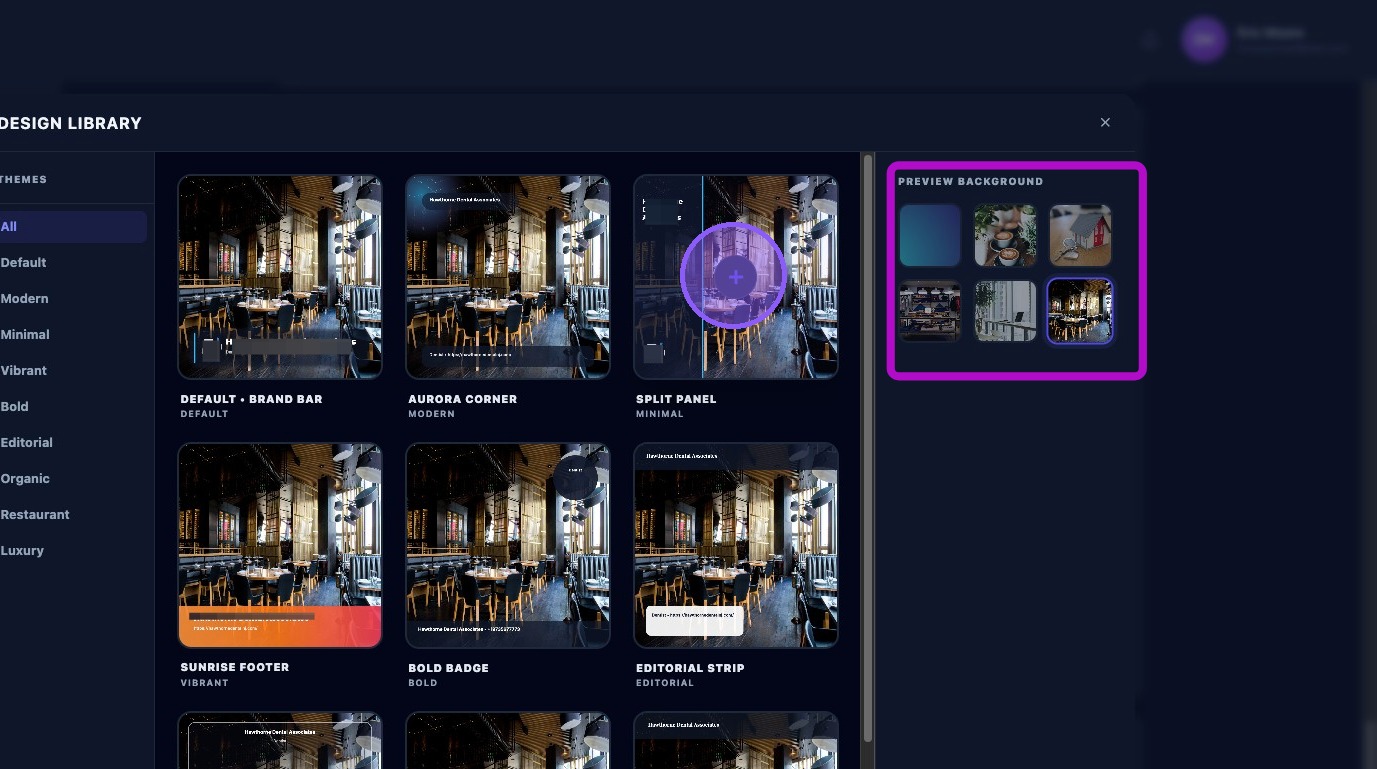
Use the Design Library to pick a stock template.
Click the themes on the left to filter the selection to All themes, default themes, or a specific theme.
Once you select a template from the library, click it to open it in the Post Overlay Editor for further customization.
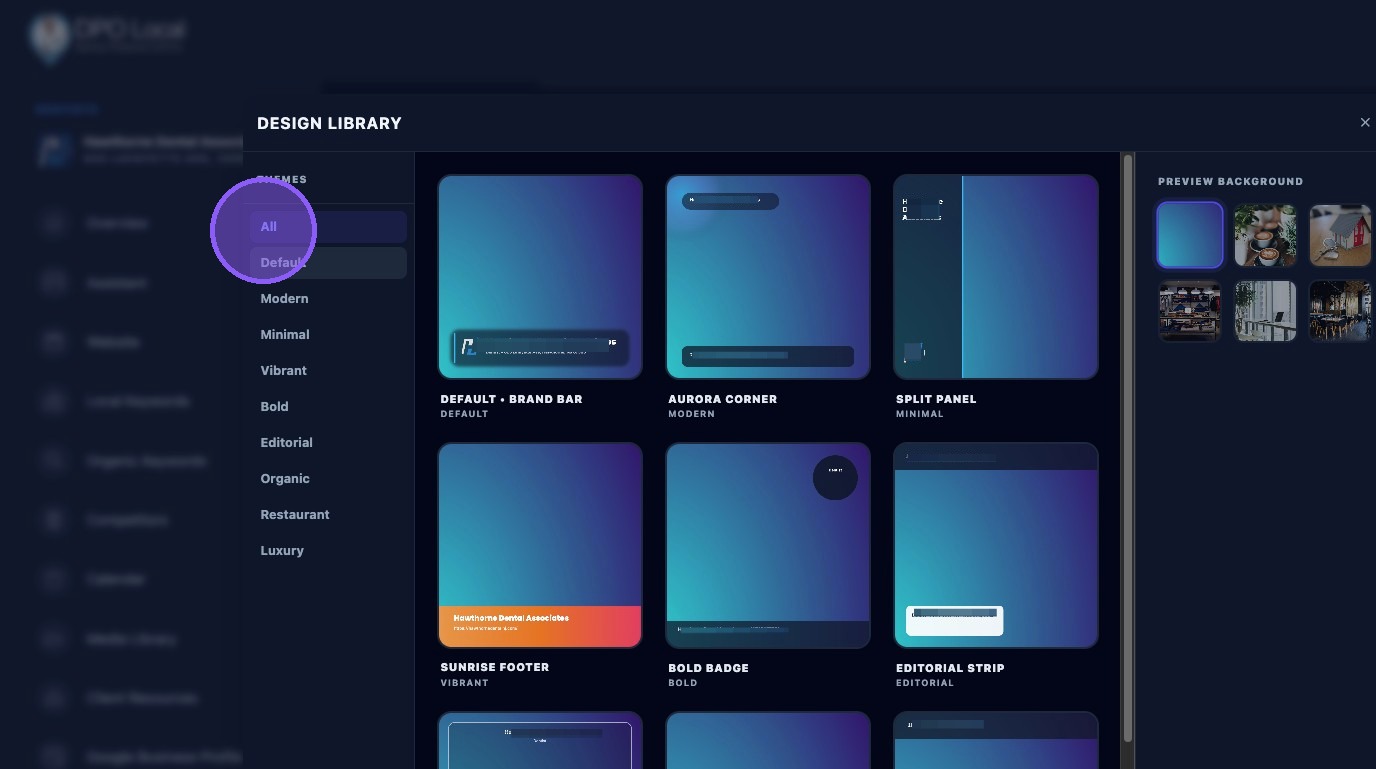
Use one of the sample images on the right to preview your template before selecting it by clicking the "+" in the middle of the template.
Make sure to click "Save Changes” when you are finished working on Post Overlay Settings.
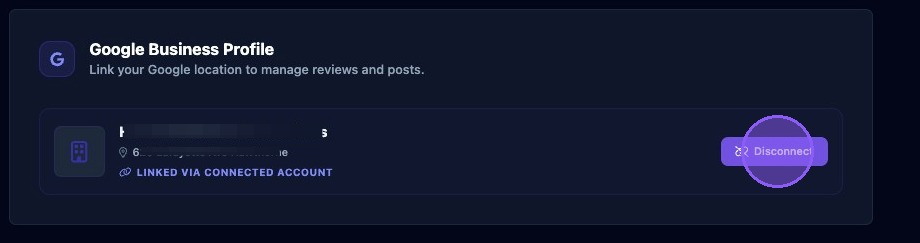
Section 7: Google Business Profile Link
Organization-level authentications must exist before you start.
To connect Google Business Profile:
- Click Connect under Google Business Profile.
- Choose the correct Google authentication.
- Select the correct location from the list.
- Click Save.
What to verify:
- The location name matches your real listing.
- The authentication is the one that owns the listing, not just a viewer.
To disconnect Google Analytics:
- Click Disconnect and acknowledge warnings.
- Do not disconnect unless absolutely certain you wish to do so.
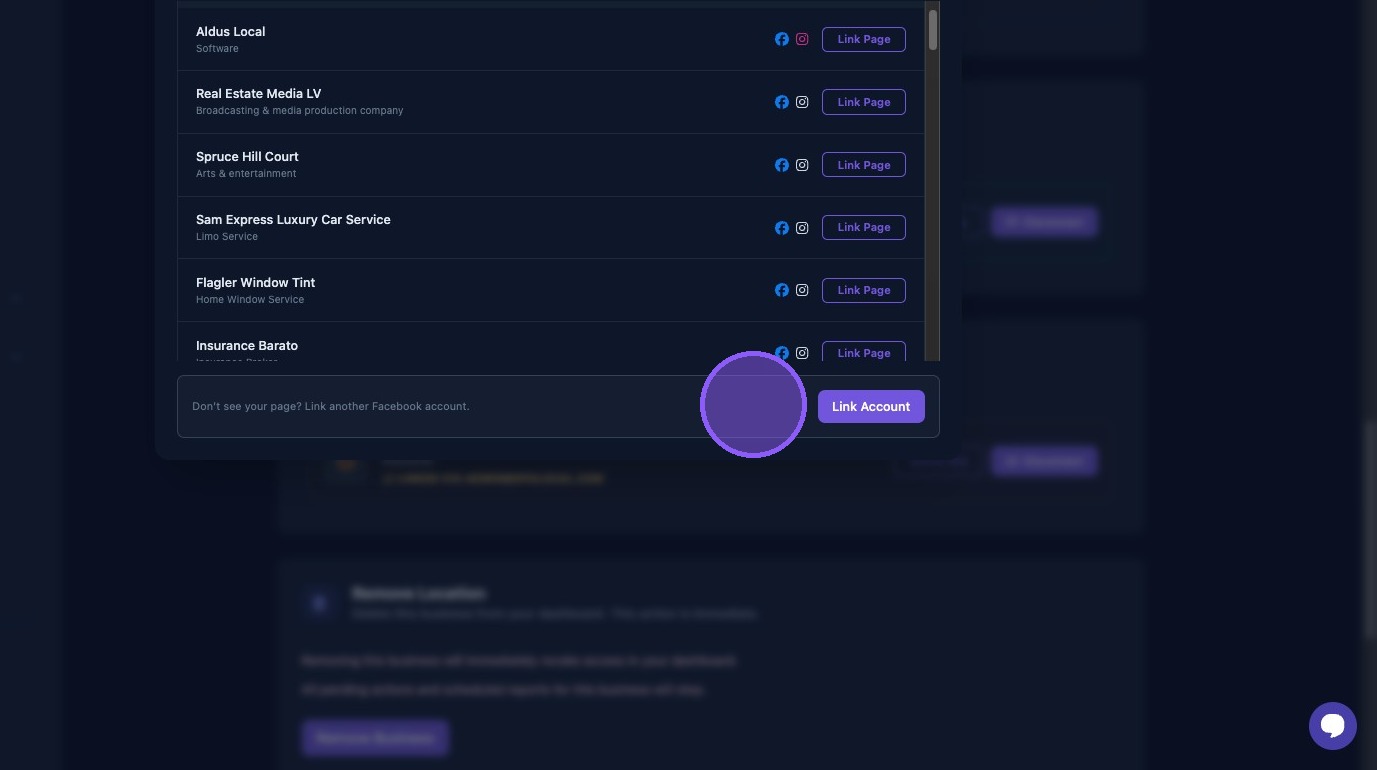
Section 8: Facebook / Instagram Link
Organization-level authentications must exist before you start.
Click "Link Facebook Page" to publish posts and connect your Facebook and Instagram account.
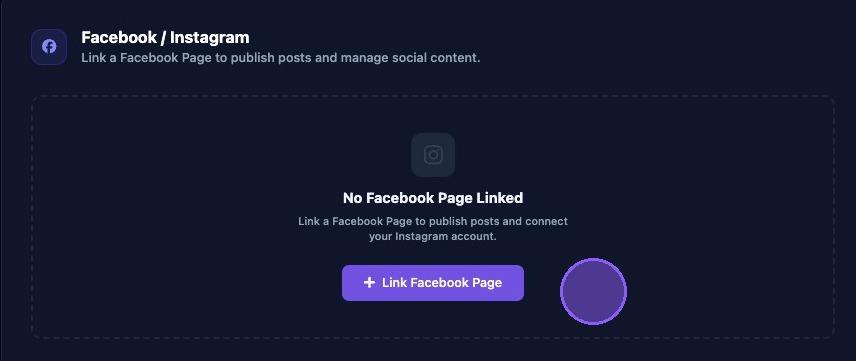
Locate and select the Business Facebook page in the list.
Note that Instagram requires the Instagram account to be linked to the Facebook page in Meta Business Suite. If Instagram is not linked, it will show as disabled here (in red) and in the post composer.
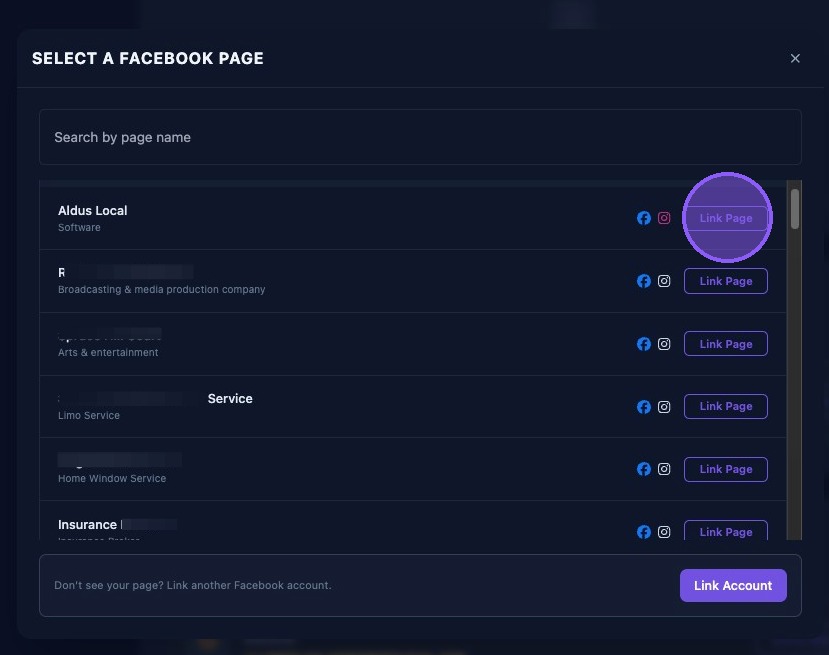
If you don’t see your business Facebook page, link another Facebook account by clicking "Link Account".
Common platform errors:
- “Linked but not connected”: the listing exists, but the authentication ID is wrong. Re‑connect with the correct authentication.
- “Instagram disabled”: link IG to the FB page in Meta Business Suite.
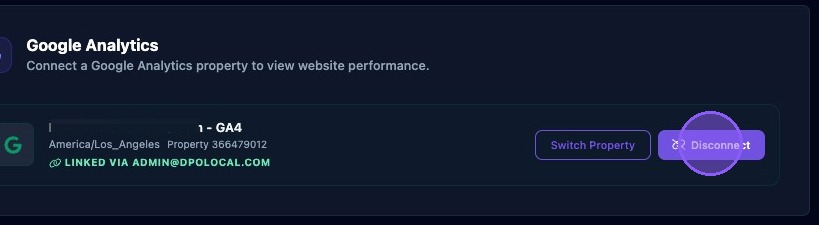
Section 8: Google Analytics Link
Organization-level authentications must exist before you start.
To connect Google Analytics:
- Click Connect.
- Choose the correct Google authentication.
- Select the correct location from the list.
- Click Save.
To switch the Google Analytics property:
- Click "Switch Property".
To disconnect Google Analytics:
- Click Disconnect and acknowledge warnings.
- Do not disconnect unless absolutely certain you wish to do so.
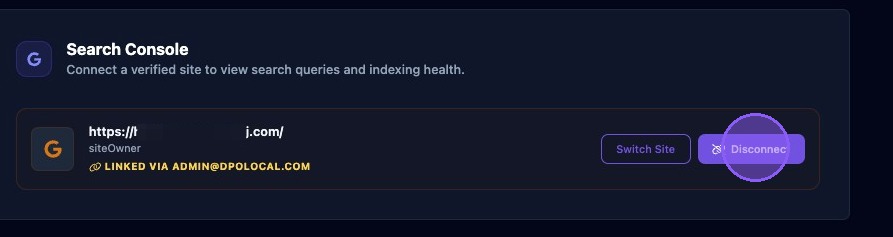
Section 9: Search Console
To view search queries and indexing health, connect Search Console.
Connect a verified site by clicking "Connect"
Disconnect a site by clicking Disconnect.
Section 10: Remove Location
Click "Remove Business" to delete this business from your dashboard.
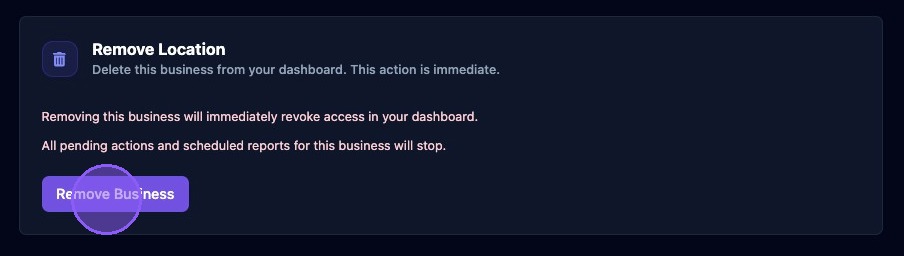
Removing a business will remove the business immediately and and immediately revoke access in your dashboard.
All pending actions and scheduled reports for this business will stop.