Organization Settings: Billing and Credits
This guide shows exactly where to find and manage your organization’s payment methods, subscriptions, invoices, and different credit types, and explains how to open and use the Aldus Local billing portal to edit account and payment details. It also explains two quick ways to view credit balance, how to buy credit increments, and how to review detailed credit history and transactions. Use it to confidently handle billing, purchases, and audit credit use.
Accessing Organization Billing
From the Organization home page, click "Organization Settings".

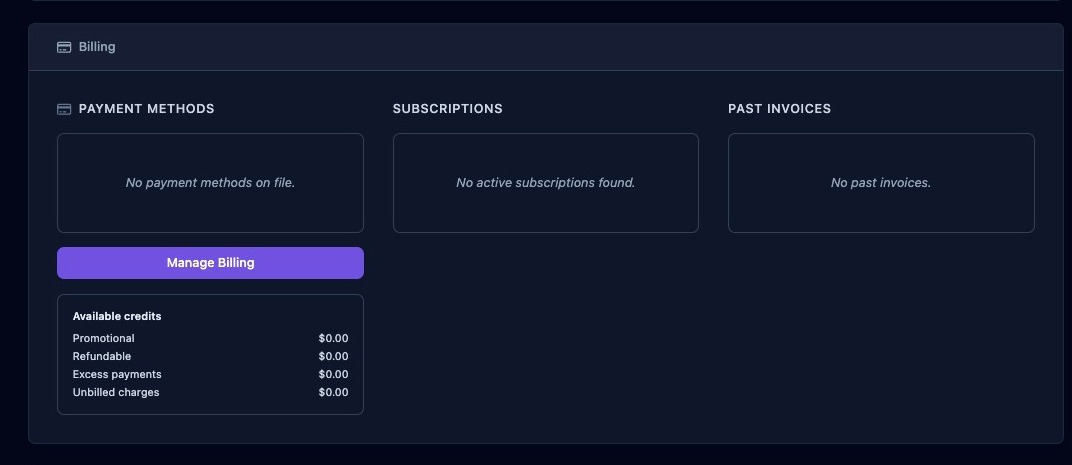
Scroll down to the “Billing” section of the organization settings page, where you can find information about various payment methods, current subscriptions, past invoices, and available credits.
- Payment Methods: A list of various payment options available for your organization.
- Subscriptions: View your organization’s current subscriptions.
- Past Invoices: Access a list of your organization’s past invoices.
- Available Credits: Explore different types of available credits, including promotional, refundable, excess payments, and unbilled charges.
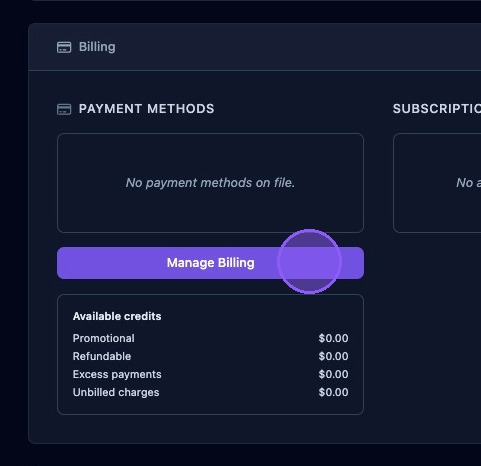
Manage Billing Details in the Aldus Billing Portal
Click on "Manage Billing" to access the organization's Aldus billing portal.
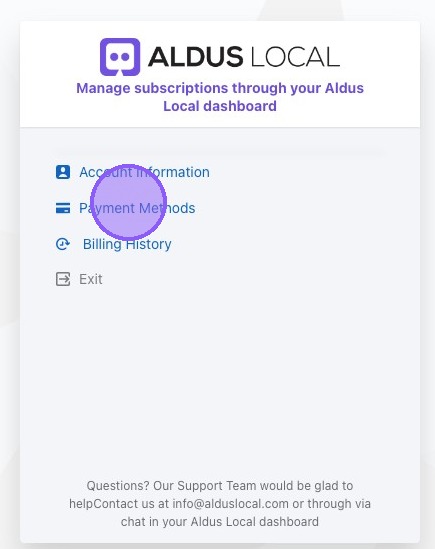
The Aldus Local billing portal provides access and editing options for various billing account details, including:
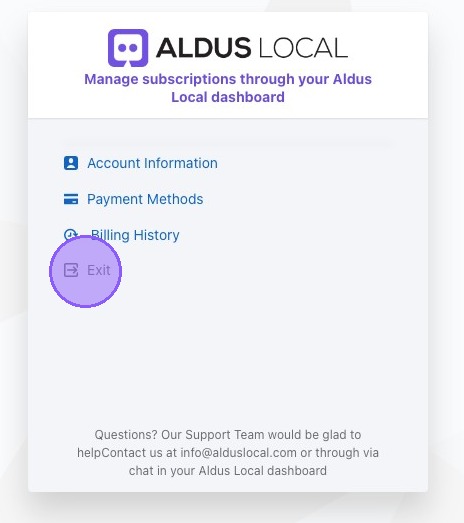
- Account Information: Name, email, company name, and phone
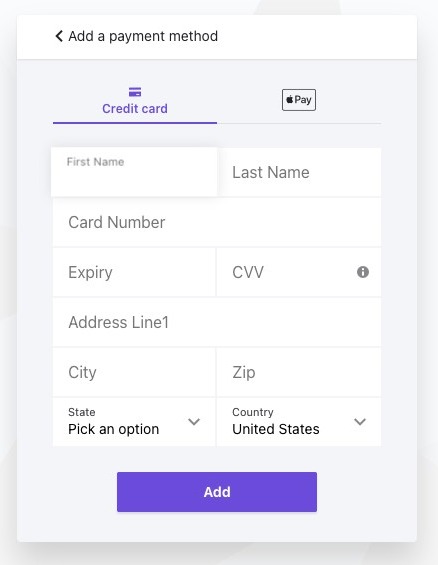
- Payment Methods: Add, delete, or edit payment methods, such as credit cards or Apple Pay
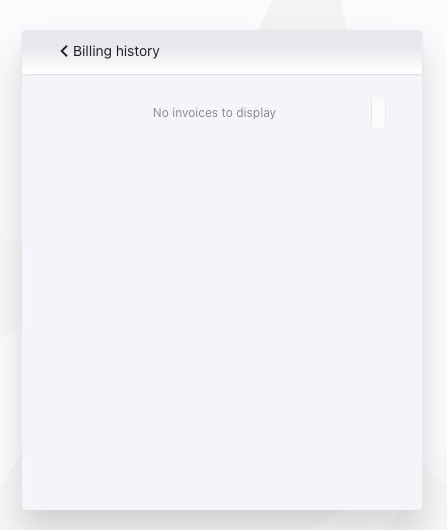
- Billing History: Displays a list of invoices for easy reference
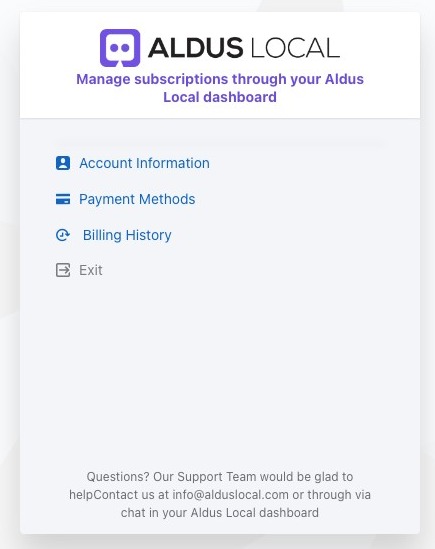

Click “Exit” to return to the Aldus Local dashboard.
Accessing Credits
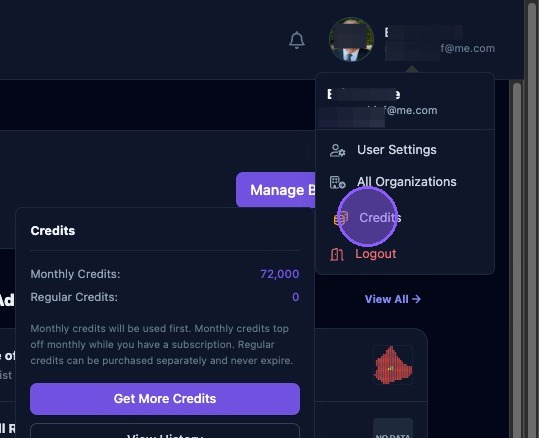
Credit purchases and credit history can be accessed in one of two ways depending on white labeling (if you have the necessary permissions). If you have enabled white labeling, roll over your name in the upper right corner until a dropdown menu appears.
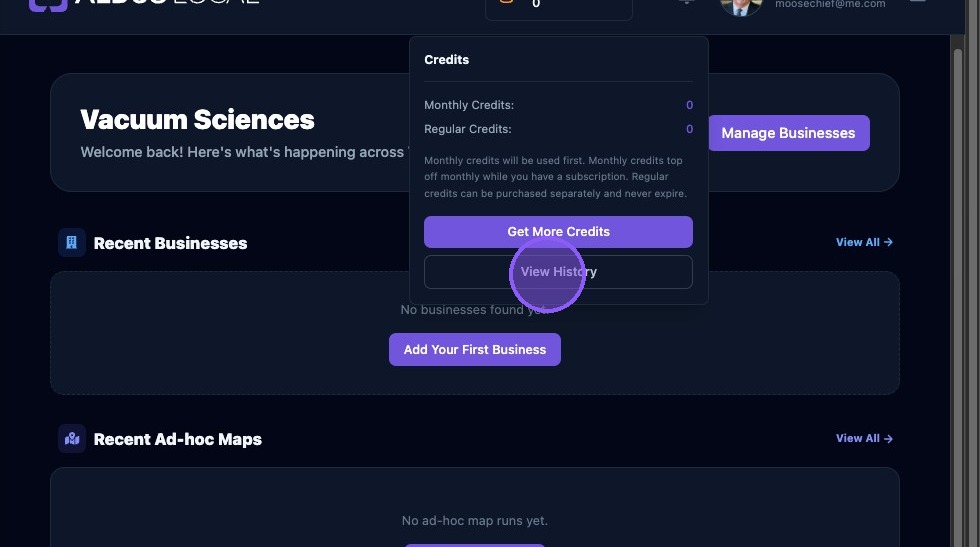
Continue rolling over the “Credits” item in the menu until a second dropdown menu appears, where you can choose either “Get More Credits” or “View History”.

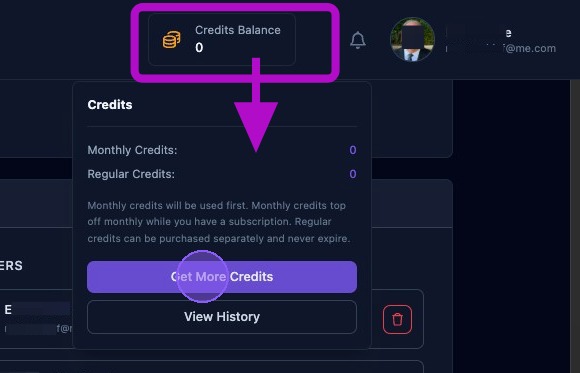
If you have not enabled white labeling, you can access credits anytime you are on any organization section page (if you have the necessary permissions) by rolling over the “Credits Balance” in the header next to your name. This will open a dropdown window with options to “Get More Credits” or “View History”.
Purchasing More Credits
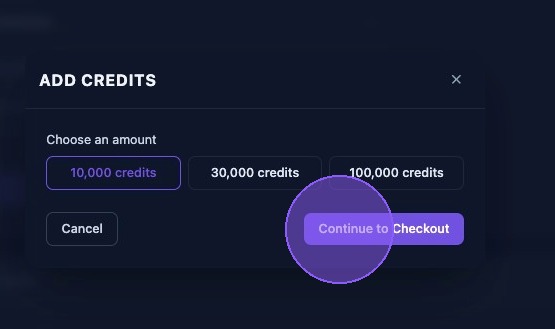
Clicking the “Get More Credits” button in either dropdown above, will open a popup window where you can add credits in increments of 10,000, 30,000, or 100,000.
You can either:
- Click “Cancel” to proceed without purchasing credits.
- Or click “Continue to Checkout” to be redirected to the Aldus Local billing portal.
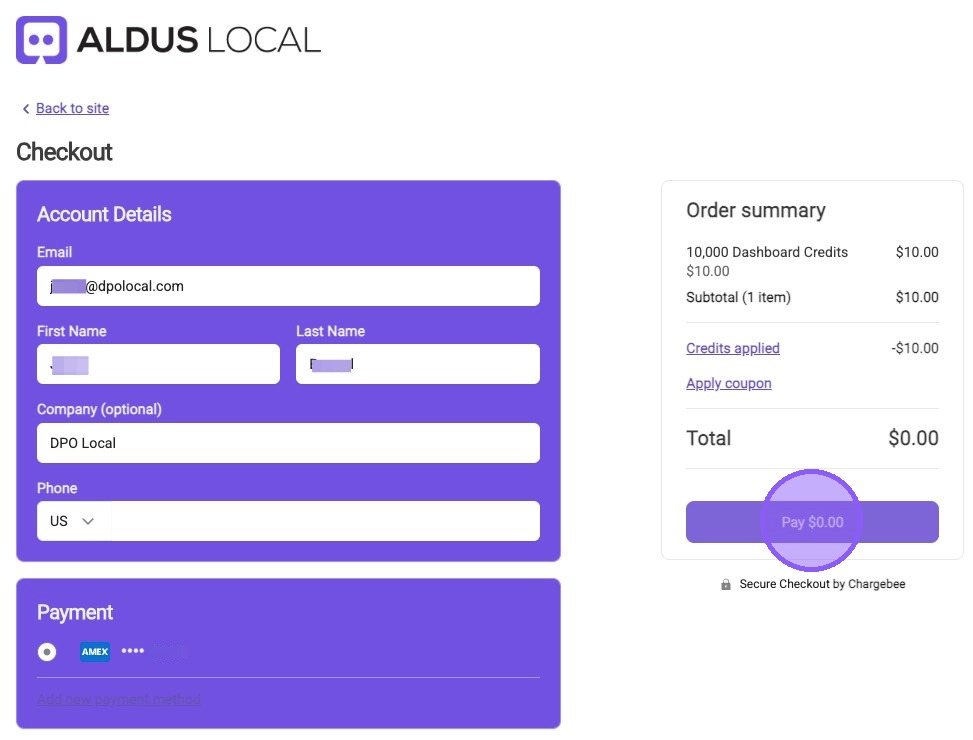
To complete the checkout process and purchase your credits, follow these steps:
- Select the payment method from the “Payment” section.
- Ensure that your account details are correctly populated based on your billing information.
- If you have any credits or coupons, apply them.
- Click the “Pay” button to complete the transaction.
- Alternatively, click the “Back to site” button to return without completing your transaction.
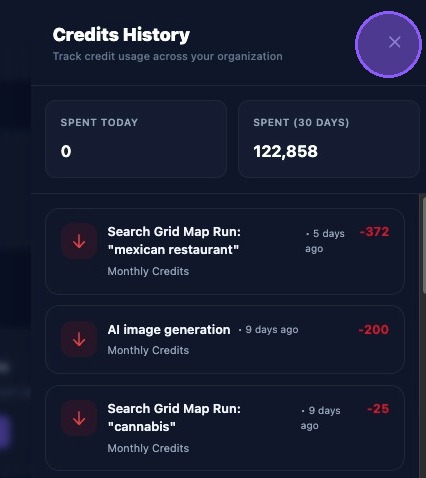
Viewing Credit History
To monitor organization credit usage, click the “View History” button in the credit dropdown windows shown above.
The dropdown window will display credit usage across your organization, including:
- The number of credits spent today.
- The number of credits spent in the last 30 days.
- A comprehensive list of all previous credit transactions, each with the following details:
- A detailed description of the transaction, including any relevant additional information.
- A visual indicator (red or green arrow) to signify whether the transaction involved a credit withdrawal or a credit deposit.
- The net change in credits for the transaction.
- The time since the transaction occurred.
- The type of credit involved (such as monthly or promotional).
To close the window after viewing, click the “X” button.