Organization: Organizational Users
This guide shows how to invite, assign roles, and manage team members in your organization’s Aldus Local settings so you control who can access the org and what they can do. It explains role types and business-level access, how to send or resend invites, and how to edit or remove users. It also explains the difference between internal organizational users and client portal users.
Accessing Organization User Settings
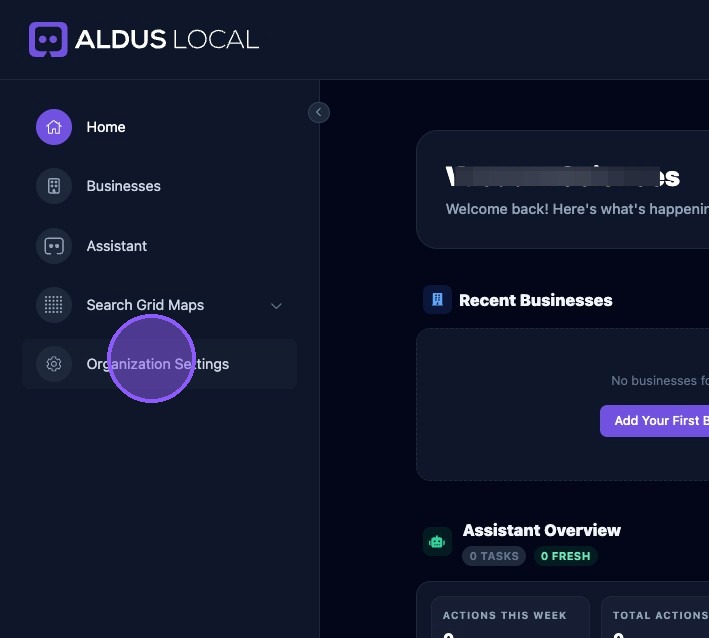
From the Organization home page, click "Organization Settings".
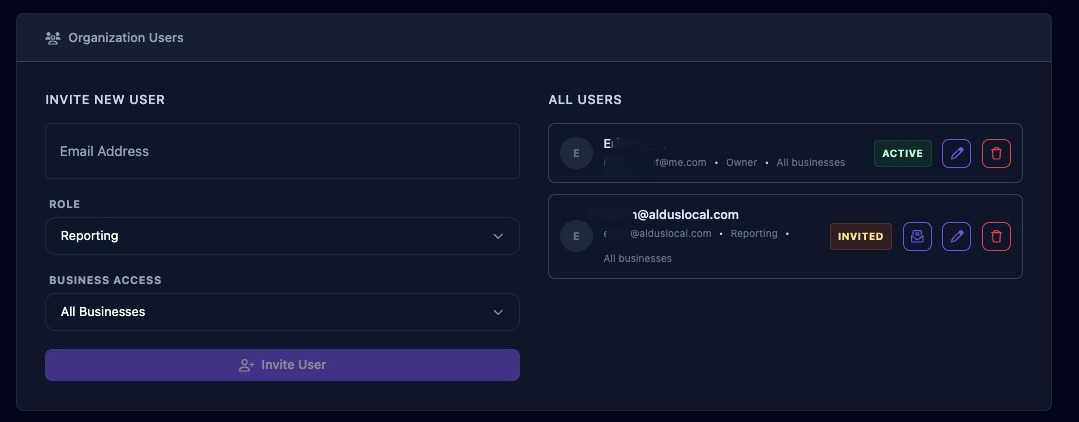
Scroll down to the "Organizational Users" section where you invite and manage organization team members and assign roles within Aldus Local.
It controls who can access the organization and what they can do. It is the primary place to invite staff, change permissions, or remove access.
This is for people in your organization. This is not for adding clients. Use the Client Portal to invite clients who should only have limited, client-facing access.
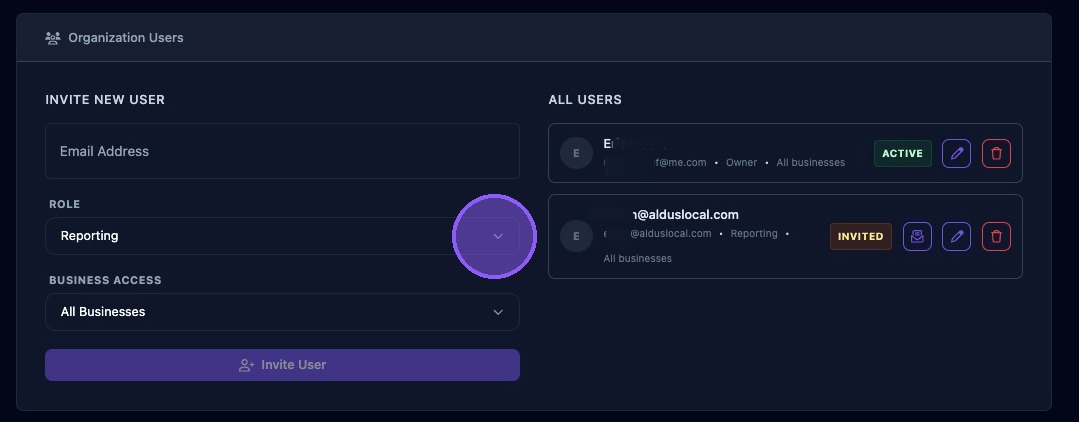
Inviting a New User
To invite a team member, use the left side of the window to enter the member's email address.
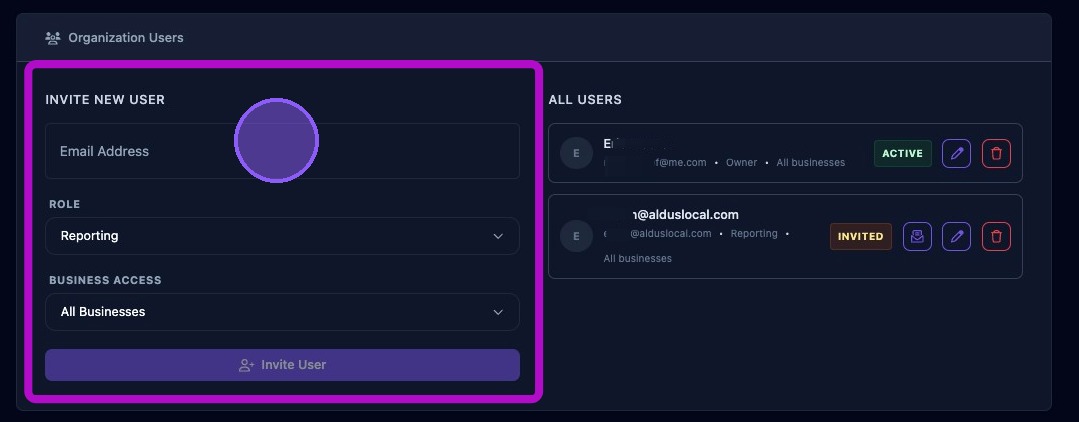
Roles determine what a user can see and do. Assign roles carefully so that sensitive tasks such as billing, branding, and authentication updates are restricted to trusted users. Choose a role for the member using the role menu. Roles include:
- Owners have full access to all organizational settings, branding and white label configuration, billing and credits, authentications, and all businesses. Owners can also invite and remove any user.
- Admin
- Managers manage businesses, approve assistant tasks, configure schedules, invite users and access most settings. They may not have access to billing depending on organizational policy.
- Reporting or Member roles have limited access to certain assigned businesses and limited reporting access. They can review tasks but not approve them. Typically cannot manage organization settings.
Best practices:
- Limit the Owner role to 1–2 people.
- Use Manager roles for daily operations.
- Use Member roles for limited contributors or interns.
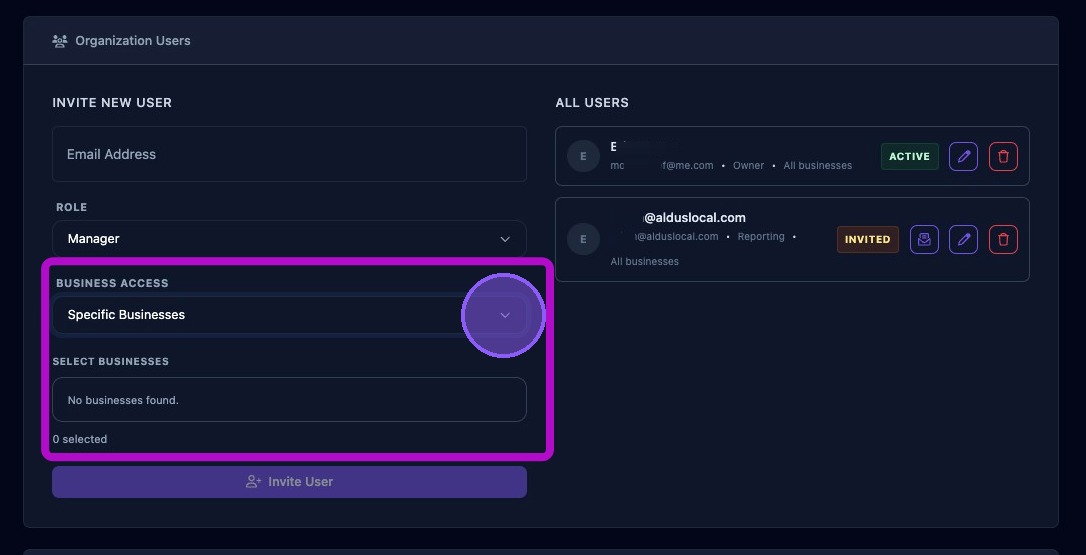
Select the business access for this member using the access menu:
- All Businesses
- Specific BusinessesThen click in the field that appears below to select businesses the member can access. The total number of business selected for that member will be displayed at the bottom
- Then click in the field that appears below to select businesses the member can access.
- The total number of business selected for that member will be displayed at the bottom
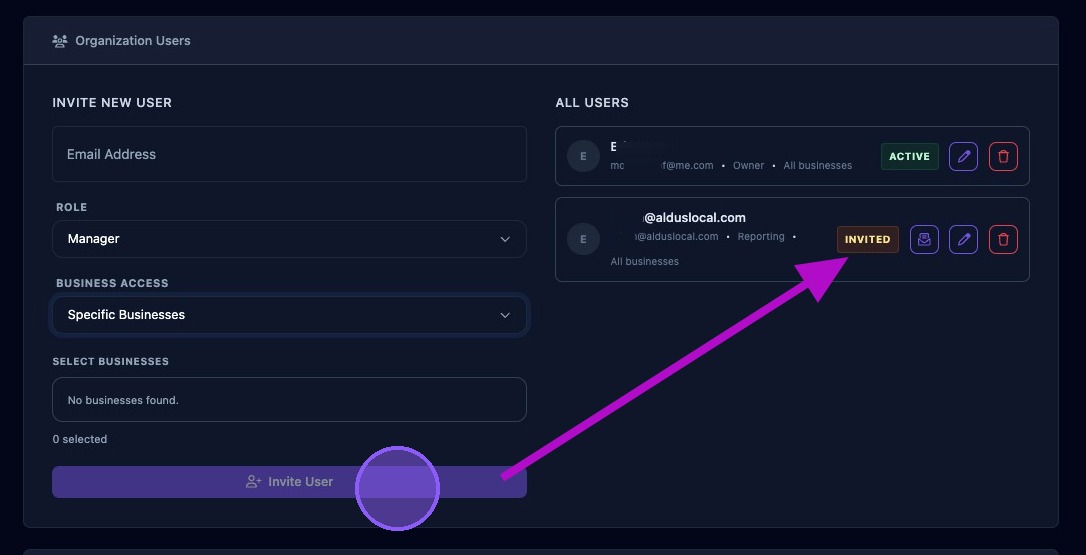
When finished, click the "Invite User" button to send the email invitation.
The member will appear on the right side with "Invited" status.
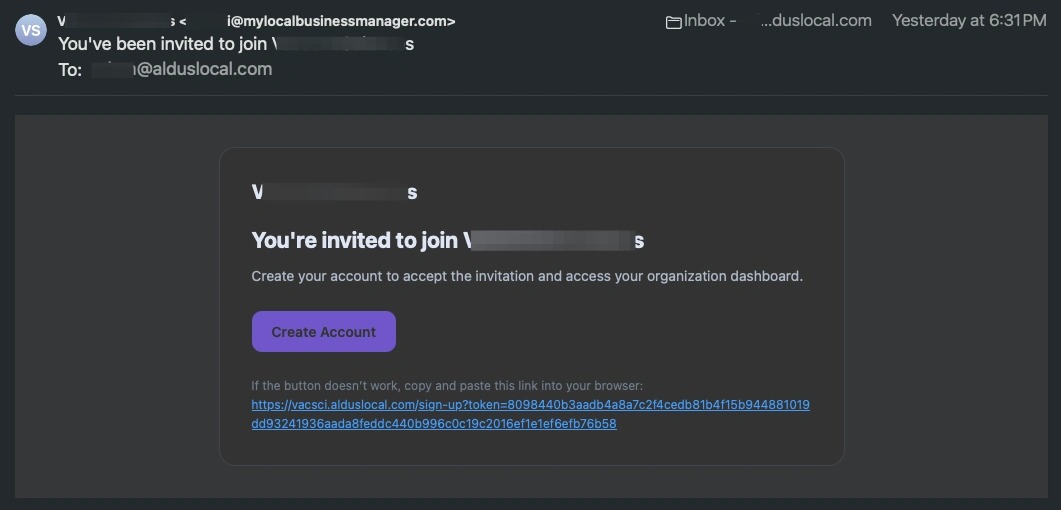
Example invitation email: The user receives an email invitation with a link to create an account and set their password and log in.
If the invite was not received, resend the invitation or have the member check their spam folder.
Managing Users
The right side of the panel is used to check the status of a member, edit users, remove users, and resend invitations.
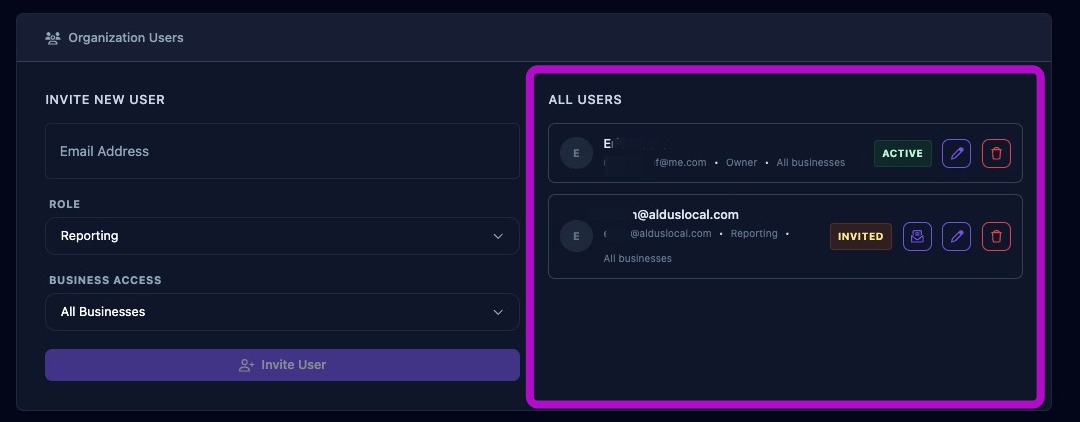
Each member card displays:
- Member name (or email address if no name provided)
- Email address
- Role
- Business Access (All or Selected)
- Status ("Active" or "Invited")
- And three action buttons:Resend invite button (only displayed if status is "Invited"). Immediately resends an invite to the member. Edit button. Opens the edit member window. Remove button. Removes the member after confirming removal. If a member cannot remove a user, they may not have permission.
- Resend invite button (only displayed if status is "Invited").Immediately resends an invite to the member.
- Immediately resends an invite to the member.
- Edit button.Opens the edit member window.
- Opens the edit member window.
- Remove button.Removes the member after confirming removal. If a member cannot remove a user, they may not have permission.
- Removes the member after confirming removal.
- If a member cannot remove a user, they may not have permission.
- Resend invite button (only displayed if status is "Invited").Immediately resends an invite to the member.
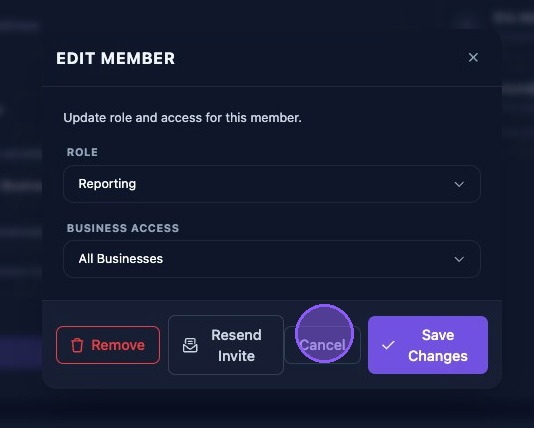
Clicking the edit button next to a member opens the "Edit Member" window. Here you can:
- Change the role for the member using the "Role" dropdown.
- Change the Business Access.
- Resend an Invite.
- Remove the member.
Then choose one of the following:
- "Save Changes" to apply changes immediately.
- "Cancel" or "X" to exit without saving changes.